
1. Introduction
This manual provides detailed instructions for the installation, operation, maintenance, and troubleshooting of your new Clovis Frameless Double Sliding Shower Door. Designed for durability and smooth functionality, this shower door features 3/8 inch (10mm) clear SGCC tempered glass and a robust 304 stainless steel roller disc system with a matte black finish. Please read this manual thoroughly before installation and use to ensure proper function and safety.
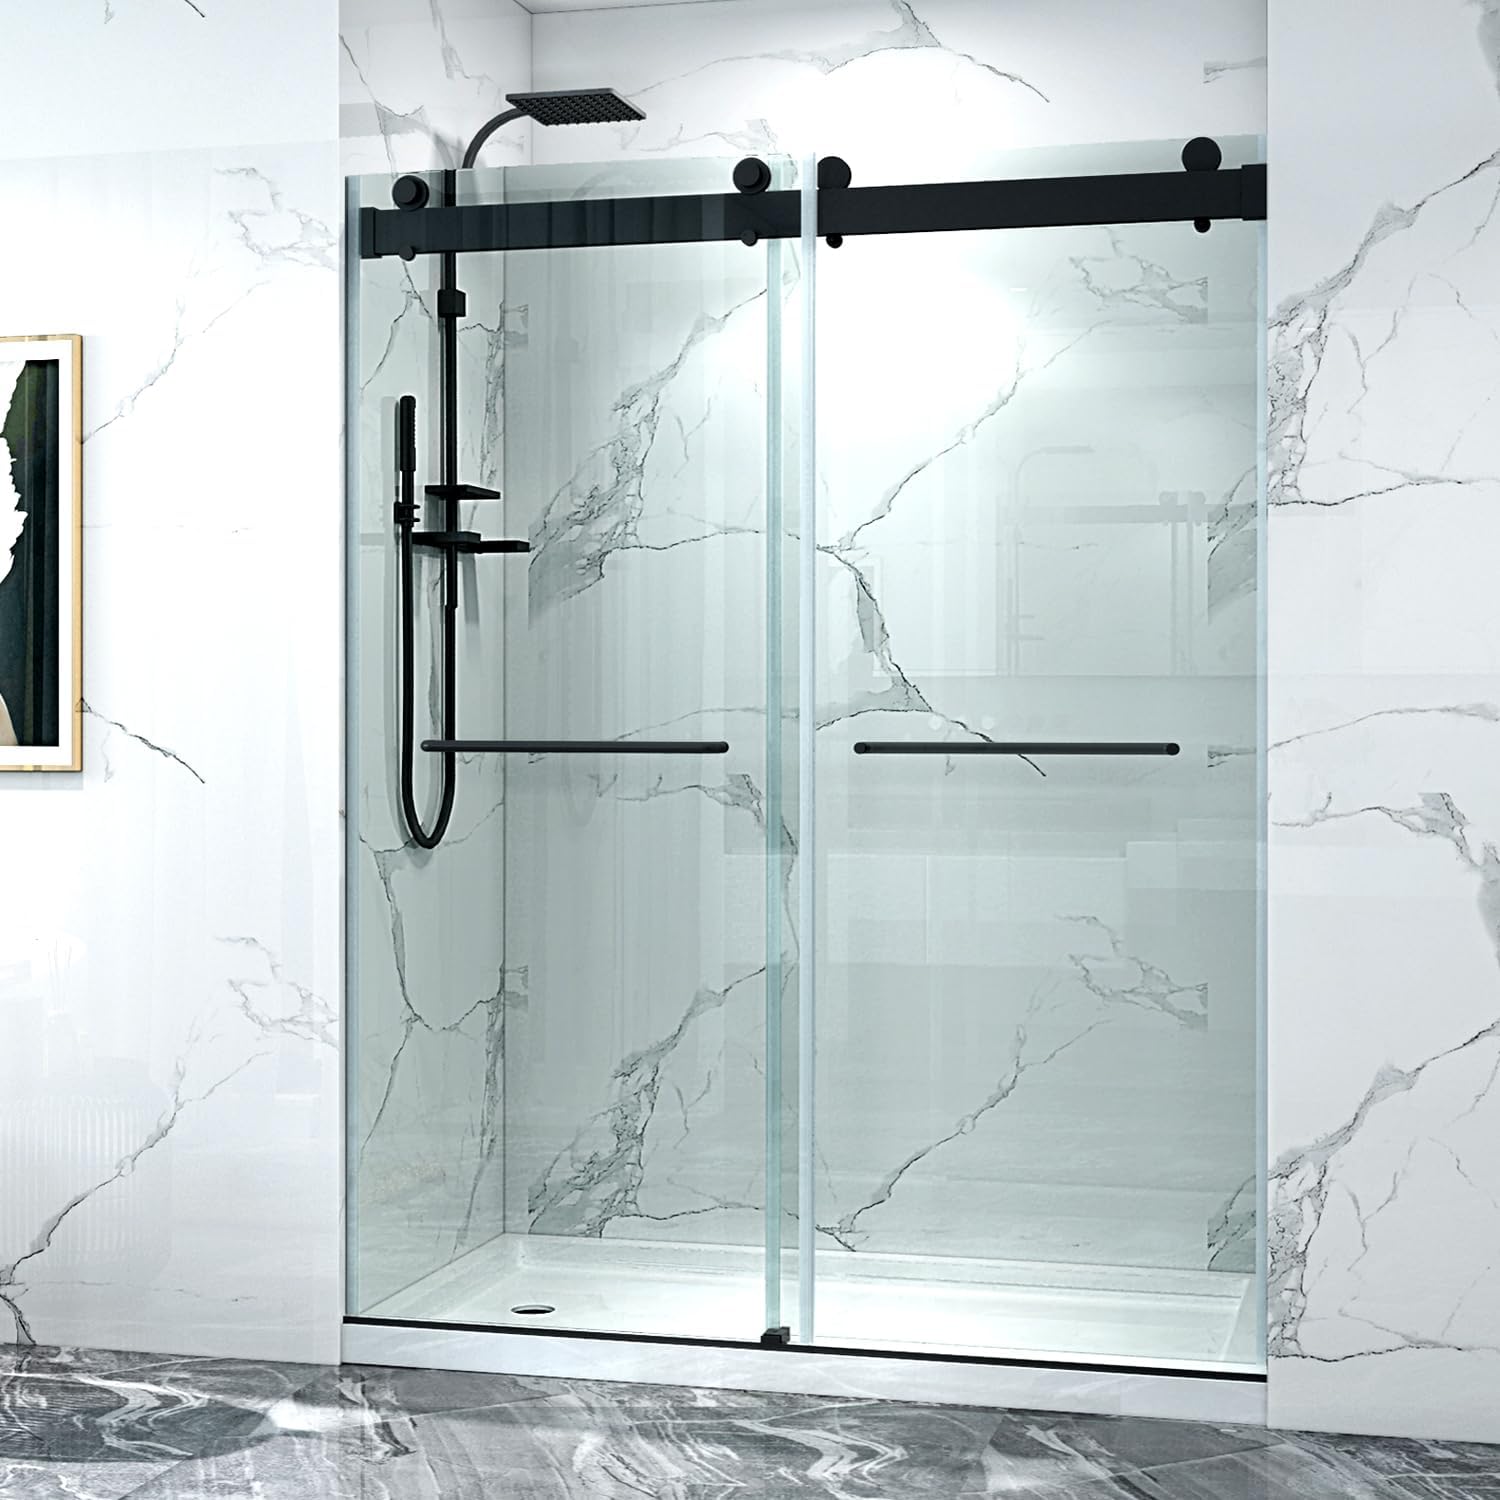
Image 1.1: The Clovis Frameless Double Sliding Shower Door installed in a bathroom setting.
2. Consignes de sécurité
Respectez toujours les consignes de sécurité suivantes lors de l'installation et de l'utilisation :
- Portez un équipement de protection individuelle (EPI) approprié, notamment des lunettes de sécurité et des gants, pendant l'installation.
- Manipulez les panneaux de verre avec une extrême précaution. Le verre trempé, bien que résistant, peut se briser en cas de choc sur les bords ou les coins.
- Assurez-vous que la surface d'installation (murs, sol) est structurellement saine et capable de supporter le poids de la porte de douche.
- Ne serrez pas trop les vis, car cela pourrait endommager les composants ou le verre.
- Tenez les enfants et les animaux domestiques éloignés de la zone d'installation.
- After installation, verify all components are securely fastened and the door operates smoothly.
- Do not hang on the shower door or apply excessive force.
3. Configuration et installation
Before beginning installation, carefully unpack all components and verify against the parts list (not provided in this manual, refer to packaging). Ensure you have all necessary tools.
3.1 Vérifications avant l'installation
- Mesurer les dimensions : Confirm your shower opening width is between 68-72 inches and height is 76 inches.
- Préparation du mur : Ensure walls are plumb, level, and reinforced where necessary to support the shower door.
- Outils requis : Measuring tape, level, drill, screwdriver set, silicone sealant, pencil, utility knife.

Image 3.1: Detailed diagram illustrating the adjustable width (68-72" W) and height (76" H) of the shower door, along with glass thickness (0.4" or 10mm) and handle placement.
3.2 Étapes d'installation (Généralités)view)
- Installer Top Track : Secure the anodized aluminum top track to the wall, ensuring it is level.
- Install Bottom Guide: Position and secure the bottom guide rail.
- Mount Rollers: Attach the roller disc system to the top edge of the glass panels.
- Panneaux de verre suspendus : Carefully lift and hang the glass panels onto the top track rollers. The double sliding bypass design allows for entry from either the left or right side.
- Ajuster et sécuriser : Adjust the rollers for smooth operation and ensure the panels are properly aligned. Secure the bottom guides.
- Installer les poignées : Attach the matte black handles to the glass panels.
- Apply Sealing Strips: Install the provided sealing strips along the edges of the glass panels to prevent water leakage.
- Opération de test : Gently slide both doors to ensure smooth and quiet movement. Verify the soft-closing buffer system functions correctly.
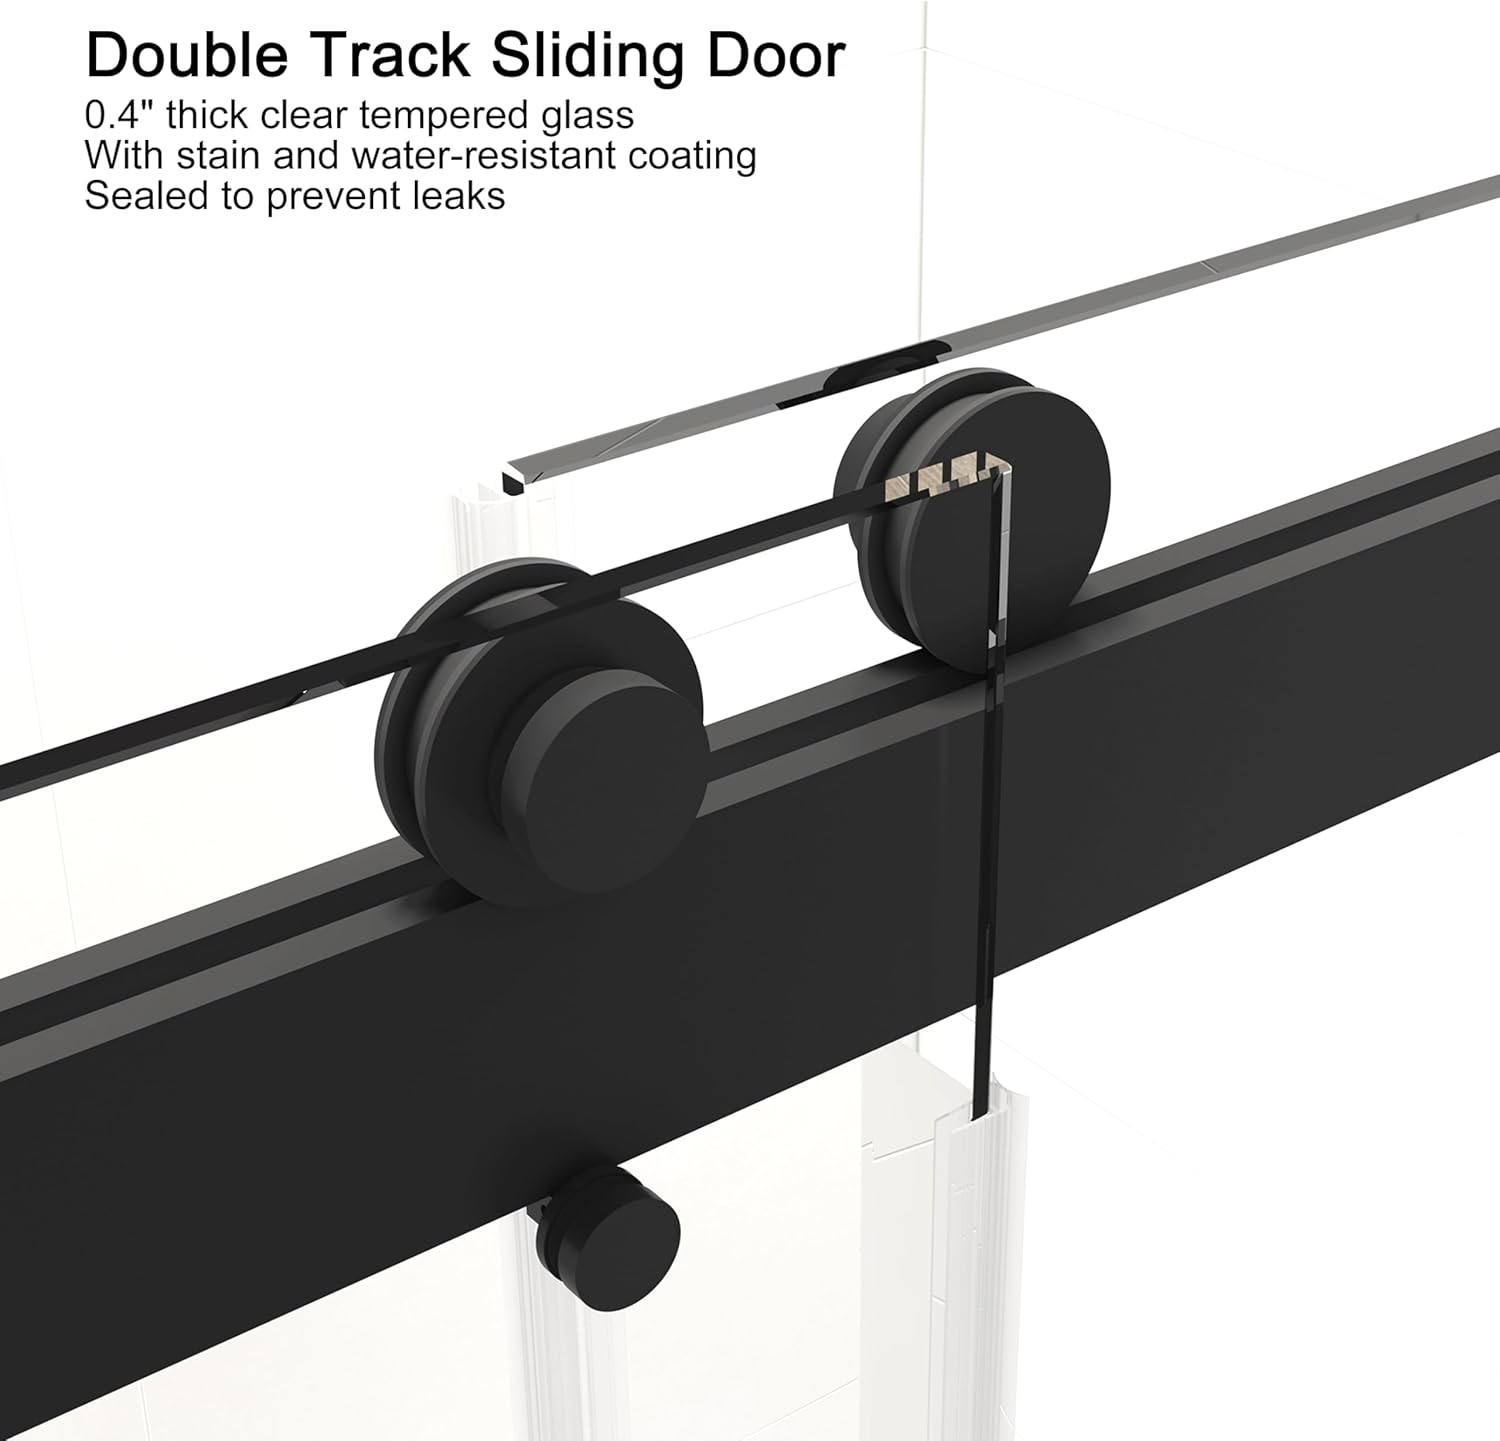
Image 3.2 : Un aperçu détaillé view of the double track sliding door mechanism, highlighting the rollers and track design for smooth movement.

Image 3.3: Close-up of the widened and thickened square top rail, designed for smooth and noiseless sliding.
4. Mode d'emploi
Your Clovis shower door is designed for ease of use and durability.
- Sliding Operation: Gently push or pull the handles to slide the glass panels. The double sliding bypass design allows either panel to move, providing flexible entry and exit.
- Fermeture douce : Le d intégréamping buffer system ensures the doors close gently and quietly, minimizing impact and enhancing safety.
- Installation réversible : The door can be installed to open from the left or right, and the double-sided roller design maintains a consistent appearance regardless of installation direction.
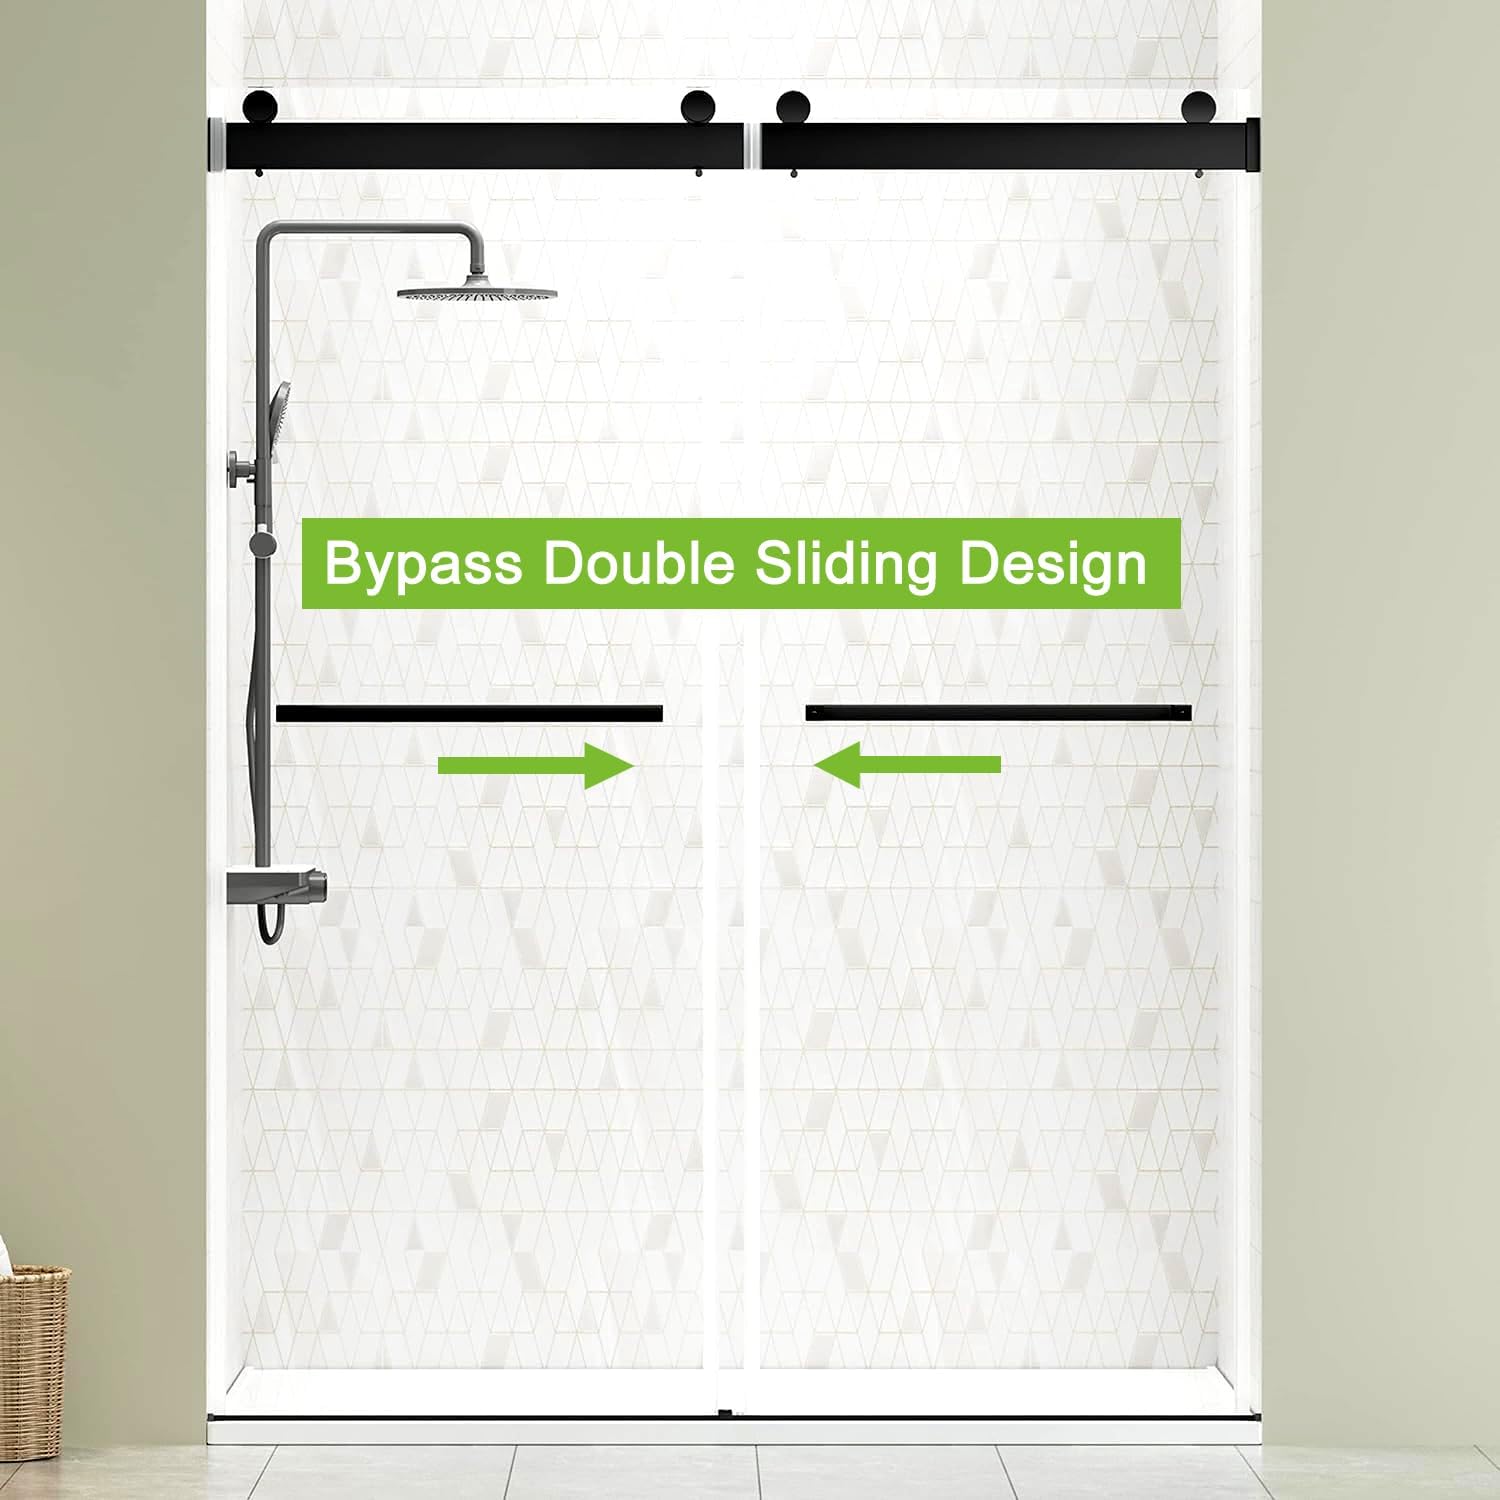
Image 4.1: Illustration of the bypass double sliding design, showing how both glass panels can slide independently.
Video 4.1: Official product video demonstrating the features and operation of the Clovis Shower Door, including its double sliding mechanism.
5. Maintenance et entretien
Un nettoyage et un entretien réguliers garantiront la longévité et l'apparence de votre porte de douche.
- Nettoyage des vitres : Use a soft cloth or sponge with a mild, non-abrasive glass cleaner. Avoid harsh chemicals, abrasive pads, or scouring powders that can scratch the glass or damage the nano self-cleaning coating.
- Cadre et quincaillerie : Wipe down stainless steel and matte black components with a soft, damp cloth. Dry thoroughly to prevent water spots. Do not use abrasive cleaners or solvents.
- Bandes d'étanchéité : Periodically check sealing strips for wear or damage. Replace if necessary to maintain water tightness.
- Système de rouleaux : Keep the top track and rollers free of debris and soap scum to ensure smooth sliding. A silicone-based lubricant can be applied sparingly if needed, but avoid oil-based products.

Image 5.1: Close-up of the 3/8-inch (10mm) SGCC certified tempered glass, highlighting its easy-clean and durable properties.
6. Dépannage
Consultez cette section pour les problèmes courants et leurs solutions.
| Problème | Cause possible | Solution |
|---|---|---|
| Les portes ne coulissent pas correctement. | Debris in track, misaligned rollers, worn rollers. | Clean the top track and bottom guide. Check roller alignment and adjust if necessary. Contact support if rollers are worn. |
| Water leakage from door edges. | Damaged or improperly installed sealing strips, gaps in silicone sealant. | Inspect and re-install sealing strips. Reapply silicone sealant where necessary. |
| La porte ne se ferme pas complètement. | Obstruction in track, misaligned panels, buffer system issue. | Remove any obstructions. Check panel alignment and adjust. Contact support if buffer system is faulty. |
| Scratches on glass. | Utilisation de nettoyants ou d'outils abrasifs. | Unfortunately, scratches on tempered glass are difficult to remove. Always use soft cloths and non-abrasive cleaners. |
7. Spécifications
| Fonctionnalité | Détail |
|---|---|
| Marque | Clovis |
| Numéro de modèle | 21S1001-2 |
| Dimensions (L x H) | 68-72 inches x 76 inches |
| Épaisseur du verre | 3/8 pouce (10 mm) |
| Type de verre | Verre trempé transparent certifié SGCC |
| Matériau du cadre | 304 Stainless Steel, Anodized Aluminum |
| Finition | Noir mat |
| Type de porte | Frameless Double Sliding Bypass |
| Caractéristiques spéciales | Roller Disc System, Soft Closing Buffer, Sealing Strips, Nano Self-cleaning Coating |
| Assemblage requis | Oui |
| Poids de l'article | 146 livres |
8. Garantie et assistance
Clovis is committed to providing high-quality products and customer satisfaction. This product is backed by a manufacturer's warranty against defects in materials and workmanship. For specific warranty details, please refer to the warranty card included with your product or contact customer support.
If you encounter any issues, require assistance with installation, or have questions regarding your shower door, please do not hesitate to contact our customer service team. We are dedicated to resolving any concerns promptly.
- Assistance clientèle : For assistance, please visit the Clovis webConsultez le site ou contactez le détaillant auprès duquel le produit a été acheté.
- Damage or Defects: In case of any damage or defect upon arrival or during the warranty period, please contact customer service immediately with your purchase details.