
1. Introduction
This manual provides essential information for the safe and efficient operation of your Aninerel 3600W Solar Inverter Charger, Model ANJ-3600W-LV. This device is a pure sine wave hybrid inverter designed to convert DC 48V to AC 110V, featuring a built-in 80A MPPT solar charge controller. It supports various battery types, including battery-less operation, and offers flexible charging and output modes for diverse energy requirements. Please read this manual thoroughly before installation and use.

Figure 1: Aninerel 3600W Solar Inverter Charger and Wi-Fi module.
2. Consignes de sécurité
Please observe the following safety precautions to prevent injury and damage to the inverter or connected equipment.
- L'installation doit être effectuée par un personnel qualifié conformément aux normes électriques locales.
- Ensure all power sources (PV, battery, AC grid) are disconnected before installation or maintenance.
- Ne démontez pas l'onduleur. Il ne contient aucune pièce réparable par l'utilisateur.
- Évitez d'exposer l'onduleur à la pluie, à la neige, aux liquides ou à une quantité excessive de poussière.
- Assurez une ventilation adéquate autour de l’onduleur pour éviter toute surchauffe.
- Connect the inverter to a proper ground.
- Verify correct polarity when connecting batteries and PV arrays.
- This inverter is designed for single-phase (120V) output and does not support parallel operation for increased power or split-phase configurations.

Figure 2 : Caractéristiques de protection de l'onduleur.
3. caractéristiques du produit
The Aninerel 3600W Solar Inverter Charger offers a range of features for efficient power management:
- Conception tout-en-un : Combines a 3.6KW pure sine wave inverter, a 40A battery charger, and an 80A MPPT solar charge controller.
- Entrée PV élevée : Supports a maximum PV open circuit voltage de 300VDC.
- Compatibilité de la batterie : Compatible with 48V AGM/Sealed, Gel, Flooded, and Lithium batteries. Also supports battery-less operation.
- Modes de charge flexibles : Offers Hybrid Charging, Utility Priority Charging, Solar Priority Charging, and Only Solar Charging.
- Plusieurs modes de sortie : Includes Utility Priority, Solar and Utility Hybrid, Solar Priority, and Inverter Priority.
- Time-Slot Function: Allows setting specific charging and discharging periods to optimize energy usage based on local tariffs.
- Interfaces de communication : Supports CAN, USB, and RS485 for communication with compatible batteries and monitoring systems.
- Protection complète : Features PV input over-voltage/current protection, AC input over-voltage protection, batterie over-voltage protection, and overload protection.

Figure 3: Key Features of the Aninerel Hybrid Solar Inverter Charger.
4. Composants et ports du produit
Familiarize yourself with the inverter's components and connection ports before installation.

Figure 4: Inverter Front and Side Panel Overview with Labeled Ports.
- Voyant lumineux
- Écran LCD
- Touch Keys (ESC, UP, DOWN, ENTER)
- Protecteur de surcharge
- Grounding Screw Hold
- Port de sortie CA
- Wi-Fi Port (Optional)
- Port d'entrée CA
- RS485-2 Communication Port
- RS485-1 Communication Port
- Port de communication USB
- Ventilateur de refroidissement
- Interrupteur à bascule marche/arrêt
- Port de contact sec
- Current Sharing Port (for parallel module only, not supported by this model)
- Parallel Communication Port (for parallel module only, not supported by this model)
- Port de batterie
- Port PV
Note: This specific model (ANJ-3600W-LV) does not support parallel operation. Therefore, ports 15 and 16 are not applicable for this unit.
5. Configuration et installation
Une installation correcte est cruciale pour les performances et la sécurité de l'onduleur.
5.1 Déballage et inspection
- Open the package and verify all accessories are present as shown in Figure 5.
- Inspect the inverter for any physical damage. Contact your dealer immediately if any damage is found.

Figure 5: Product Accessories.
5.2 Montage de l'onduleur
- Choose a suitable location: indoors, protected from direct sunlight, rain, and dust.
- Ensure adequate clearance around the inverter for proper airflow (at least 20 cm on all sides).
- Installez l'onduleur verticalement sur un mur solide à l'aide de fixations appropriées.
5.3 Connexions de câblage
Follow the wiring diagram carefully. All wiring should be done by a qualified electrician.

Figure 6: Typical Wiring Diagram.
- Connexion de la batterie : Connect the 48V battery bank to the BAT+ and BAT- terminals. Ensure correct polarity. Recommended cable: 2 AWG/25 mm². Recommended fuse: 150A.
- Connexion du champ photovoltaïque : Connect solar panels to the PV+ and PV- terminals. Max PV input power: 4000W. Max PV open circuit voltage: 300Vdc. MPPT voltage range: 80Vdc-300Vdc. Recommended cable: 10 AWG/6 mm². Connect solar modules in series.
- Connexion d'entrée CA : Connect the AC grid or generator to the AC Input port. Max AC input voltage: 300VAC. Max AC charging current: 80A. Recommended cable: 10 AWG/6 mm². Recommended breaker: 63A.
- Connexion de sortie CA : Connect your AC loads to the AC Output port. AC output power: 3600W. AC output voltage: 110V / 120V. Recommended cable: 10 AWG/6 mm². Recommended breaker: 63A.
- Mise à la terre : Connect the grounding screw to a reliable earth ground.
Important: Double-check all connections before powering on the inverter. Incorrect wiring can cause severe damage.
6. Mode d'emploi
Once installed, you can configure and operate your inverter using the LCD display and touch keys.
6.1 Mise sous tension initiale
- Vérifiez que tous les câblages sont bien fixés et corrects.
- Mettez le disjoncteur de la batterie en marche.
- Turn on the PV array breaker (if connected).
- Mettez en marche le disjoncteur d'entrée CA (s'il est connecté).
- Flip the ON/OFF rocker switch on the inverter to the "ON" position.
- The LCD screen will light up, and the inverter will perform a self-test.
6.2 Écran LCD et paramètres
Use the ESC, UP, DOWN, and ENTER buttons to navigate the LCD menu and adjust settings. Refer to the detailed manual for specific menu options.
6.3 Charging Priority Modes
These settings determine how your battery bank is charged from available power sources.

Figure 7: Charger Source Priority Options.
- Solar First AC Input Next: Solar panels prioritize charging the battery. AC input charges only if solar power is insufficient.
- Solar and AC Input Simultaneously: Both solar energy and utility power charge the battery bank at the same time.
- Solaire uniquement : Solar energy is the exclusive charging source, regardless of AC input availability.
6.4 Output Source Priority Modes
These settings determine which power source the inverter uses to supply connected appliances.

Figure 8: Output Source Priority Options.
- Le solaire d'abord : Prioritizes powering appliances from solar. If solar is insufficient, AC input will supplement.
- CA d'abord : Redirects AC input to power all appliances and uses solar and batteries only when AC input is unavailable.
- DC Priority (Solar and Battery First): Prioritizes solar power. If solar is insufficient, the battery bank supplies power. AC input powers only when battery voltage drops to a programmable value.
6.5 Configuration du type de batterie
The inverter is compatible with various 48V battery types. Ensure the correct battery type is selected in the settings for optimal charging and discharge management.

Figure 9: Supported Battery Types.
- AGM/Sealed
- Gel
- Inondé
- Lithium
- User Mode (for custom battery parameters)
The inverter also supports battery-free operation. For lithium batteries, the shore power and photovoltaic can activate dormant lithium batteries.
7. Surveillance Wi-Fi
The inverter comes with an optional Wi-Fi module for remote monitoring.
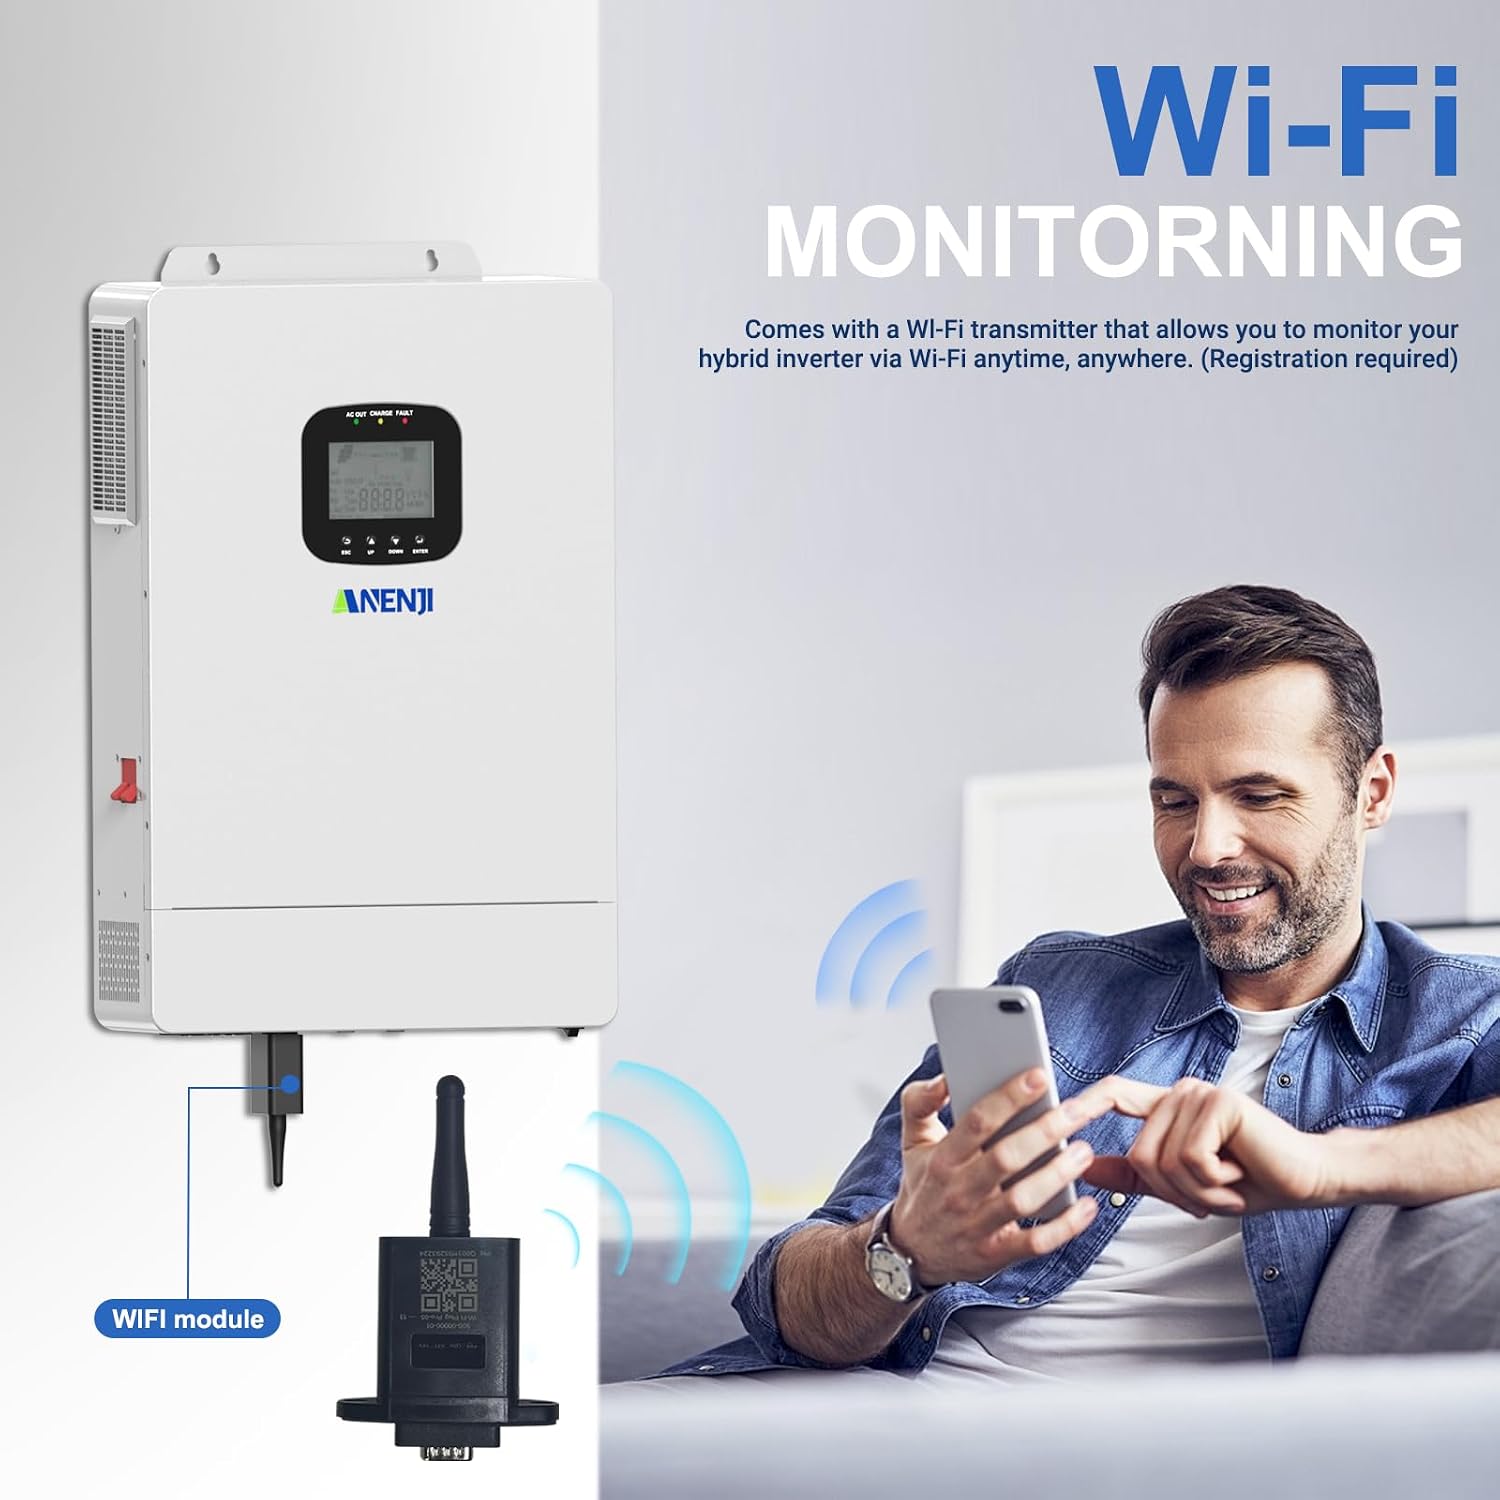
Figure 10: Wi-Fi Monitoring Setup.
- Connect the Wi-Fi module to the designated Wi-Fi port on the inverter.
- Download the compatible monitoring application to your smartphone or tablet.
- Follow the app's instructions to register your device and connect it to your local Wi-Fi network.
- Once connected, you can monitor the inverter's status, energy production, and consumption in real-time from anywhere.
Note: Refer to the Wi-Fi module's separate instruction guide for detailed setup procedures, as app names and connection steps may vary.
8. Entretien
Un entretien régulier garantit la longévité et les performances optimales de votre onduleur.
- Nettoyage: Nettoyez régulièrement l'extérieur de l'onduleur avec un chiffon doux et sec. Assurez-vous que les ouvertures de ventilation sont exemptes de poussière et de débris.
- Relations: Vérifiez annuellement le serrage et l'absence de corrosion de toutes les connexions électriques.
- Environnement: Veillez à ce que l'environnement de travail reste dans les plages de température et d'humidité spécifiées.
- Inspection de la batterie : En cas d'utilisation de batteries au plomb-acide, vérifiez le niveau d'électrolyte et l'état des bornes conformément aux instructions du fabricant.
Débranchez toujours toutes les sources d'alimentation avant d'effectuer toute opération de maintenance.
9. Dépannage
Cette section propose des solutions aux problèmes courants. Pour tout autre problème, veuillez contacter le service client.
| Problème | Cause possible | Solution |
|---|---|---|
| L'onduleur ne s'allume pas. | Aucune connexion de batterie, volume de batterie faibletage, ON/OFF switch off, blown fuse/breaker. | Vérifiez les connexions de la batterie et le voltage. Ensure ON/OFF switch is on. Check and replace fuses/reset breakers. |
| Pas de sortie CA. | Overload, short circuit, low battery, inverter fault. | Réduisez la charge. Vérifiez l'absence de courts-circuits dans le câblage. Vérifiez le volume de la batterie.tage. Consult LCD error codes. |
| PV not charging batteries. | Pas de soleil, champ photovoltaïque déconnecté, tension photovoltaïque incorrectetage, MPPT controller fault. | Check sunlight conditions. Verify PV connections and voltage. Ensure PV input is within operating range. |
| Wi-Fi module not connecting. | Incorrect app, poor Wi-Fi signal, incorrect setup steps. | Ensure correct app is used. Check Wi-Fi signal strength. Re-follow Wi-Fi module setup instructions carefully. |
10. Spécifications
Key technical specifications for the Aninerel 3600W Solar Inverter Charger (Model ANJ-3600W-LV):
- Nom du modèle : ANJ-3600W-LV
- Puissance de sortie nominale : 3600 watts
- Puissance de crête maximale : 7200 VA
- Vol d'entréetage (DC): 48 volts
- Volume de sortietage (CA): 110V / 120V (Single Phase)
- Max. Volume de circuit ouvert PVtage: 300 Vdc
- Volume de fonctionnement PVtagGamme : 80 - 300 Vcc
- Volume MPPTtagGamme : 90 - 260 Vcc
- Max. AC Charging Current: 80A
- Vol batterietagGamme : 40 - 60 Vcc
- Poids de l'article : 19.36 livres
- Dimensions du colis : 19.57 x 14.17 x 7.09 pouces
- Fabricant: Shenzhen Anenji Energy Technology Co.,Ltd
11. Garantie et assistance
For warranty information, technical assistance, or customer support, please contact Aninerel directly.

Figure 11: Aninerel Customer Support Contact Information.
- E-mail: anenji168@outlook.com
- Téléphone: +86 188 0375 9233
- Support Hours (PDT): 9 AM - 6 PM
Please have your model number (ANJ-3600W-LV) and purchase date ready when contacting support.