
Aqualin YL21177
Aqualin Water Timer Garden Irrigation Hose Timer User Manual
Modèle: YL21177
Produit terminéview
The Aqualin Water Timer is an advanced irrigation system designed for efficient and automated watering of lawns, gardens, and pools. It features three independent irrigation programs, rain delay functionality, and a manual watering mode, providing flexible control over your watering schedule. Its durable and waterproof design ensures reliable performance in various outdoor conditions.

Figure 1 : Face avant view of the Aqualin Water Timer, showing the large LCD display, rotary dial, and control buttons.
Caractéristiques principales :
- 3 Independent Irrigation Programs: Customize watering schedules with distinct start times, durations (1 to 360 minutes), and frequencies (1 hour to 15 days).
- Waterproof and Durable Design: Constructed with waterproof materials and a sealed battery cover to prevent internal leakage. Features a sturdy metal thread connection.
- Interface facile à utiliser : Large LCD screen for clear display of watering information and intuitive controls for programming.
- Mode de retard de pluie : Pause scheduled watering for 6, 12 hours, or 1-7 days to conserve water during rainfall.
- Mode manuel : Allows for on-demand watering without affecting programmed schedules.
- Intelligent Timing System: Built-in solenoid valve for precise and stable program execution.
Installation
1. Déballage et composants
Carefully remove the Aqualin Water Timer from its packaging. Ensure all components are present. The main unit includes the timer body, an integrated metal filter, and a connection nut.

Figure 2: The Aqualin Water Timer highlighting the built-in metal filter for durability and the easy-to-operate rotary dial.
2. Installation de la batterie
- Repérez le compartiment à piles à l'arrière du minuteur.
- Ouvrez le couvercle scellé de la batterie.
- Insert two (2) AA 1.5V batteries (not included) into the compartment, ensuring correct polarity (+/-).
- Securely close the battery cover to maintain its waterproof seal.
3. Installation to Faucet
- Assurez-vous que votre robinet extérieur est fermé.
- Thread the Aqualin Water Timer onto your standard outdoor faucet. The top connection features a durable metal thread for a secure fit.
- Tighten the connection by hand until snug. Avoid over-tightening.
- Connect your garden hose to the bottom outlet of the water timer.
- Slowly turn on your outdoor faucet. Check for any leaks at the connections.
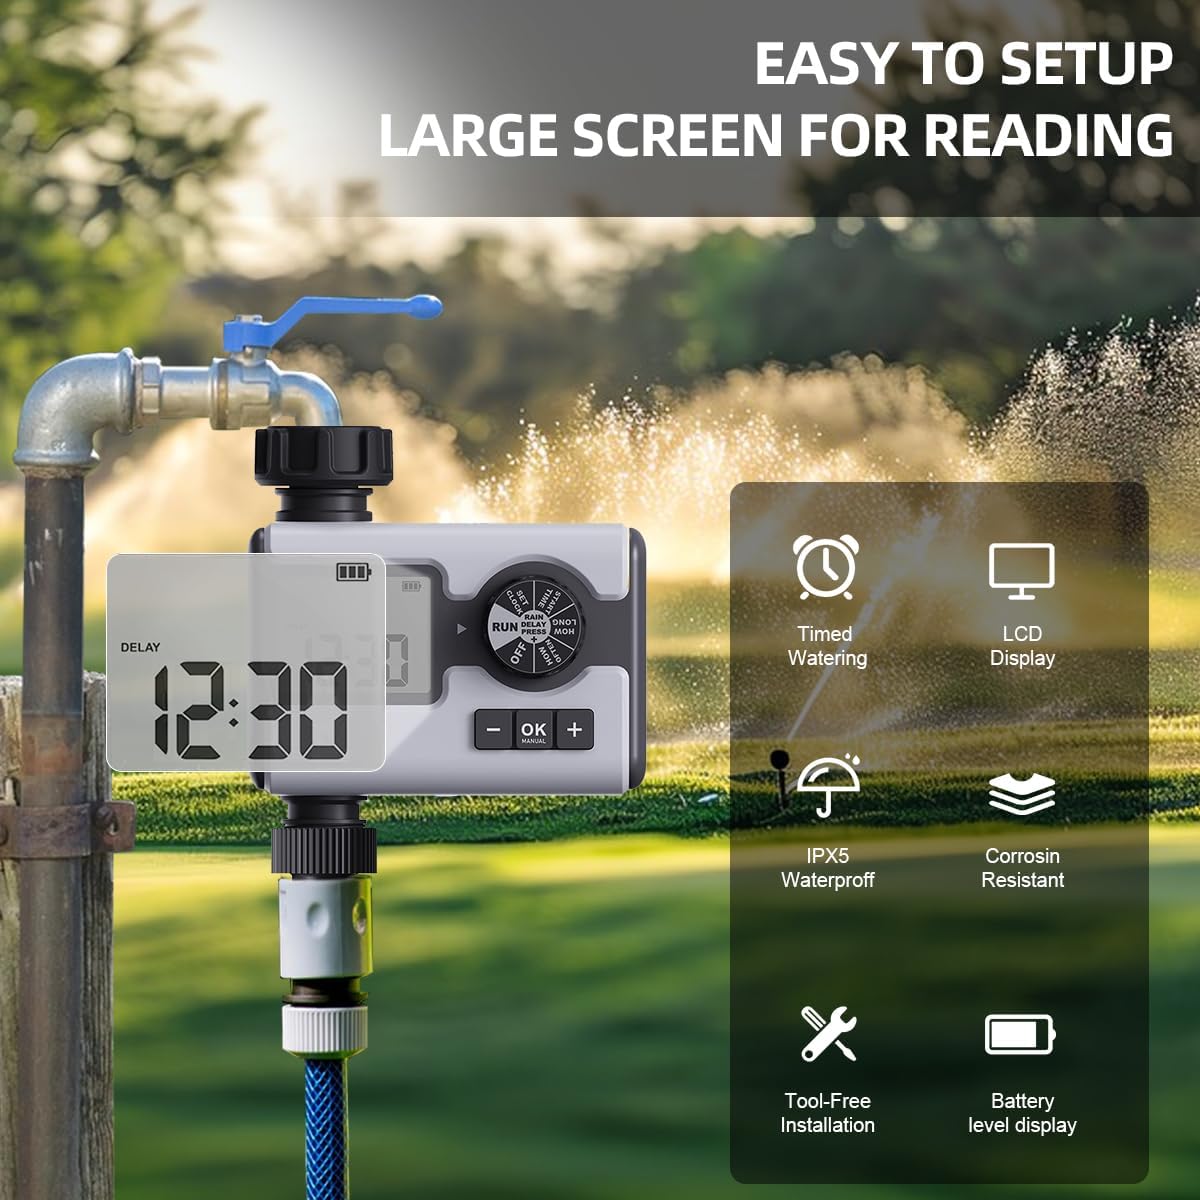
Figure 3: The Aqualin Water Timer connected to a faucet, illustrating its large LCD display for easy reading, IPX5 waterproof rating, corrosion resistance, and tool-free installation.
4. Réglage de l'horloge
- Tournez le cadran sur la position « RÉGLAGE HORLOGE ».
- Utilisez les boutons « + » et « - » pour régler l'heure actuelle.
- Press "OK" to confirm the setting and move to the next digit or exit the setting mode.
Mode d'emploi
1. Understanding the Control Dial
The central rotary dial allows you to navigate through different settings and modes. The available positions are:
- OFF: Désactive tous les programmes d'arrosage.
- RUN: Activates the programmed watering schedules.
- RÉGLAGE DE L'HORLOGE: Utilisé pour régler l'heure actuelle.
- HEURE DE DÉBUT: Sets the beginning time for a watering program.
- COMBIEN DE TEMPS: Sets the duration of watering.
- À QUELLE FRÉQUENCE: Sets the frequency of watering.
- DÉLAI DE PLUIE: Activates the rain delay function.
2. Programming Irrigation Schedules (P1, P2, P3)
The Aqualin Water Timer supports three independent programs (P1, P2, P3). Each program can be configured with its own start time, duration, and frequency.
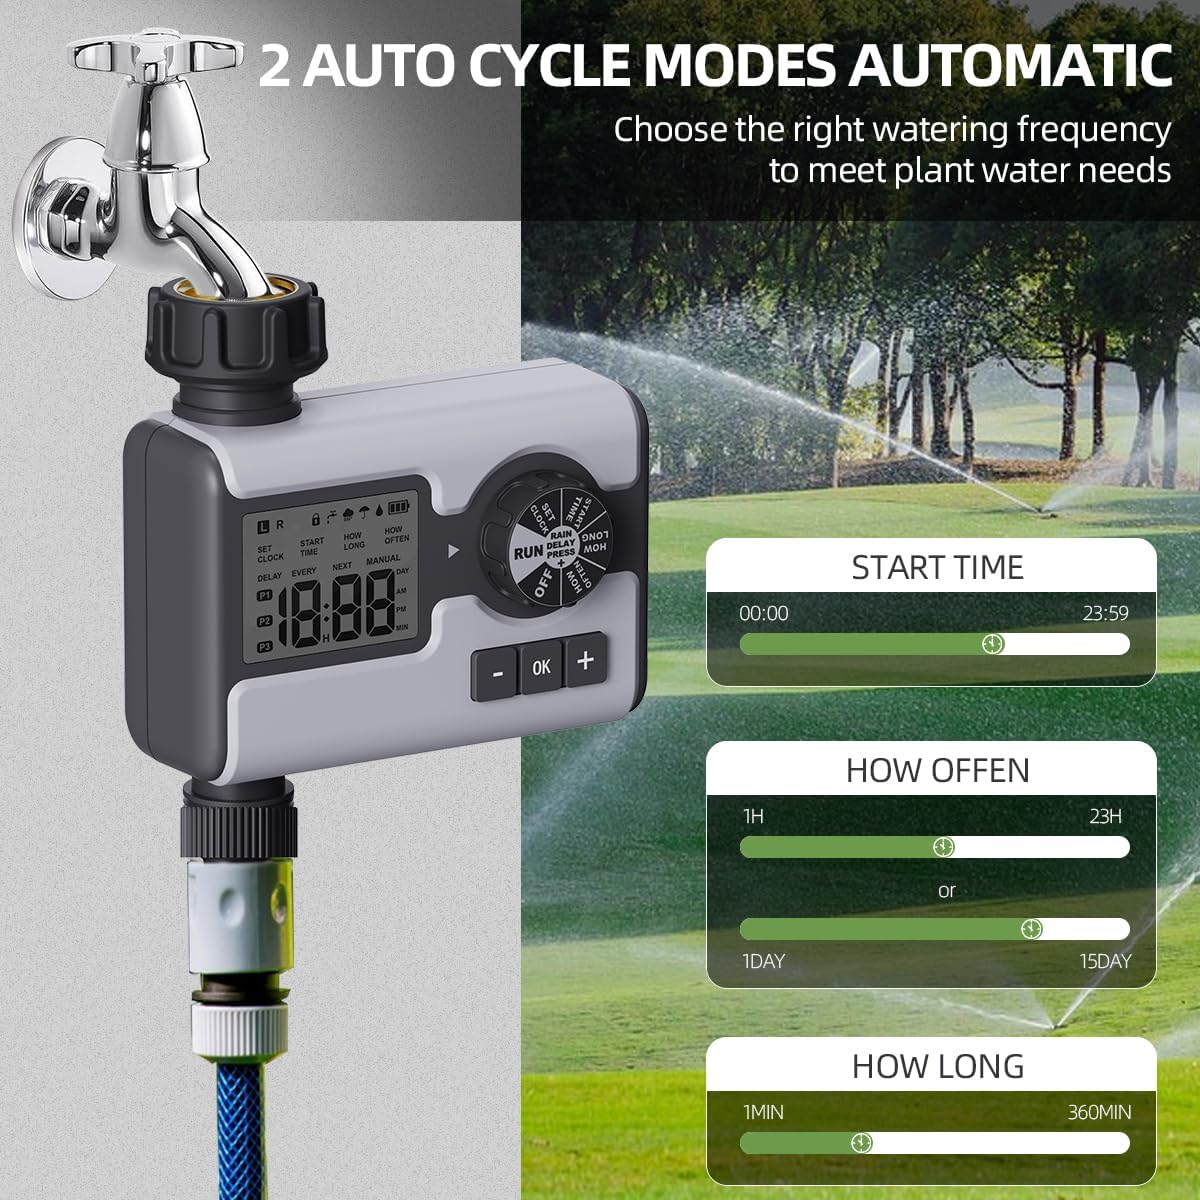
Figure 4: Display illustrating the settings for Start Time (00:00-23:59), How Often (1 hour-23 hours or 1 day-15 days), and How Long (1 minute-360 minutes) for the automatic watering cycles.
- Sélectionnez le programme : While in "RUN" mode, press the "OK" button repeatedly to cycle through P1, P2, P3. The active program will be displayed on the LCD.
- Définir l'heure de début :
- Rotate the dial to "START TIME".
- Use "+" and "-" buttons to set the desired start time for the selected program.
- Appuyez sur « OK » pour confirmer.
- Définir la durée d'arrosage (« COMBIEN DE TEMPS ») :
- Rotate the dial to "HOW LONG".
- Use "+" and "-" buttons to set the watering duration from 1 minute to 360 minutes.
- Appuyez sur « OK » pour confirmer.
- Définir la fréquence d'arrosage (« À QUELLE FRÉQUENCE ») :
- Rotate the dial to "HOW OFTEN".
- Use "+" and "-" buttons to set the frequency: from 1 hour to 23 hours, or from 1 day to 15 days.
- Appuyez sur « OK » pour confirmer.
- After setting all parameters for a program, rotate the dial back to "RUN" to activate the schedule.
3. Mode de retardement en cas de pluie
The rain delay feature allows you to temporarily pause your watering schedule to avoid overwatering during or after rainfall.

Figure 5: The Aqualin Water Timer displaying the rain delay function, which can be set for 6/12 hours or 1-7 days.
- While the timer is in "RUN" mode, press the "+" button.
- The display will show "DELAY". Use the "+" or "-" buttons to select the desired delay duration: 6 hours, 12 hours, or 1 to 7 days.
- Press "OK" to confirm the rain delay. The timer will resume its schedule automatically after the delay period ends.
4. Mode d'arrosage manuel
The manual mode allows for immediate, on-demand watering without interrupting your pre-programmed schedules.

Figure 6: A person using the manual watering feature with the Aqualin Water Timer, indicating that temporary water use does not alter automatic watering schedules. The watering duration can be set from 1 minute to 360 minutes.
- While the timer is in "RUN" mode, press the "MANUAL" (OK) button.
- The display will show the manual watering duration. Use the "+" and "-" buttons to adjust the desired manual watering time.
- Appuyez sur « OK » pour démarrer l'arrosage manuel.
- To stop manual watering prematurely, press the "MANUAL" (OK) button again.
Entretien
- Nettoyage: Essuyez périodiquement l'extérieur du minuteur avec un produit nettoyant pour appareils électroniques.amp Utiliser un chiffon pour enlever la saleté et les débris. Ne pas utiliser de nettoyants abrasifs.
- Nettoyage du filtre : The timer has a built-in metal filter. If water flow is reduced, unscrew the timer from the faucet, remove and clean the filter screen under running water. Reinstall the filter before reattaching the timer.
- Remplacement de la batterie : Replace batteries when the low battery indicator appears on the LCD screen. Always use fresh AA 1.5V alkaline batteries.
- Entreposage d'hiver : Before freezing temperatures, disconnect the timer from the faucet and hose. Remove the batteries. Store the timer indoors in a dry, frost-free location to prevent damage.
Dépannage
| Problème | Cause possible | Solution |
|---|---|---|
| Timer not turning on/LCD blank. | Piles mortes ou mal installées. | Replace with new AA 1.5V batteries, ensuring correct polarity. |
| Absence de débit d'eau ou faible pression d'eau. |
|
|
| Le programmateur d'arrosage ne fonctionne pas aux heures prévues. |
|
|
| Fuite d'eau au niveau des raccords. | Loose connection or missing/damaged washer. | Serrez les raccords à la main. Vérifiez et remplacez les rondelles en caoutchouc si elles sont endommagées. |
Caractéristiques
| Fonctionnalité | Détail |
|---|---|
| Marque | Aqualin |
| Numéro de modèle | YL21177 |
| Matériel | Plastic (with metal thread connection) |
| Couleur | Gris |
| Dimensions du produit (P x L x H) | 2.56"P x 5.24"L x 5.91"H |
| Poids de l'article | 357 grammes (12.6 onces) |
| Plage de pression d'eau | 14.5 psi à 116 psi |
| Source d'énergie | 2 piles AA 1.5 V (non incluses) |
| Durée d'arrosage | 1 minute aux minutes 360 |
| Fréquence d'arrosage | 1 heure à 15 jours |
| Options de report en cas de pluie | 6 hours, 12 hours, 1-7 days |
| Indice d'étanchéité | IPX5 (implied from "IPX5 Waterproff" image) |
Garantie et assistance
For warranty information and customer support, please refer to the documentation provided with your purchase or contact the retailer where the product was acquired. You may also visit the official Aqualin website pour une assistance supplémentaire.
Remarque : Aucune vidéo officielle du produit provenant du vendeur n'a été trouvée dans les données fournies.
Ask a question about this manual
Ask about setup, troubleshooting, compatibility, parts, safety, or missing instructions. Manuals+ will review the question and use this page’s manual context to help answer it.