Introduction
Thank you for choosing the KODAK 7-Inch Wooden Digital Photo Frame. This manual provides essential information for setting up, operating, and maintaining your digital photo frame. Please read these instructions carefully before use to ensure proper functionality and to maximize your enjoyment of the product. This frame is designed to display your cherished photos, videos, and music with its high-quality 1024x600 IPS HD display.
Contenu du colis
Veuillez vérifier que le colis contient les éléments suivants :
- KODAK 7-Inch Wooden Digital Photo Frame
- Adaptateur secteur
- Télécommande
- Manuel d'utilisation
Produit terminéview
The KODAK 7-Inch Wooden Digital Photo Frame features a 1024x600 IPS HD display, supporting various multimedia formats including photos, videos, and music. It includes an auto-rotate feature for flexible placement and is controlled via a remote.
Devant View et contrôle à distance
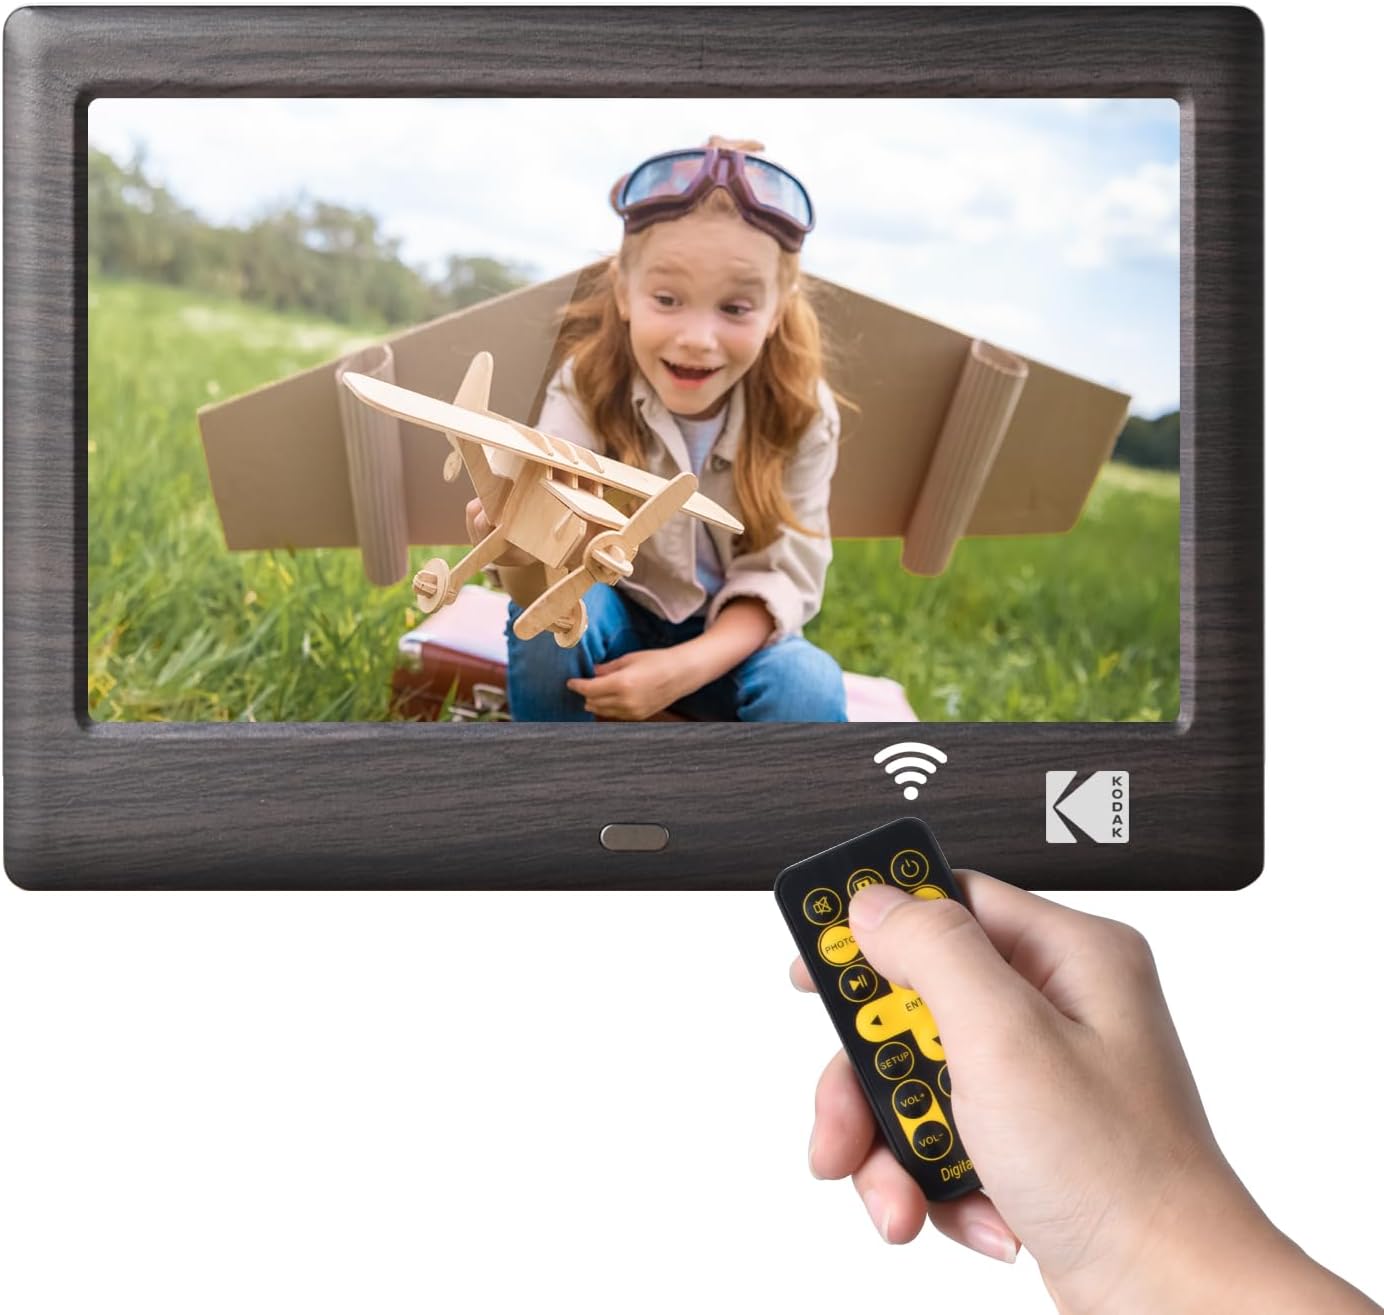
This image shows the front of the KODAK 7-Inch Wooden Digital Photo Frame displaying a picture of a child. A hand is holding the included remote control, highlighting the frame's primary control method.
Arrière View et ports de connectivité

L'arrière view of the digital photo frame illustrates the USB port and SD card slot, where external storage devices can be inserted to load media files. A USB drive is shown being inserted into the USB 3.1 port, and an SD card is visible in its slot.
Installation
- Connexion électrique : Connect the provided power adapter to the DC IN port on the back of the frame and then plug it into a standard electrical outlet.
- Insérer un périphérique de stockage : Insert a USB flash drive or an SD/SDHC memory card (up to 32GB, not included) into the corresponding slot on the back of the frame. Ensure the card or drive is inserted correctly.
- Mise sous tension : The frame will typically power on automatically once connected to power. If not, press the power button located on the back or side of the frame.
- La configuration initiale: Suivez les instructions à l'écran pour sélectionner votre langue préférée et régler la date et l'heure.
Mode d'emploi
Utilisation de la télécommande
The included remote control allows for easy navigation and control of the frame's functions. Point the remote directly at the frame's IR receiver.
- Bouton d'alimentation : Turns the frame on or off.
- Bouton Menu : Accesses the main menu or returns to the previous menu.
- Boutons de navigation (haut/bas/gauche/droite) : Permet de naviguer dans les menus et de sélectionner les options.
- Bouton Entrée : Confirme une sélection.
- Boutons de volume : Adjusts the volume for videos and music.
- Commandes de lecture (Lecture/Pause, Précédent, Suivant) : Contrôle la lecture multimédia.
- Mode Buttons (Photo, Video, Music, Calendar): Switches directly to the respective media mode.
Lecture multimédia
- Selecting Media Source: From the main menu, select the desired media type (Photo, Music, Video) or use the dedicated buttons on the remote.
- Navigation Files: Naviguez à travers votre files and folders using the remote's navigation buttons.
- Démarrage de la lecture : Sélectionnez un file and press the Enter button to start playback. For photos, a slideshow will typically begin automatically.
Paramètres
Access the settings menu to customize your frame's behavior:
- Paramètres du diaporama : Adjust transition effects, display time, and playback order for photos.
- Paramètres système : Configure language, time, date, auto-rotate function, and brightness.
- Mode Calendrier : Display a calendar with your photos in the background.
Entretien
- Nettoyage de l'écran : Utilisez un chiffon doux, sec et non pelucheux pour essuyer délicatement l'écran. Pour les traces tenaces, frottez légèrement.ampNettoyez le chiffon avec de l'eau ou un nettoyant pour écrans conçu pour les appareils électroniques. Évitez les produits chimiques agressifs.
- Nettoyage du cadre : Wipe the wooden frame with a soft, dry cloth.
- Stockage: When not in use for extended periods, disconnect the power adapter and store the frame in a cool, dry place away from direct sunlight.
- Évitez les liquides : Do not expose the frame to water or other liquids.
Dépannage
- Le cadre ne s'allume pas :
- Ensure the power adapter is securely connected to both the frame and a working electrical outlet.
- Try a different outlet. - No image or video displayed:
- Verify that a USB drive or SD card with compatible media files is inserted correctly.
- Vérifier la file formats. The frame supports common photo (JPEG), video (MP4, AVI), and music (MP3) formats.
- Ensure the correct media source is selected. - La télécommande ne fonctionne pas :
- Vérifiez la pile de la télécommande et remplacez-la si nécessaire.
- Ensure there are no obstructions between the remote and the frame's IR receiver.
- Make sure you are pointing the remote directly at the frame. - Images are distorted or blurry:
- Ensure the resolution of your images is suitable for the frame's 1024x600 display.
- Clean the screen if there are smudges.
Caractéristiques
| Fonctionnalité | Spécification |
|---|---|
| Marque | KODAK |
| Numéro de modèle | RCF1012WDB |
| Taille de l'écran | 7 pouces |
| Résolution d'affichage | IPS HD 1024x600 |
| Rapport hauteur/largeur | 16:9 |
| Technologie de connectivité | USB |
| Source d'énergie | Électrique avec fil |
| Méthode de contrôle | Télécommande |
| Appareils compatibles | Personal Computer, Smartphone, Tablet (for media transfer) |
| Dimensions de l'article L x l | 7.09 po L x 4.69 po l |
Garantie et assistance
This KODAK Digital Photo Frame comes with a Garantie de 1 ans À compter de la date d'achat. Veuillez conserver votre preuve d'achat pour toute réclamation au titre de la garantie.
For technical support, troubleshooting assistance beyond this manual, or warranty inquiries, please contact KODAK customer service. Refer to the contact information provided on the product packaging or the official KODAK website.