
1. Introduction
Thank you for choosing the Netzu Alarm Clock 6206ZD. This digital alarm clock is designed to provide a reliable wake-up experience, especially for heavy sleepers and individuals with hearing impairments, through its powerful vibrating bed shaker, loud alarm, and bright wake-up light. This manual will guide you through the setup, operation, and maintenance of your new alarm clock.
2. Consignes de sécurité
- Assurez-vous que l'adaptateur secteur est branché sur une prise de courant appropriée.
- N’exposez pas l’appareil à l’eau ou à une humidité excessive.
- Gardez l'appareil à l'écart des sources de chaleur et de la lumière directe du soleil.
- Utilisez uniquement l’adaptateur secteur fourni.
- For battery backup, insert 2 AAA batteries (not included) correctly, observing polarity.
- N'essayez pas de démonter ou de réparer l'appareil vous-même. Contactez le service client pour obtenir de l’aide.
3. Contenu du colis
Veuillez vérifier que le colis contient les éléments suivants :
- Netzu Alarm Clock (Model 6206ZD)
- Vibrating Bed Shaker
- Adaptateur secteur
- Manuel d'utilisation

Figure 3.1 : Composants du produit
4. Produit terminéview
Familiarize yourself with the main components of your Netzu Alarm Clock:
- Écran avant : Large RGB LED time display.
- Panneau supérieur: Snooze button, light bar, control buttons (Time Set, Alarm Set, Brightness, Color, Volume, DST).
- Panneau arrière: Power input port, bed shaker port, battery compartment.
- Vibrating Bed Shaker: Connects to the alarm clock for silent or combined wake-up.
5. Installation
5.1 Connexion d'alimentation
- Branchez l'adaptateur secteur fourni au port d'entrée CC situé à l'arrière du réveil.
- Branchez l'adaptateur secteur sur une prise électrique standard. L'écran s'allumera.
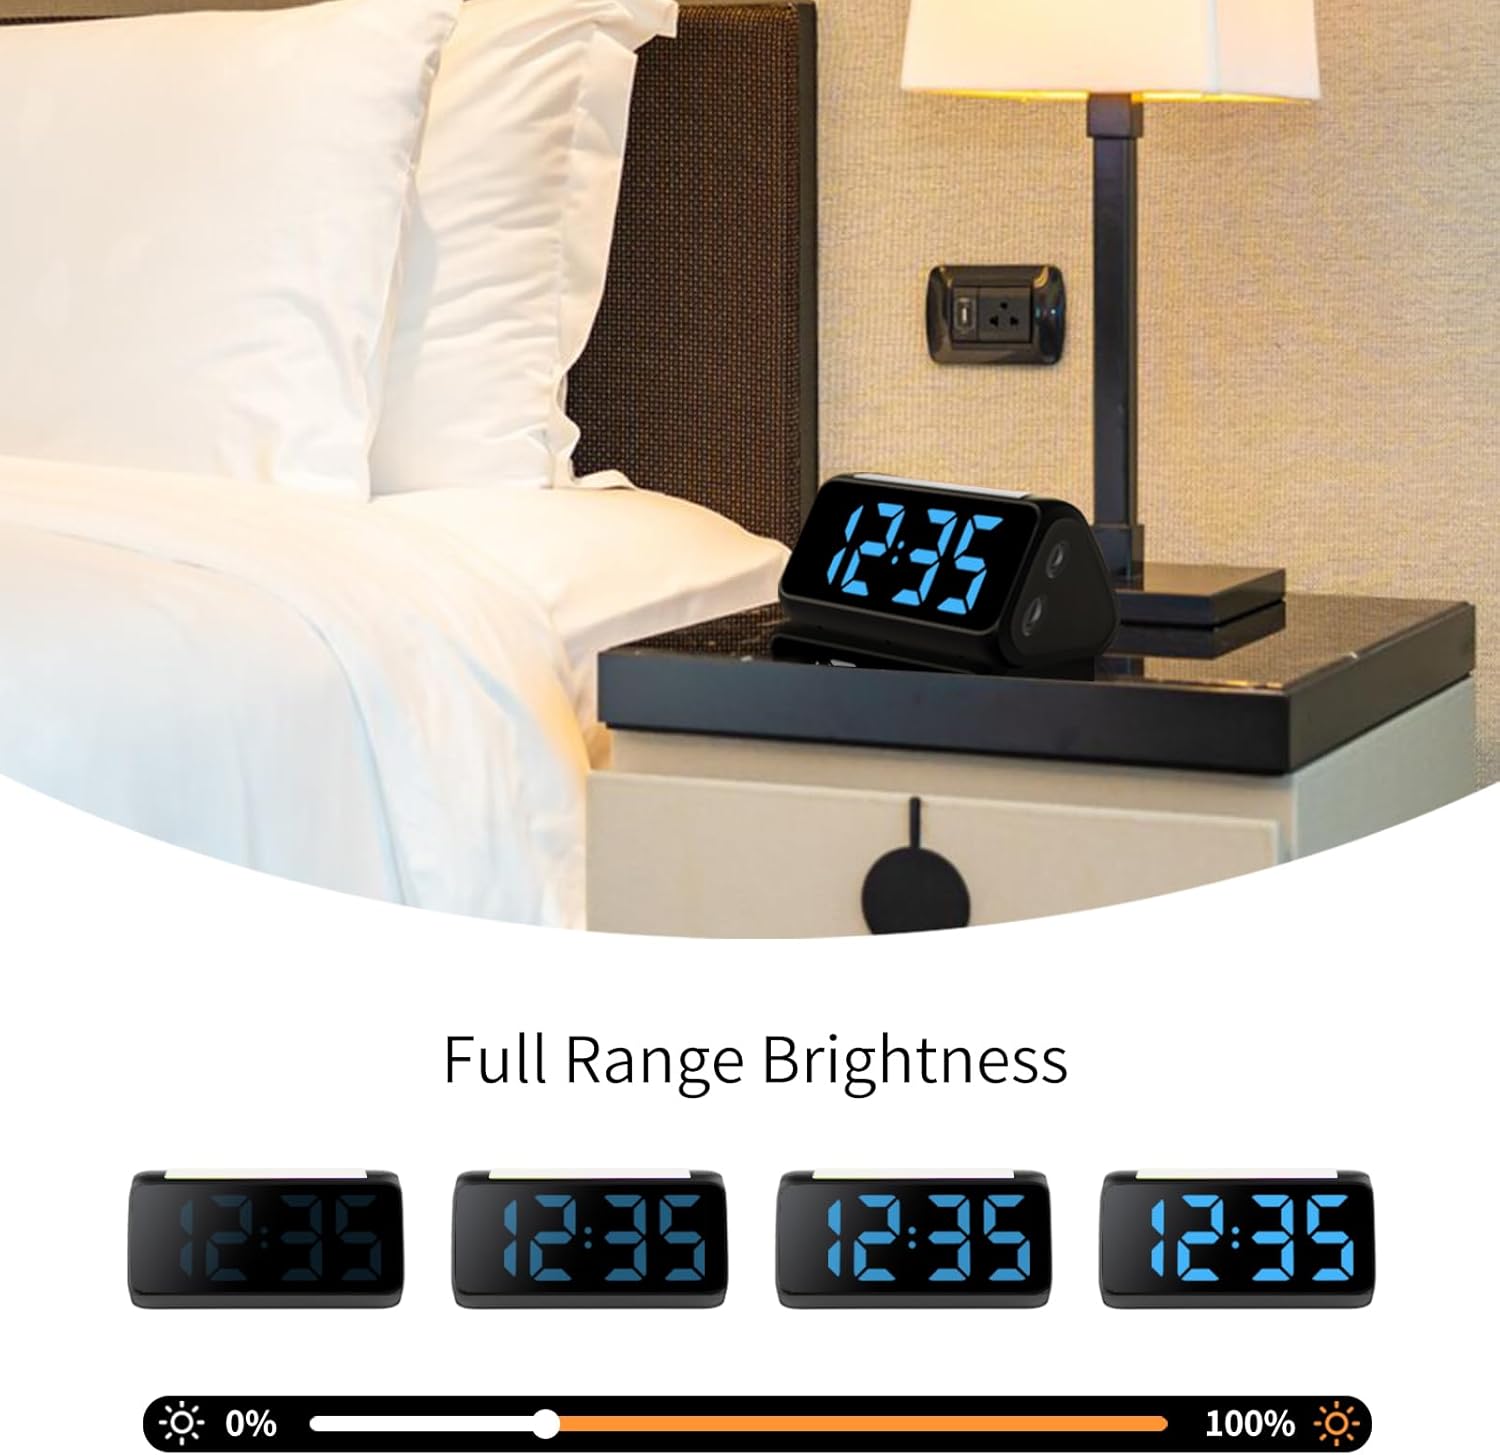
Figure 5.1 : Connexion électrique
5.2 Battery Installation (for Power Loss Memory)
Pour conserver l'heure et les réglages d'alarme pendant une coupure de couranttage, installer des batteries de secours :
- Open the battery compartment cover on the bottom of the alarm clock.
- Insérez 2 piles AAA neuves (non incluses), en veillant à respecter la polarité (+ et -).
- Fermez soigneusement le couvercle du compartiment à piles.
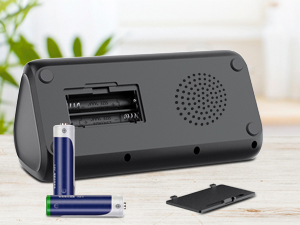
Figure 5.2 : Compartiment à piles
5.3 Connexion du vibreur de lit
Plug the cable of the vibrating bed shaker into the dedicated port on the back of the alarm clock. Place the shaker under your pillow or mattress for optimal vibration.
6. Mode d'emploi
6.1 Réglage de l'heure
- Appuyez et maintenez enfoncé le RÉGLAGE DE L'HEURE button (usually located on the top or back) until the hour digits flash.
- Utilisez le +/- buttons (or similar adjustment buttons) to set the hour. Pay attention to AM/PM indicators if in 12-hour format.
- Presse RÉGLAGE DE L'HEURE à nouveau pour confirmer l'heure et passer aux minutes.
- Utilisez le +/- boutons pour régler les minutes.
- Presse RÉGLAGE DE L'HEURE one last time to save the time.
- To switch between 12-hour and 24-hour display, briefly press the RÉGLAGE DE L'HEURE button when not in setting mode.
- To adjust for Daylight Saving Time (DST), long press the Heure d'été button to add or subtract an hour.
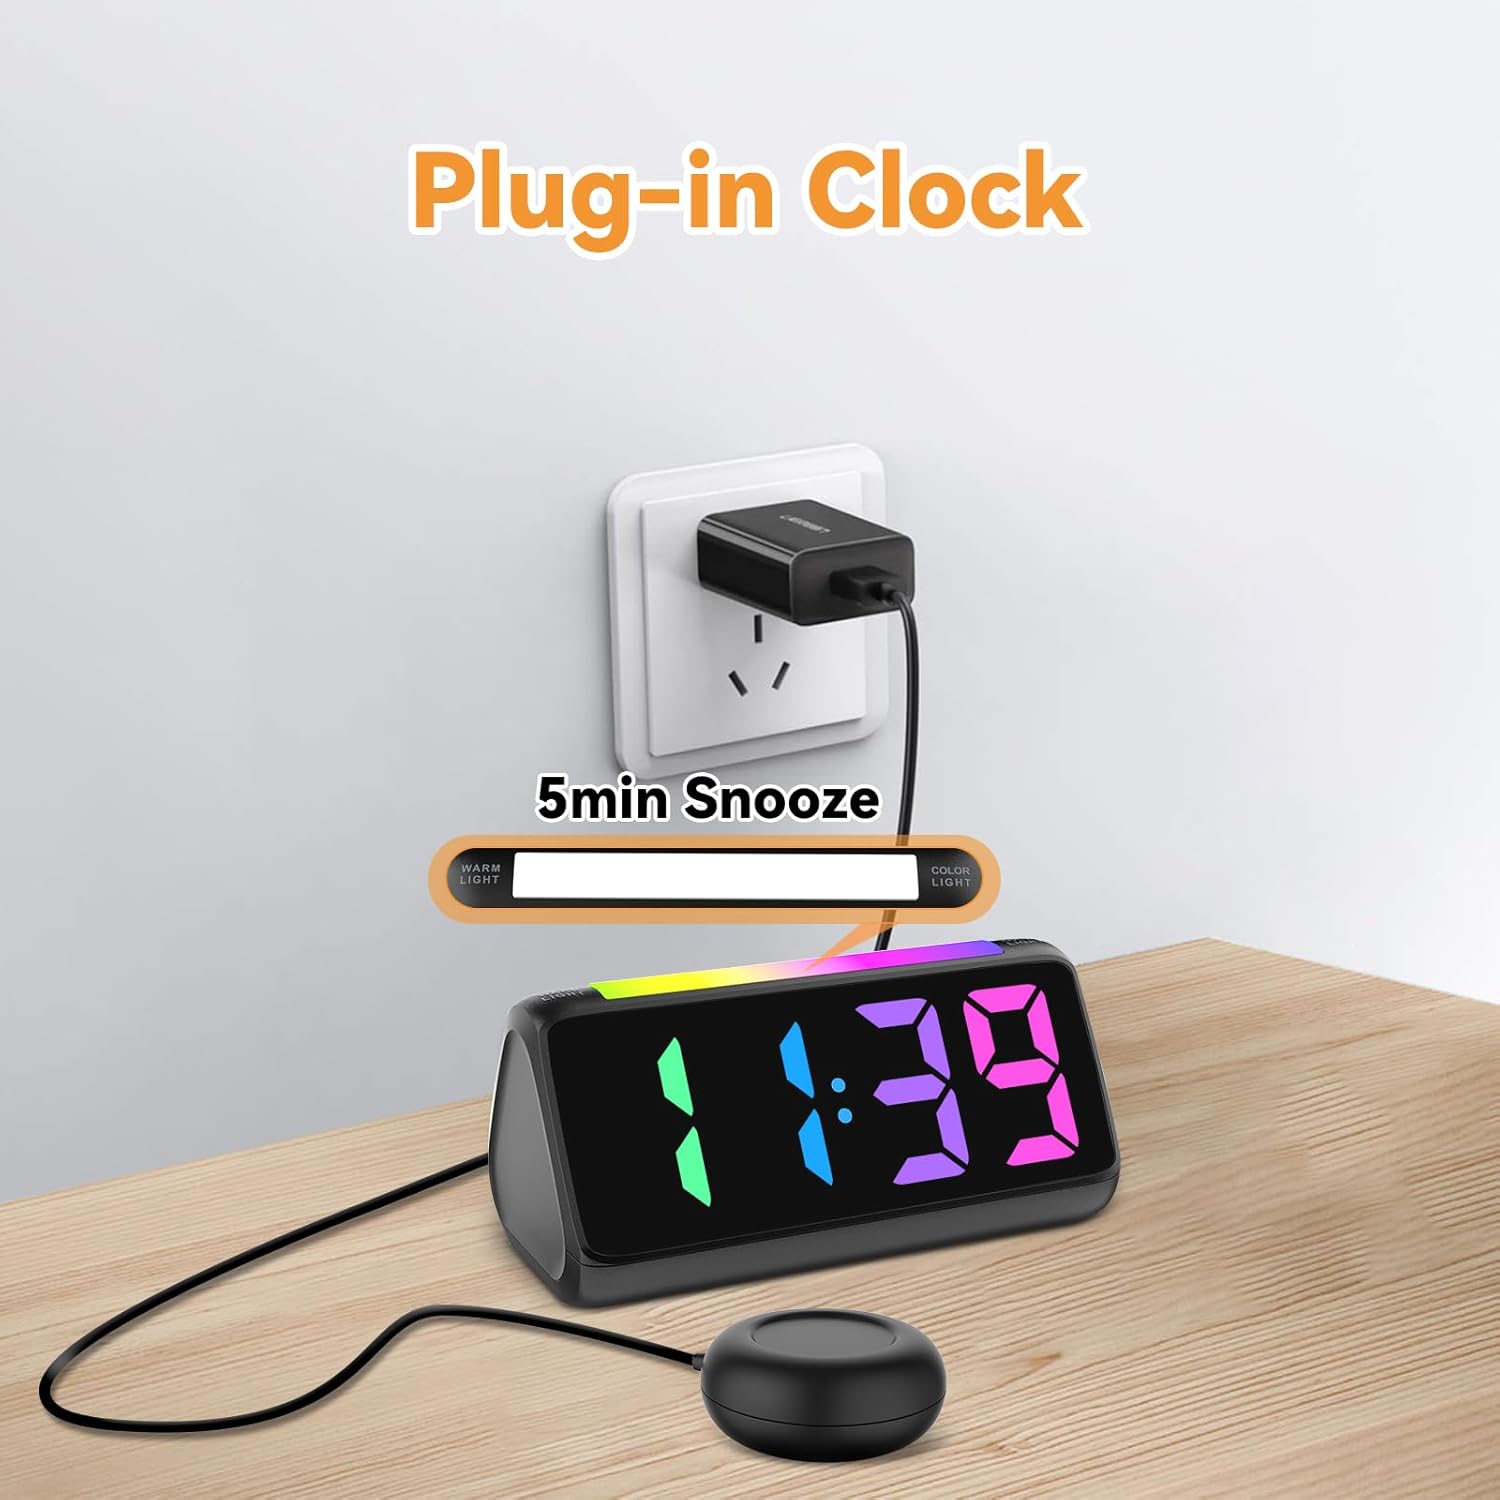
Figure 6.1 : Affichage du format de l'heure
6.2 Réglage de l'alarme
The alarm clock offers three wake-up modes: Ring Only, Vibration Only, or Ring + Vibration.
- Appuyez et maintenez enfoncé le ENSEMBLE D'ALARME appuyer sur le bouton jusqu'à ce que les chiffres de l'heure de l'alarme clignotent.
- Utilisez le +/- boutons pour régler l'heure de l'alarme souhaitée.
- Presse ENSEMBLE D'ALARME à nouveau pour confirmer l'heure et passer aux minutes.
- Utilisez le +/- boutons pour régler la durée de l'alarme (en minutes).
- Presse ENSEMBLE D'ALARME again to select the wake-up mode: Ring Only, Vibration Only, or Ring + Vibration. An icon on the display will indicate the selected mode.
- Presse ENSEMBLE D'ALARME one last time to save the alarm settings.
- To adjust alarm volume (4 levels, up to 110 dB), use the VOLUME button (or +/- during alarm setting).

Figure 6.2 : Three Wake-up Modes
6.3 Fonction de répétition
Lorsque l'alarme sonne, appuyez sur le grand bouton. ROUPILLON button on the top of the clock to temporarily silence the alarm for 5 minutes. The alarm will sound again after the snooze period.
6.4 Adjusting Display Brightness and Color
The alarm clock features an RGB display with 11 color options and adjustable brightness (10%-100%).
- Appuyez sur le LUMINOSITÉ button (or a dedicated dimmer button) to cycle through brightness levels for the time display.
- Appuyez sur le COULEUR button to cycle through the 11 available display colors.
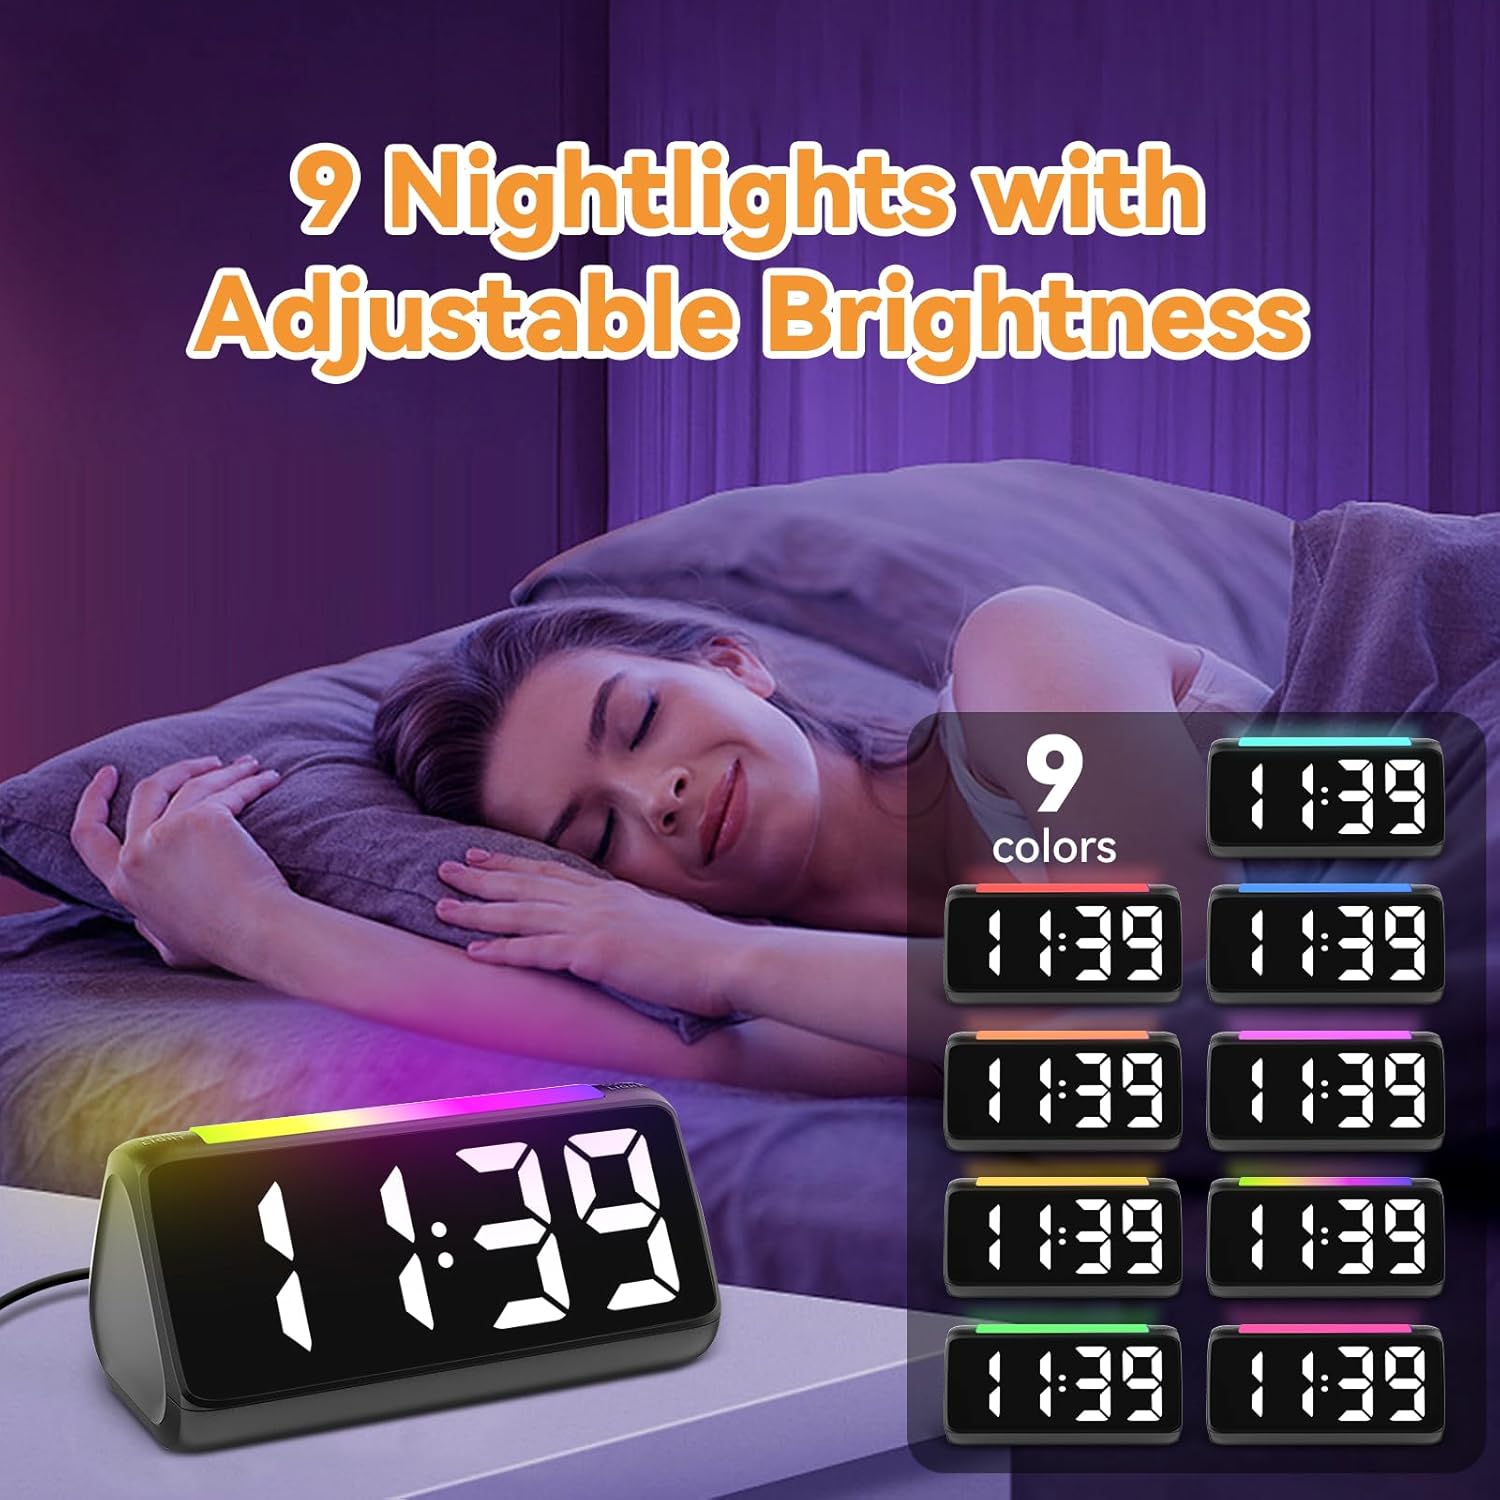
Figure 6.3 : Colorful Display Options
6.5 Utilisation de la veilleuse
The integrated light bar offers 9 color modes and adjustable brightness, functioning as a calming night light.
- Appuyez sur le VEILLEUSE button (or a dedicated light bar button) to turn the night light on/off and cycle through color modes.
- Utilisez le +/- buttons (or a separate brightness control for the night light) to adjust its brightness.

Figure 6.4 : Night Light with Adjustable Brightness
7. Entretien
To ensure the longevity and proper functioning of your alarm clock:
- Nettoyez l'appareil avec un chiffon doux et sec. N'utilisez pas de nettoyants abrasifs ni de solvants.
- Keep the bed shaker clean and free from dust.
- If not using the clock for an extended period, remove the AAA backup batteries to prevent leakage.
8. Dépannage
| Problème | Cause possible | Solution |
|---|---|---|
| L'affichage de l'horloge est éteint. | Pas de courant ni de couranttage. | Ensure the power adapter is securely plugged in. Check the power outlet. If using battery backup, ensure batteries are fresh and correctly installed. |
| L'alarme ne sonne pas/ne vibre pas. | Alarm not set, incorrect mode, or volume too low. | Verify alarm time and mode (Ring Only, Vibration Only, or Ring + Vibration) are correctly set. Increase alarm volume. Ensure the bed shaker is properly connected. |
| L'écran est trop lumineux/sombre. | Le réglage de la luminosité nécessite un ajustement. | Appuyez sur le LUMINOSITÉ bouton permettant de faire défiler les niveaux de luminosité. |
| L'heure est incorrecte. | Time not set or DST not adjusted. | Follow instructions in Section 6.1 to set the correct time. Adjust DST if applicable. |
| La veilleuse ne fonctionne pas. | Night light is off or brightness is too low. | Appuyez sur le VEILLEUSE button to turn it on and cycle through modes. Adjust its brightness. |
9. Spécifications
| Fonctionnalité | Détail |
|---|---|
| Marque | Netzu |
| Numéro de modèle | 6206ZD |
| Type d'affichage | Digital LED (RGB) |
| Source d'énergie | Électrique avec fil |
| Batterie de secours | 2 piles AAA (non incluses) |
| Volume de l'alarme | 4 niveaux, jusqu'à 110 dB |
| Durée de sommeil | 5 minutes |
| Couleurs d'affichage | 11 options |
| Couleurs de la veilleuse | 9 modes |
| Dimensions du produit | 6.3 po L x 3.15 po H |
| Matériel | Plastique |
| Poids de l'article | 13.7 onces |
10. Garantie et assistance
Netzu products are designed for reliability and performance. For warranty information or technical support, please refer to the contact details provided with your purchase or visit the official Netzu website. Please have your model number (6206ZD) ready when contacting support.