1. Produit terminéview
The KOORUI G2722P is a 27-inch QHD (2560x1440) gaming monitor designed for an immersive visual experience. It features a Fast IPS panel with a 200Hz refresh rate and a 1ms response time, ensuring smooth and responsive gameplay. The monitor supports HDR 400 for enhanced contrast and color depth, and Adaptive Sync technology to minimize screen tearing and stuttering. Its ergonomic stand allows for height, tilt, and pivot adjustments, and it is VESA 75x75mm compatible for flexible mounting options.

The KOORUI G2722P monitor integrated into a typical gaming environment.
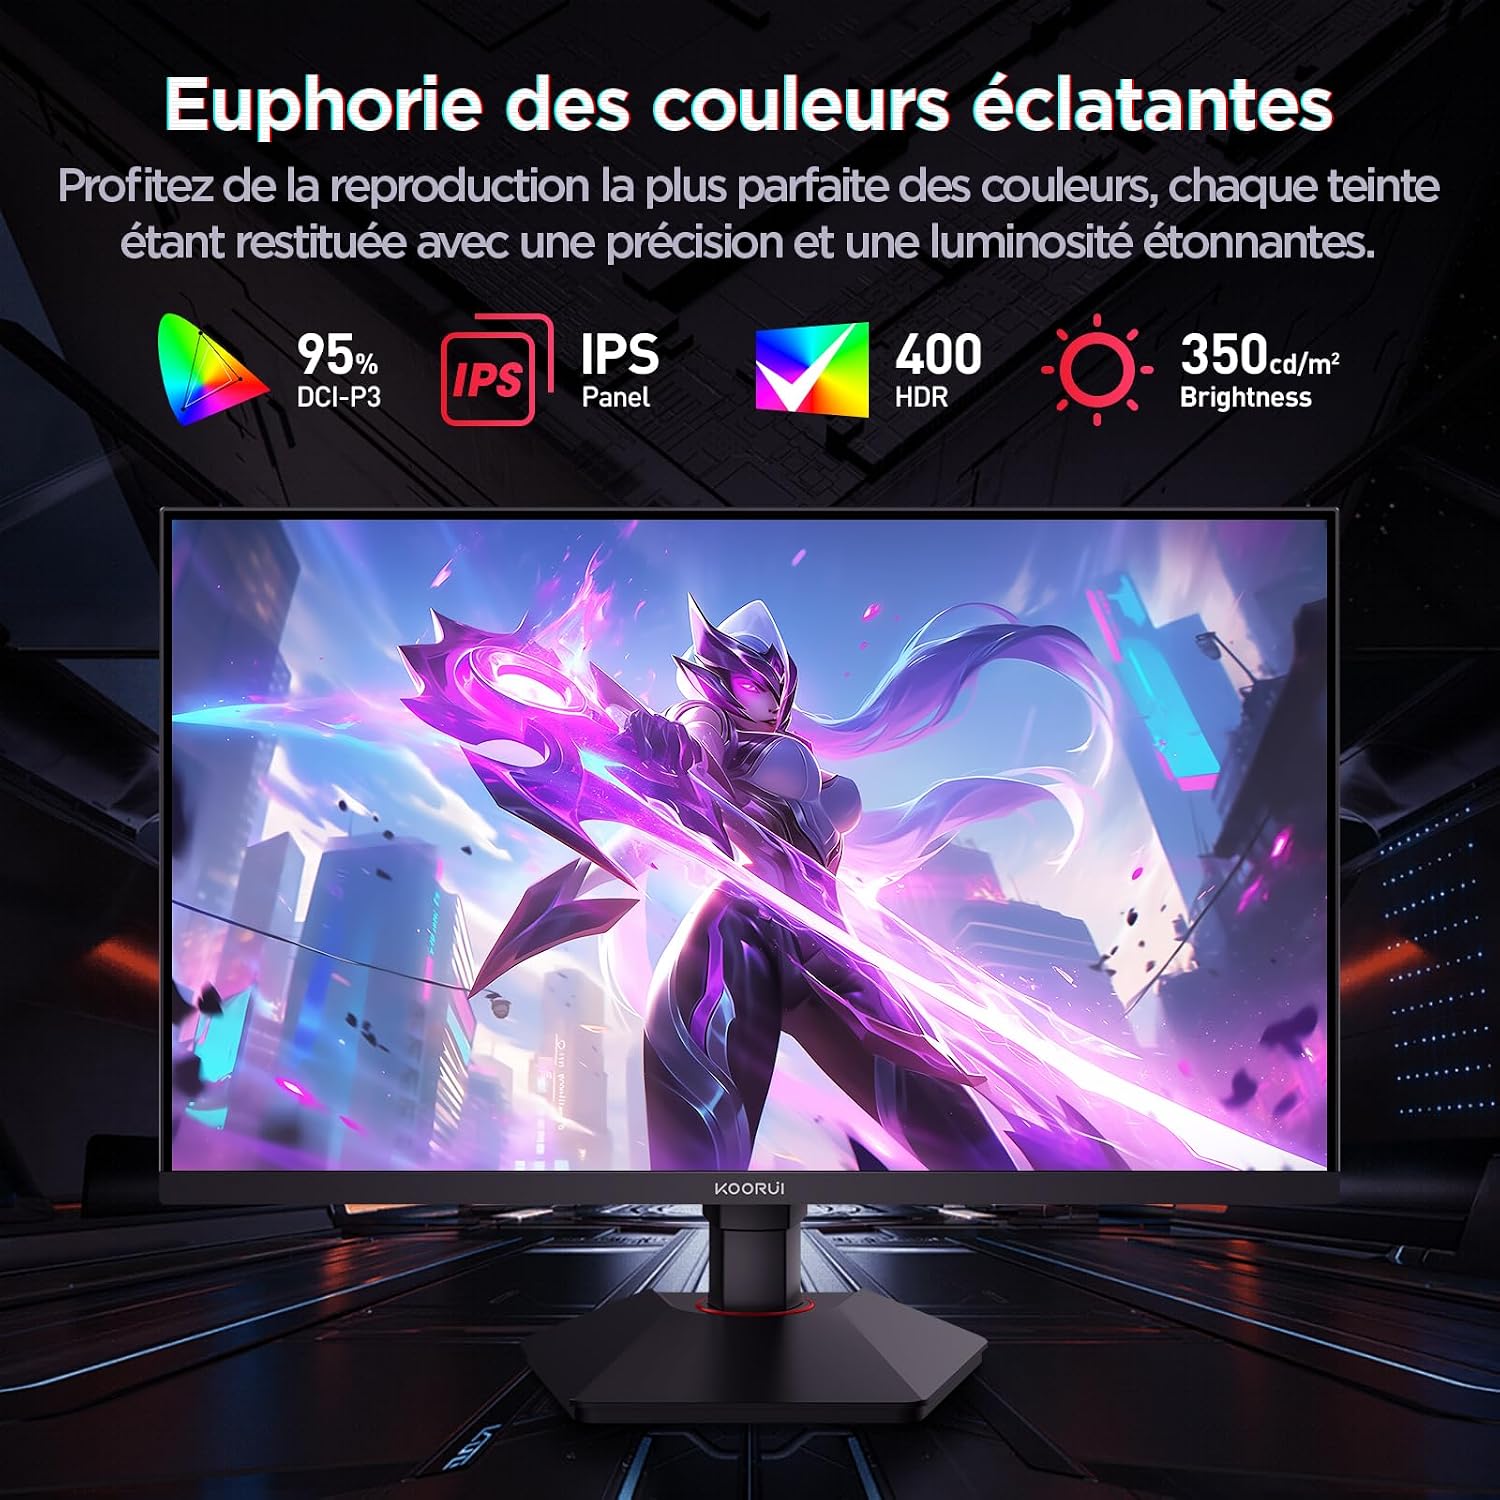
This image highlights the monitor's color capabilities, including 95% DCI-P3 color gamut, IPS panel technology, HDR 400 support, and 350 cd/m² brightness.
2. Consignes de sécurité
- Veuillez lire attentivement toutes les instructions avant d'utiliser le moniteur.
- N’exposez pas le moniteur à la pluie ou à l’humidité afin d’éviter tout risque d’incendie ou d’électrocution.
- N'ouvrez pas le moniteur casing. L'appareil ne contient aucune pièce réparable par l'utilisateur. Toute réparation doit être effectuée par un personnel qualifié.
- Placez le moniteur sur une surface stable et plane pour éviter qu'il ne tombe.
- Tenez le moniteur à l'écart de la lumière directe du soleil, des sources de chaleur et des températures extrêmes.
- Assurez une ventilation adéquate autour du moniteur. Ne bloquez pas les ouvertures de ventilation.
- Utilisez uniquement l'adaptateur secteur et les câbles fournis ou recommandés par le fabricant.
- Débranchez le moniteur de la prise de courant en cas d'orage ou lorsqu'il n'est pas utilisé pendant une période prolongée.
3. Contenu du colis
Vérifiez que tous les éléments sont présents dans le colis :
- KOORUI G2722P Monitor
- Support pour écran (base et col)
- Adaptateur secteur et câble d'alimentation
- Câble DisplayPort (DP)
- Manuel de l'utilisateur (ce document)
- Vis pour l'assemblage du support
4. Assemblage du moniteur
4.1 Fixation du support
- Placez délicatement l'écran face contre un chiffon doux et propre pour éviter les rayures.
- Attach the stand neck to the back of the monitor until it clicks into place or is secured with screws (refer to specific instructions in the included quick start guide).
- Fixez la base du support au col du support et sécurisez-la avec la vis fournie.
- Soulevez délicatement l'écran et placez-le sur un bureau stable.
4.2 Montage VESA
The monitor supports VESA 75x75mm mounting. To use a VESA mount:
- Retirez le support s'il est déjà fixé.
- Attach your VESA-compatible mount (sold separately) to the 75x75mm screw holes on the back of the monitor using appropriate screws.
- Ensure the mount is securely fastened before releasing le moniteur.

This image demonstrates the monitor's ergonomic adjustments (height, tilt, pivot) and provides a visual reference for stand attachment points.
5. Connexion du moniteur
Connectez le moniteur à votre ordinateur ou à d'autres appareils en utilisant les ports disponibles.
- Connexion électrique : Branchez le câble d'alimentation à l'adaptateur secteur, puis branchez l'adaptateur à l'entrée d'alimentation du moniteur et à une prise murale.
- Connexion vidéo :
- For optimal performance (QHD @ 200Hz), use the provided DisplayPort (DP 1.4) cable to connect the monitor to your graphics card.
- Alternatively, use an HDMI 2.0 cable to connect to an HDMI port on your device.
- Sortie audio : Connect external speakers or headphones to the 3.5mm audio output jack on the monitor if you wish to use the monitor's audio passthrough.

This image displays the rear of the monitor, highlighting the available connectivity options: two HDMI 2.0 ports, one DisplayPort 1.4, an audio output jack, and the VESA 75x75mm mounting pattern.
6. Utilisation du moniteur
6.1 Mise sous/hors tension
- Appuyez sur le bouton d'alimentation situé sur le moniteur pour l'allumer ou l'éteindre.
- Le voyant d'alimentation s'allumera lorsque le moniteur sera allumé.
6.2 Menu d'affichage à l'écran (OSD)
The OSD menu allows you to adjust various monitor settings. Typically, buttons are located on the back or bottom right of the monitor.
- Appuyez sur l'un des boutons OSD pour activer le menu.
- Use the navigation buttons (usually directional or a joystick) to browse through menu options.
- Appuyez sur le bouton de sélection pour accéder à un sous-menu ou confirmer un paramètre.
- Appuyez sur le bouton de sortie pour fermer le menu OSD.
7. Paramètres d'affichage
7.1 Résolution et fréquence de rafraîchissement
The monitor supports a native resolution of 2560x1440 (QHD) and a maximum refresh rate of 200Hz. Ensure your graphics card and operating system are configured to use these settings for the best experience.

This image illustrates the difference in motion clarity between a 75Hz and a 200Hz refresh rate, emphasizing the 1ms response time for reduced blur and ghosting.
7.2 Adaptive Sync (FreeSync)
This monitor supports Adaptive Sync technology (compatible with AMD FreeSync) to synchronize the monitor's refresh rate with your graphics card's frame rate, eliminating screen tearing and reducing stuttering.
- Enable Adaptive Sync in the monitor's OSD menu.
- Ensure Adaptive Sync (or FreeSync) is enabled in your graphics card control panel.

This image visually compares the display with Adaptive Sync enabled versus disabled, demonstrating how Adaptive Sync eliminates screen tearing for a smoother visual experience.
7.3HDR400
The monitor supports HDR 400, providing a wider dynamic range for brighter whites and deeper blacks, resulting in more vibrant and realistic images.
- Enable HDR in your operating system's display settings and in the monitor's OSD menu if available.
7.4 Paramètres de couleur
The Fast IPS panel offers excellent color reproduction and wide viewangles d'inclinaison.
- Adjust color temperature, gamma, and saturation through the OSD menu to suit your preferences.
- The monitor features a 178-degree wide viewangle de prise de vue, garantissant une qualité d'image et de couleur constante sous différents angles.
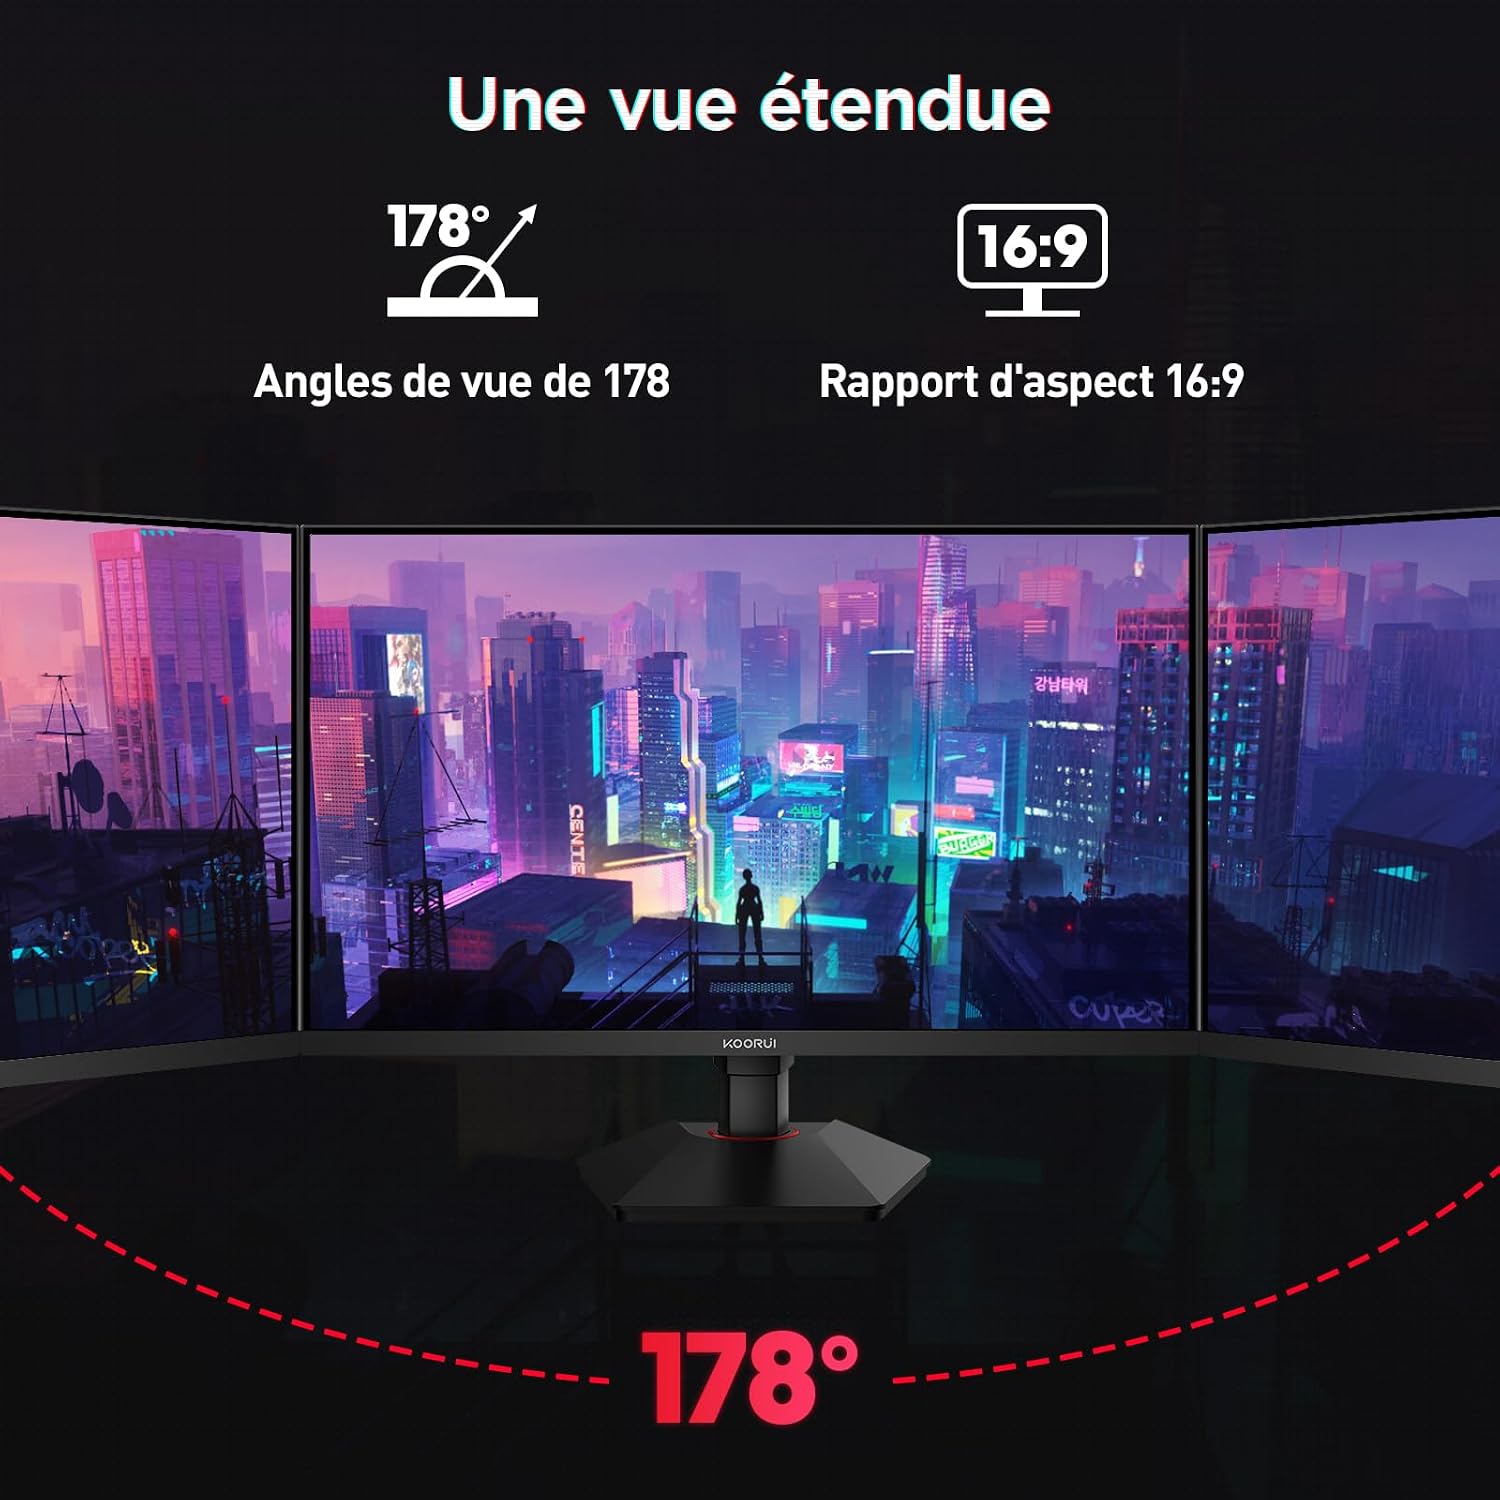
This image demonstrates the monitor's wide 178-degree viewing angle, illustrating how the display maintains clarity and color consistency even when viewed from extreme angles, ideal for multi-monitor setups.
8. Réglages ergonomiques
Le support pour écran permet divers réglages afin d'optimiser votre confort visuel. viewconfort :
- Réglage de la hauteur : Adjust the monitor height by up to 100mm by gently pushing or pulling the monitor up or down.
- Réglage de l'inclinaison : Tilt the screen from -5° (forward) to +20° (backward) to find your preferred viewangle de vue.
- Pivot (Rotation): Rotate the screen 90° to switch between landscape and portrait orientations.
This image illustrates the full range of ergonomic adjustments available: 100mm height adjustment, -5° to +20° tilt, and 90° pivot rotation for optimal viewconfort.
9. Caractéristiques de soins oculaires
The KOORUI G2722P monitor incorporates features designed to reduce eye strain during prolonged use:
- Technologie sans scintillement : Réduit le scintillement de l'écran, qui peut provoquer une fatigue oculaire.
- Filtre à faible lumière bleue : Minimizes harmful blue light emissions to protect your eyes. This feature can usually be adjusted or enabled/disabled in the OSD menu.
10. Entretien
Un entretien approprié garantit la longévité et les performances optimales de votre moniteur.
- Nettoyage de l'écran : Essuyez délicatement l'écran avec un chiffon doux non pelucheux. Pour les taches tenaces, utilisez une solution nettoyante spécifique pour écrans, à appliquer sur le chiffon et non directement sur l'écran.
- Nettoyage du Casing: Utilisez un chiffon doux et sec pour nettoyer le moniteur.asing. Évitez d'utiliser des nettoyants ou des solvants abrasifs.
- Manutention: Avoid touching the screen directly with your fingers or sharp objects. Do not place heavy objects on the monitor.
11. Dépannage
Si vous rencontrez des problèmes avec votre moniteur, consultez les problèmes et solutions courants suivants :
| Problème | Solution possible |
|---|---|
| Aucune image à l'écran |
|
| scintillement ou déchirure de l'image |
|
| Aucun son provenant de la sortie audio |
|
| L'écran n'atteint pas 200 Hz |
|
12. Spécifications
Key technical specifications for the KOORUI G2722P monitor:
| Fonctionnalité | Spécification |
|---|---|
| Taille de l'écran | 27 pouces |
| Type de panneau | IPS rapide |
| Résolution | QHD (2560 x 1440) |
| Taux de rafraîchissement | 200 Hz |
| Temps de réponse | 1 ms |
| Prise en charge HDR | HDR 400 |
| Synchronisation adaptative | Synchronisation libre |
| Rapport de contraste | 1000:1 (statique) |
| Luminosité | 350 cd/m² |
| ViewAngle d'attaque | 178° (H/V) |
| Gamme de couleurs | 95% DCI-P3 |
| Entrées vidéo | 2 ports HDMI 2.0, 1 ports DisplayPort 1.4 |
| Sortie audio | 1 sortie audio 3.5 mm |
| Compatibilité VESA | 75x75mm |
| Consommation d'énergie | 19 watts (typique) |
| Ergonomie | Height, Tilt, Pivot Adjustment |

This diagram provides the physical dimensions of the monitor, including width, height, and depth.
Pour des informations énergétiques détaillées, veuillez consulter la base de données EPREL : https://eprel.ec.europa.eu/qr/2216313
13. Garantie et assistance
The KOORUI G2722P monitor comes with a Garantie constructeur d'un anCette garantie couvre les défauts de matériaux et de fabrication dans des conditions normales d'utilisation.
For technical support, warranty claims, or further assistance, please contact KOORUI customer service through their official website ou le détaillant où le produit a été acheté.