
1. Introduction
The S25HH0 303DH US KVM Switch allows you to control up to three computers using a single set of keyboard, mouse, and three monitors. This device supports high-resolution video output and USB 3.0 peripheral sharing, enhancing productivity in multi-computer environments.
Please read this manual thoroughly before installation and operation to ensure proper use and to maximize the performance of your KVM switch.
2. Consignes de sécurité
- Assurez-vous que le commutateur KVM est placé sur une surface stable et plane.
- N’exposez pas l’appareil à l’eau, à l’humidité ou à des températures extrêmes.
- Utilisez uniquement l'adaptateur secteur fourni. L'utilisation d'un adaptateur non conforme peut endommager l'appareil et annuler la garantie.
- Évitez de bloquer les ouvertures de ventilation pour éviter la surchauffe.
- N’essayez pas d’ouvrir ou de réparer l’appareil vous-même. Confiez toute réparation à un personnel qualifié.
- Disconnect power before cleaning. Clean the device with a soft, dry cloth.
3. Contenu du colis
Veuillez vérifier le contenu du colis dès sa réception. Si des articles sont manquants ou endommagés, veuillez contacter votre fournisseur.
- S25HH0 303DH US Triple Monitor KVM Switch
- Adaptateur secteur
- Interrupteur à distance filaire
- USB 3.0 Cables (Quantity may vary based on package)
- HDMI Cables (Quantity may vary based on package)
- Manuel d'utilisation (ce document)
4. Produit terminéview
The KVM switch features multiple ports for connecting your computers, monitors, and USB peripherals. Familiarize yourself with the port layout before proceeding with installation.

Image: Avant et arrière view of the S25HH0 303DH US KVM Switch. This image illustrates the various input and output ports, including HDMI, USB 3.0, and the power input, along with the physical switch buttons for PC selection.
Panneau avant
- PC Selection Buttons: Permet de basculer manuellement entre les ordinateurs connectés.
- Ports USB 3.0: For connecting keyboard, mouse, and other USB 3.0 peripherals.
- Indicateurs LED : Show which computer is currently selected.
Panneau arrière
- HDMI Input Ports (PC1, PC2, PC3): Connectez-vous à la sortie HDMI de votre ordinateur.
- USB 3.0 Input Ports (PC1, PC2, PC3): Connect to the USB 3.0 ports of your computers.
- HDMI Output Ports (Monitor 1, Monitor 2, Monitor 3): Connect to your monitors.
- Entrée d'alimentation CC 12V : Branchez l'adaptateur secteur fourni.
- Remote Switch Port: Connect the wired remote control for switching.
5. Instructions de configuration
Suivez ces étapes pour connecter votre commutateur KVM :
- Éteignez les appareils : Assurez-vous que tous les ordinateurs et écrans sont éteints avant d'effectuer toute connexion.
- Connecter les moniteurs : Connect your three monitors to the HDMI Output ports (Monitor 1, Monitor 2, Monitor 3) on the KVM switch using HDMI cables.
- Connecter les ordinateurs (PC1) :
- Connect the HDMI output from your first computer to the HDMI Input (PC1) on the KVM switch.
- Connect a USB 3.0 cable from your first computer's USB 3.0 port to the USB 3.0 Input (PC1) on the KVM switch.
- Connecter les ordinateurs (PC2 et PC3) : Repeat step 3 for your second and third computers, connecting them to the respective HDMI Input (PC2/PC3) and USB 3.0 Input (PC2/PC3) ports.
- Connectez les périphériques : Connect your keyboard, mouse, and any other USB 3.0 peripherals to the USB 3.0 ports on the front panel of the KVM switch.
- Connexion de la télécommande filaire (en option) : If desired, connect the wired remote switch to the dedicated port on the KVM switch.
- Mise sous tension : Connect the provided 12V power adapter to the DC 12V input on the KVM switch, then plug it into a power outlet.
- Allumer les appareils : Power on your monitors, then power on your computers.

Image: Connection diagram illustrating how two PCs share four USB 3.0 devices and multiple monitors through the KVM switch. This highlights the USB 3.0 ports for peripherals like keyboards, mice, and printers.
6. Mode d'emploi
6.1 Basculement entre les ordinateurs
Vous pouvez basculer entre les ordinateurs connectés de deux manières :
- Interrupteur à bouton physique : Press the corresponding PC selection button (PC1, PC2, or PC3) on the front panel of the KVM switch. The LED indicator will light up for the selected computer.
- Interrupteur à distance filaire : Use the wired remote control to switch between computers. Press the button on the remote to cycle through the connected PCs.
Image: Two switching methods for the KVM switch: the physical buttons on the device and the external wired remote control. This illustrates the flexibility in controlling which computer is active.
6.2 Display Modes (Extend Mode / Copy Mode)
After connecting correctly, you can choose your desired display mode:
- Presse "Windows + P" sur votre clavier.
- A pop-up window will appear, allowing you to select between display modes such as Étendre or Duplicate (Copy).

Image: Comparison of Extend Mode and Copy Mode. In Extend Mode, each monitor displays unique content, expanding the desktop. In Copy Mode, all three monitors display the same content, duplicating the desktop.
6.3 Partage de périphériques USB 3.0
The KVM switch allows up to four USB 3.0 devices to be shared between the connected computers. When you switch to a different computer, the connected USB peripherals (keyboard, mouse, USB drives, etc.) will automatically switch to that computer.
USB 3.0 offers a faster transfer rate of 5Gbps compared to USB 2.0's 480Mbps, ensuring efficient data transfer for your peripherals.
7. Display Resolution and Refresh Rate
The KVM switch supports high-resolution video outputs, ensuring a clear and smooth visual experience.
- DisplayPort (DP1.4) Support: Up to 8K@30Hz, 4K@144Hz, 4K@120Hz. Backward compatible with lower resolutions and refresh rates.
- HDMI (HDMI2.1) Support: Up to 8K@60Hz, 4K@120Hz. Backward compatible with lower resolutions and refresh rates.
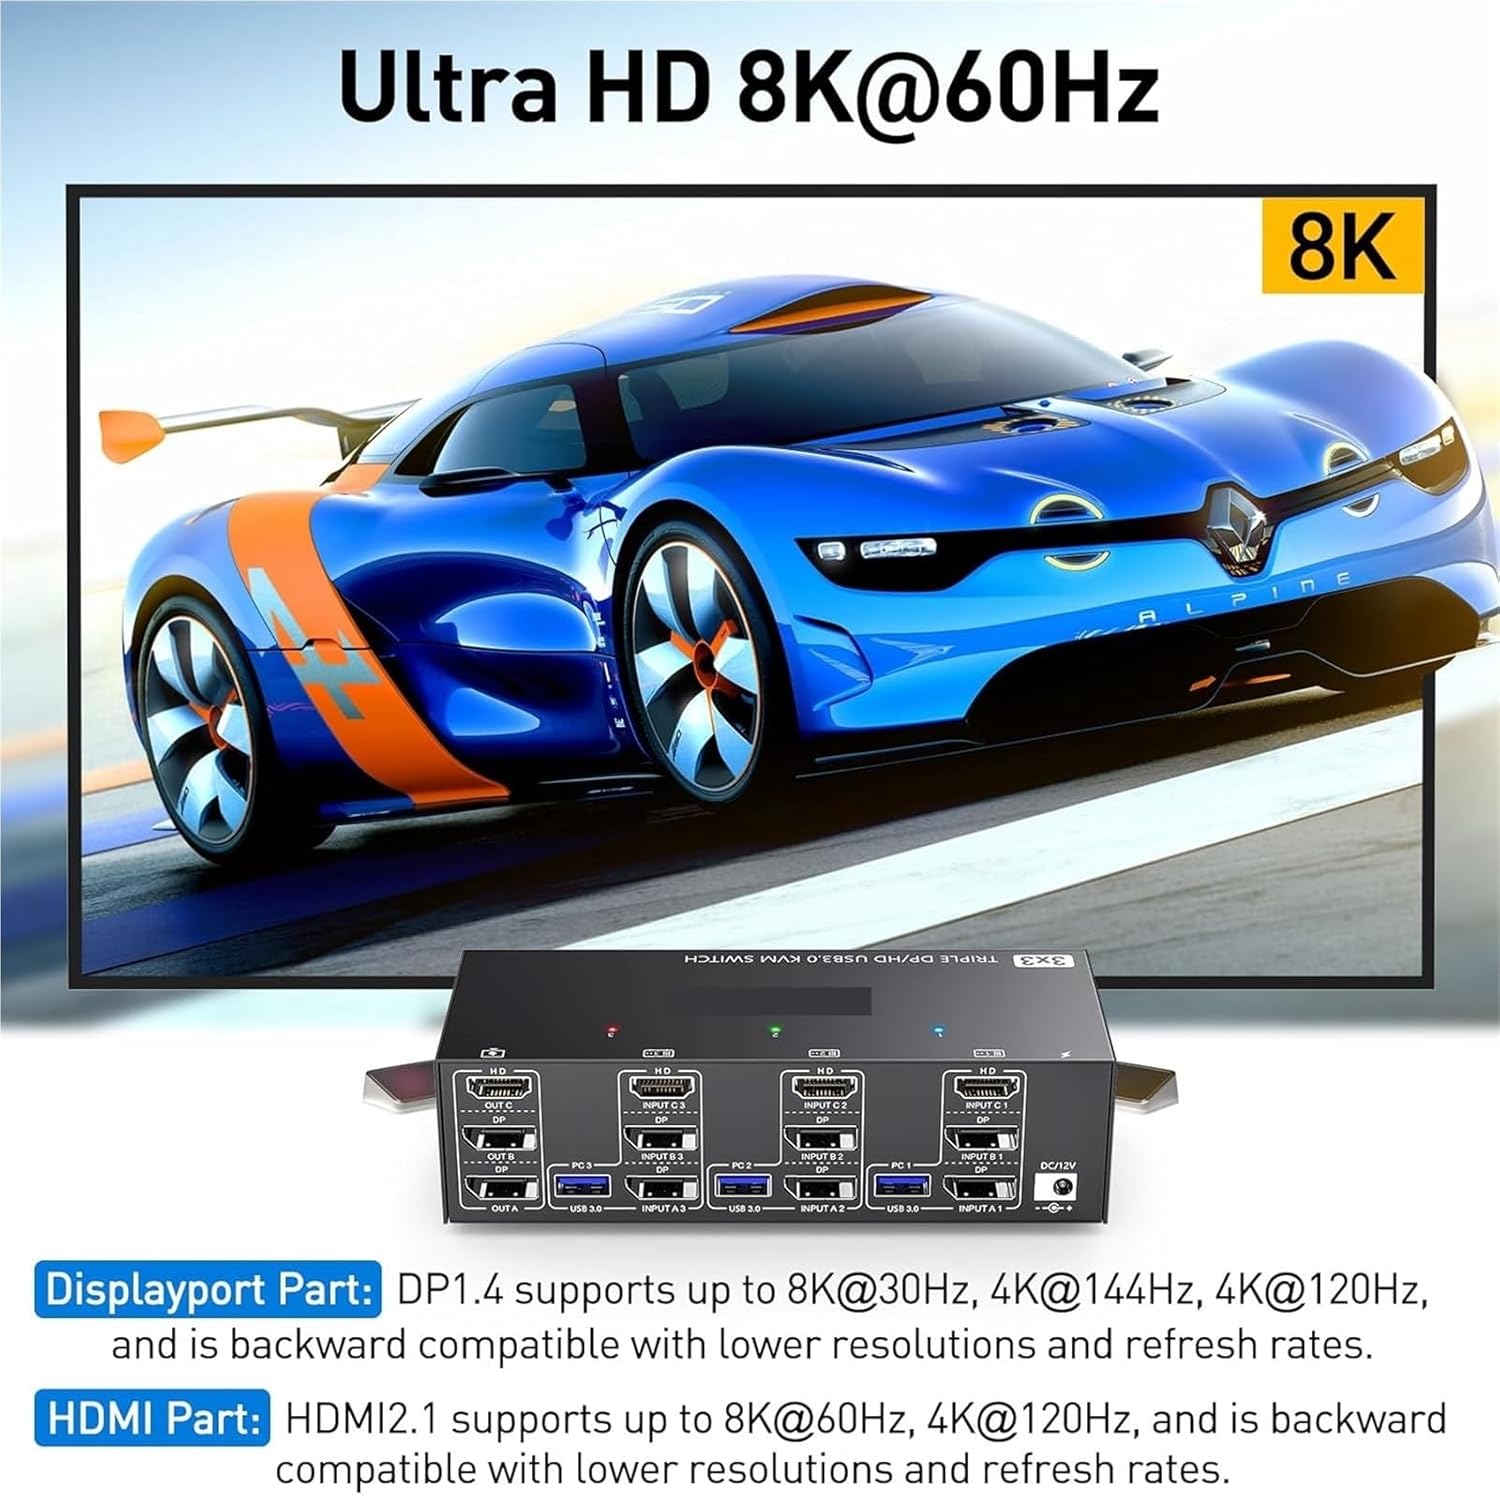
Image: Visual representation of Ultra HD 8K@60Hz capability. This image details the supported resolutions and refresh rates for both DisplayPort 1.4 and HDMI 2.1 connections, emphasizing high-quality video output.
8. Entretien
- Keep the KVM switch in a cool, dry place away from direct sunlight.
- Regularly clean the exterior of the device with a soft, dry, lint-free cloth.
- Do not use liquid or aerosol cleaners, as they may contain flammable substances or chemicals that can damage the device.
- Assurez-vous que tous les câbles sont bien connectés et exempts de pliures ou de dommages.
9. Dépannage
Si vous rencontrez des problèmes avec votre commutateur KVM, veuillez consulter les problèmes et solutions courants suivants :
| Problème | Cause/solution possible |
|---|---|
| Aucun affichage sur les moniteurs. |
|
| Clavier ou souris ne fonctionnent pas. |
|
| Cannot switch between computers. |
|
| Qualité vidéo médiocre ou scintillement. |
|
10. Spécifications
| Fonctionnalité | Spécification |
|---|---|
| Marque | S25HH0 |
| Modèle | 303DH US |
| Ports d'entrée | 3 x HDMI, 3 x USB 3.0 |
| Ports de sortie | 3 x HDMI, 4 x USB 3.0 |
| Norme vidéo | HDMI 2.1, DisplayPort 1.4 (backward compatible) |
| Résolution maximale (HDMI) | 8K à 60 Hz, 4K à 120 Hz |
| Résolution maximale (DisplayPort) | 8K@30Hz, 4K@144Hz, 4K@120Hz |
| USB standard | USB 3.0 (5 Gbit/s) |
| Méthode de contrôle | Physical Button, Wired Remote |
| Vol d'exploitationtage | 12 volts |
| Poids de l'article | 50 gramme |
| Certifications | CE, RoHS |
11. Garantie et assistance
This product comes with a standard manufacturer's warranty. Please refer to the warranty card included in your package or contact your retailer for specific warranty terms and conditions.
For technical support or further assistance, please contact your vendor or the manufacturer's customer service. Contact information can typically be found on the product packaging or the manufacturer's official website.