Produit terminéview
The Mesqool CR1025 Digital Alarm Clock is a versatile bedside device combining multiple functions. It features a clear LED display, Bluetooth 5.0 connectivity for audio streaming, a digital FM radio with station presets, dual USB charging ports (Type-C and USB-A), and an adjustable night light. Designed for convenience, it includes a 5-level dimmer for display brightness, adjustable volume, 12/24-hour format, snooze function, and battery backup to retain settings during power outaget.
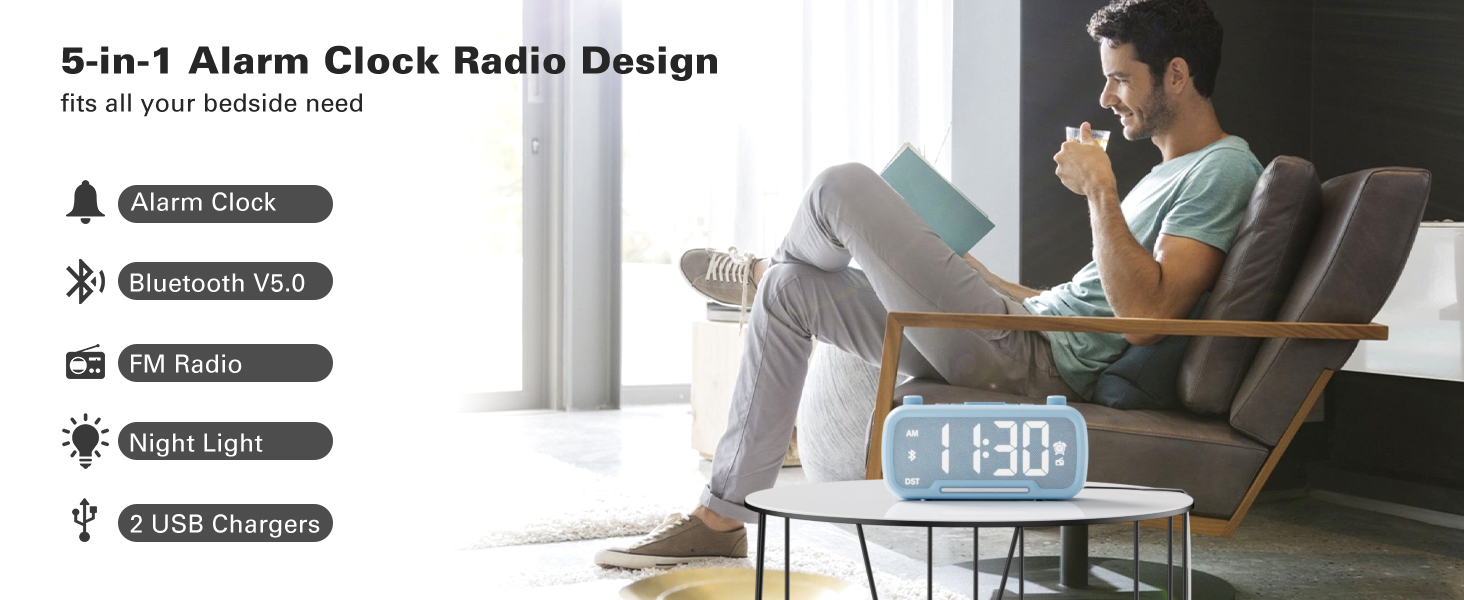
Image: The Mesqool CR1025 Digital Alarm Clock showcasing its 5-in-1 features: Alarm Clock, Bluetooth V5.0, FM Radio, Night Light, and 2 USB Chargers.
Instructions d'installation
1. Connexion électrique
- Connect the provided AC adapter to the clock and plug it into a standard wall outlet. The clock requires AC power for primary operation.
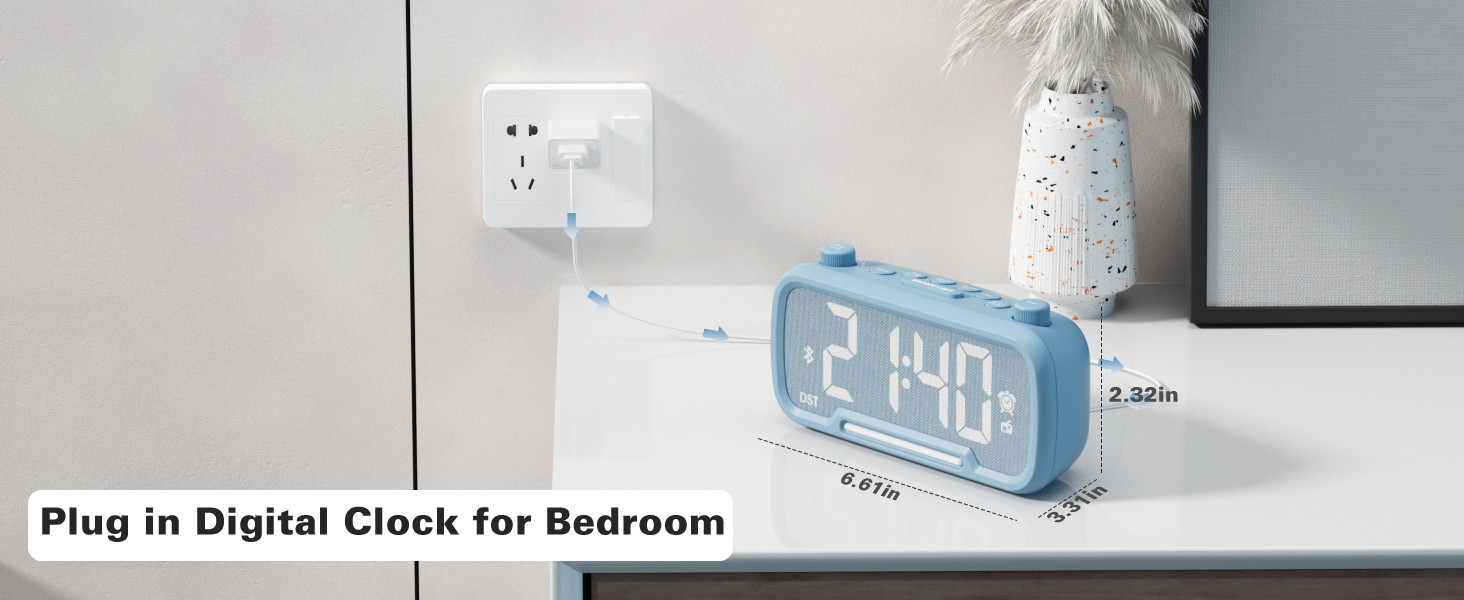
Image: The Mesqool CR1025 Digital Alarm Clock connected to a wall outlet via its power adapter, illustrating the power connection.
2. Batterie de secours
- The clock includes a CR2032 battery for backup. This battery preserves time and alarm settings during a power outage, but the display will not be lit.
3. Réglage de l'heure
- Appuyez sur le Heure 12/24 Appuyez une fois sur le bouton. Les chiffres de l'heure clignoteront.
- Rotate the left knob (Sleep Timer/Vol) to adjust the hour.
- Appuyez sur le Heure 12/24 Appuyez à nouveau sur le bouton. Les chiffres des minutes clignoteront.
- Rotate the right knob (Scan) to adjust the minute.
- Appuyez sur le Heure 12/24 Appuyez une nouvelle fois sur le bouton pour confirmer et quitter le réglage de l'heure.
Video: Demonstrates how to set the time, adjust the 12/24 hour format, and activate/deactivate DST mode on the alarm clock.
4. Format de l'heure 12/24 heures
- Appuyez et maintenez enfoncé le Heure 12/24 button for 2 seconds to switch between 12-hour and 24-hour time formats.
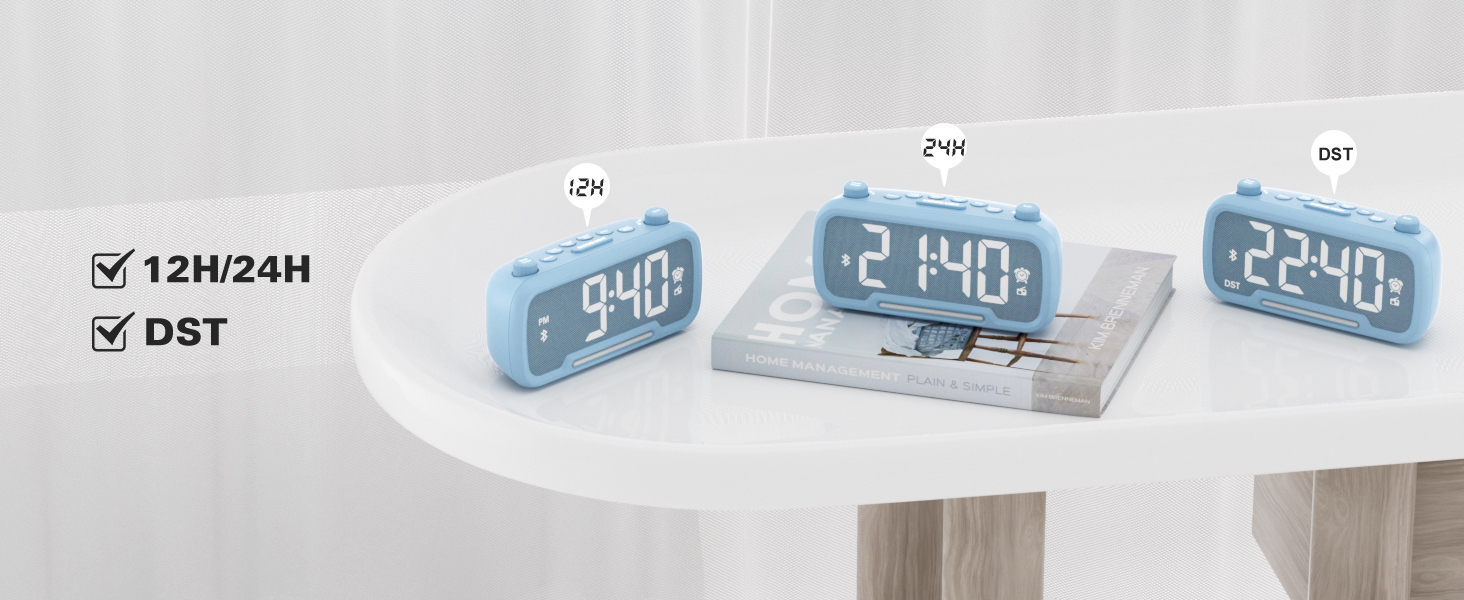
Image: The clock display showing both 12-hour (PM) and 24-hour time formats, along with the DST indicator.
5. Mode Heure d'été (DST)
- Appuyez sur le Variateur DST button to enter or exit DST mode. When active, the DST indicator will appear on the display.
- Refer to the video above for a demonstration of DST mode activation.
Mode d'emploi
1. Haut-parleur Bluetooth
- Appuyez sur le Mode d'alimentation button repeatedly until "bt" appears on the display, indicating Bluetooth mode. The Bluetooth icon will flash.
- On your device, search for "CR1025" in the Bluetooth settings and pair.
- Once connected, the Bluetooth icon will stop flashing.
Video: Demonstrates how to activate Bluetooth mode and pair with a device.

Image: Illustrates the Bluetooth 5.0 speaker functionality, showing the clock connected to a smartphone playing music.
2. Fonctionnement de la radio FM
- Appuyez sur le Mode d'alimentation Appuyez plusieurs fois sur le bouton jusqu'à ce que l'icône radio s'allume à l'écran, indiquant le mode radio FM.
- Analyse automatique : Appuyez sur le Balayage button to automatically search and store up to 20 stations.
- Recherche manuelle : Faites pivoter le Balayage knob to browse frequencies manually.
- Enregistrer le préréglage: Pour enregistrer une station, appuyez longuement sur le bouton. Paire prédéfinie button for 2 seconds. The display will show "P01", "P02", etc. Rotate the Balayage knob to select a preset number, then press Paire prédéfinie à nouveau pour sauver.
- Régler le volume : Turn the left knob (Sleep Timer/Vol) to adjust the volume (16 levels, L01-L16).
Video: Demonstrates FM radio tuning, auto-scan, and saving preset stations.

Image: The clock displaying an FM radio frequency, indicating its radio function.
3. Réglage de l'alarme
- Appuyez et maintenez enfoncé le Alarme Appuyez sur le bouton pendant 2 secondes. Les chiffres des heures clignoteront.
- Rotate the left knob (Sleep Timer/Vol) to adjust the alarm hour.
- Appuyez sur le Alarme Appuyez à nouveau sur le bouton. Les chiffres des minutes clignoteront.
- Rotate the right knob (Scan) to adjust the alarm minute.
- Appuyez sur le Alarme button once more to select the alarm sound: either a buzzer or the last played FM radio station.
- Rotate the left knob (Sleep Timer/Vol) to adjust the alarm volume (L01-L16).
- Appuyez sur le Alarme button again to confirm and activate the alarm. The alarm icon will appear on the display.
- Pour annuler l'alarme, appuyez sur le Alarme Appuyez une fois sur le bouton. L'icône d'alarme disparaîtra.
Video: Demonstrates setting the alarm time, choosing alarm sound (radio or buzzer), and adjusting alarm volume.
4. Fonction Snooze
- Lorsque l'alarme sonne, appuyez sur la SNOOZE / LUMIÈRE Appuyez sur le bouton pour activer la fonction de répétition. L'alarme se mettra en pause pendant 9 minutes, puis sonnera à nouveau.
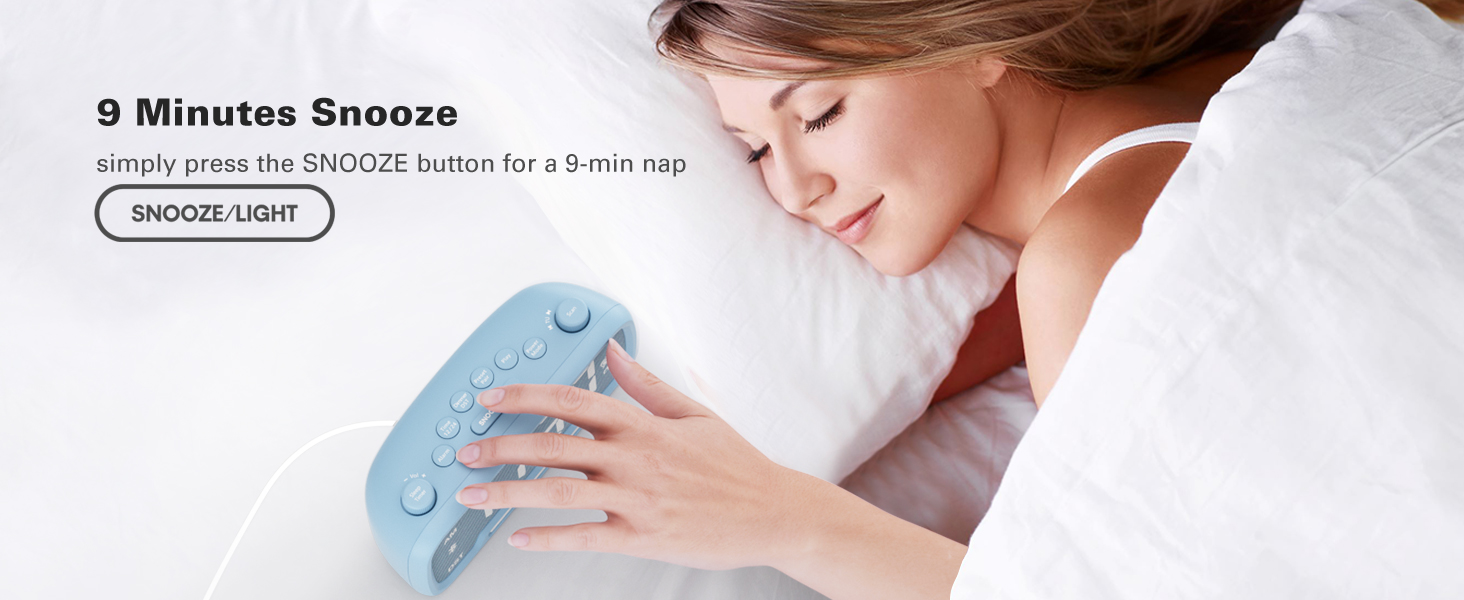
Image: A hand pressing the SNOOZE/LIGHT button on the clock, illustrating the 9-minute snooze feature.
5. Night Light & Dimmer
- Veilleuse: Appuyez sur le SNOOZE / LUMIÈRE bouton pour allumer ou éteindre la veilleuse.
- Gradateur d'affichage : Appuyez sur le Variateur DST button repeatedly to cycle through 5 brightness levels for the main display (L01-L05).
Video: Shows how to adjust the display brightness using the dimmer function.

Image: The clock with its warm night light illuminated, providing ambient lighting.

Image : Multiple views of the clock demonstrating the five different brightness levels of its display.
6. Réglage de la minuterie de sommeil
- When using FM radio or Bluetooth speaker, press the Minuterie de mise en veille bouton.
- Rotate the left knob (Sleep Timer/Vol) to select the desired duration: 15, 30, 60, 90, 120 minutes, or OFF. The device will automatically turn off after the selected time.
Video: Illustrates how to set the sleep timer for the FM radio or Bluetooth speaker.
7. Ports de chargement USB
- The clock features one USB-A and one Type-C charging port (5V/1A each).
- Connectez votre smartphone, votre tablette ou tout autre appareil alimenté par USB à ces ports pour le recharger.

Image: The back of the clock showing the USB-A and Type-C charging ports with devices connected for charging.
Entretien
- Nettoyage: Use a soft, dry cloth to clean the surface of the clock. Avoid abrasive cleaners or solvents.
- Stockage: Si vous devez entreposer l'appareil pendant une période prolongée, débranchez-le et retirez la batterie de secours. Rangez-le dans un endroit frais et sec.
Dépannage
- Pas d'alimentation/Écran éteint : Ensure the AC adapter is securely plugged into both the clock and a working power outlet. Check if the backup battery is correctly installed.
- L'alarme ne sonne pas : Verify that the alarm is set and activated (alarm icon visible). Check the alarm volume level.
- Mauvaise réception radio FM : Extend the antenna fully. Try repositioning the clock to improve signal reception.
- Problèmes de couplage Bluetooth : Ensure the clock is in Bluetooth mode and the Bluetooth icon is flashing. Make sure your device's Bluetooth is on and within range. Try restarting both the clock and your device.
- Chargement USB non fonctionnel : Ensure the clock is powered on. Check the charging cable and device for proper connection.
Caractéristiques
| Fonctionnalité | Détail |
|---|---|
| Marque | Mesqol |
| Numéro de modèle | CR1025 |
| Couleur | Bleu (selon la variante de produit actuelle) |
| Type d'affichage | Numérique |
| Caractéristiques spéciales | Adjustable Brightness, Adjustable Volume, Alarm, Charging Port, Radio |
| Dimensions du produit | 3.31 po L x 2.32 po H |
| Source d'énergie | Électrique filaire (adaptateur secteur) |
| Type de chambre | Chambre à coucher |
| Matériel | Plastique |
| Poids de l'article | 7.7 onces |
| Piles | 1 CR2032 battery required (included for backup) |
| Technologie de connectivité | Bluetooth 5.0, AC adapter |
| Portée radio FM | 87.5-108 MHz |
Garantie et assistance
Mesqool products are designed for reliability and performance. For product support, troubleshooting assistance, or warranty inquiries, please contact Mesqool customer service.
Contact information can typically be found on the product packaging, the official Mesqool websur le site, ou auprès de votre détaillant.