1. Consignes de sécurité importantes
Read all instructions carefully before installing and operating the ceiling fan. Retain this manual for future reference.
- Assurez-vous que l'alimentation électrique est coupée au niveau du disjoncteur avant toute installation ou maintenance.
- All electrical connections must comply with local codes and ordinances, and the National Electric Code (NEC). If you are unfamiliar with electrical wiring, consult a qualified electrician.
- The fan must be mounted to a structurally sound ceiling joist or outlet box capable of supporting a minimum of 35 lbs (15.9 kg).
- Maintenez une distance minimale de 2.1 mètres (7 pieds) entre le sol et les pales du ventilateur.
- Ne placez aucun objet sur le passage des pales du ventilateur.
- Ce ventilateur est conçu pour une utilisation en intérieur uniquement.
2. Contenu du colis
Vérifiez que tous les composants sont présents avant de commencer l'installation :
- Ensemble de moteur de ventilateur
- Pales de ventilateur (3)
- Kit d'éclairage LED
- Télécommande et récepteur
- Support de montage et matériel
- Manuel d'instructions
3. Configuration et installation
Suivez ces étapes pour une installation sans problème :
- Préparez l'installation : Turn off power at the main circuit breaker. Secure the mounting bracket to the ceiling outlet box or joist.
- Connexions de câblage : Connect the fan's electrical wires to the household wiring according to the wiring diagram provided in the separate installation guide. Ensure all connections are secure.
- Monter le ventilateur : Soulevez délicatement le bloc moteur du ventilateur et fixez-le au support de montage.
- Fixez les pales du ventilateur : Securely fasten the three wooden fan blades to the motor housing.
- Installer le kit d'éclairage : Connect the LED light kit wires and attach the light kit to the bottom of the fan motor assembly.

Image: A person installing the ceiling fan, demonstrating the ease of the installation process.
4. Mode d'emploi
The ceiling fan is controlled by the included remote control. Ensure the remote control has working batteries.
4.1 Fonctions de la télécommande
- OFF: Éteint à la fois le ventilateur et la lumière.
- Allumer/éteindre la lumière : Toggles the LED light on or off independently.
- Fan Forward/Reversal Rotating: Modifie le sens de rotation des pales du ventilateur pour les modes été (flux d'air descendant) ou hiver (flux d'air ascendant).
- Vent naturel : Activates a mode that simulates natural breeze by varying fan speeds.
- Adjust 1-6 Speed of Fan: Selects one of six fan speeds.
- Set the Fan Timer: Permet de programmer l'arrêt automatique du ventilateur après 1, 2 ou 4 heures.
- PAIR CODE/FAN OFF: Used for pairing the remote with the fan receiver or turning off the fan only.

Image: Illustration of the remote control and its various functions, including power, light, speed, direction, natural wind, and timer settings. The remote control range is up to 8 meters.
4.2 Vitesse du ventilateur et débit d'air
The fan offers 6 speed levels to suit different comfort needs:
- Niveaux 1-2: Provide a comfortable, gentle breeze for sleeping or resting.
- Niveaux 3-4: Offer natural wind for daily use.
- Niveaux 5-6: Deliver strong cooling wind for warmer conditions.

Image: Visual representation of fan blade movement at different speed levels (1-2, 3-4, 5-6) and their corresponding airflow intensity, along with the integrated LED light kit.
4.3 Fonction moteur réversible
Ce ventilateur est doté d'un moteur réversible pour un confort optimal toute l'année :
- Summer Mode (Forward Rotation): Blades rotate counter-clockwise, pushing air downward to create a cooling effect.
- Winter Mode (Reverse Rotation): Blades rotate clockwise, drawing air upward to circulate warm air near the ceiling, helping to maintain a comfortable temperature.

Image: Diagram illustrating the two modes of the reversible motor: summer forward rotation for powerful, rapid cooling (downward arrows) and winter reversal rotation to maintain comfortable temperature (upward arrows).
4.4 Fonctionnement silencieux
The fan is designed with an advanced motor for ultra-quiet operation, providing airflow with minimal noise, approximately 55 decibels at its highest setting.
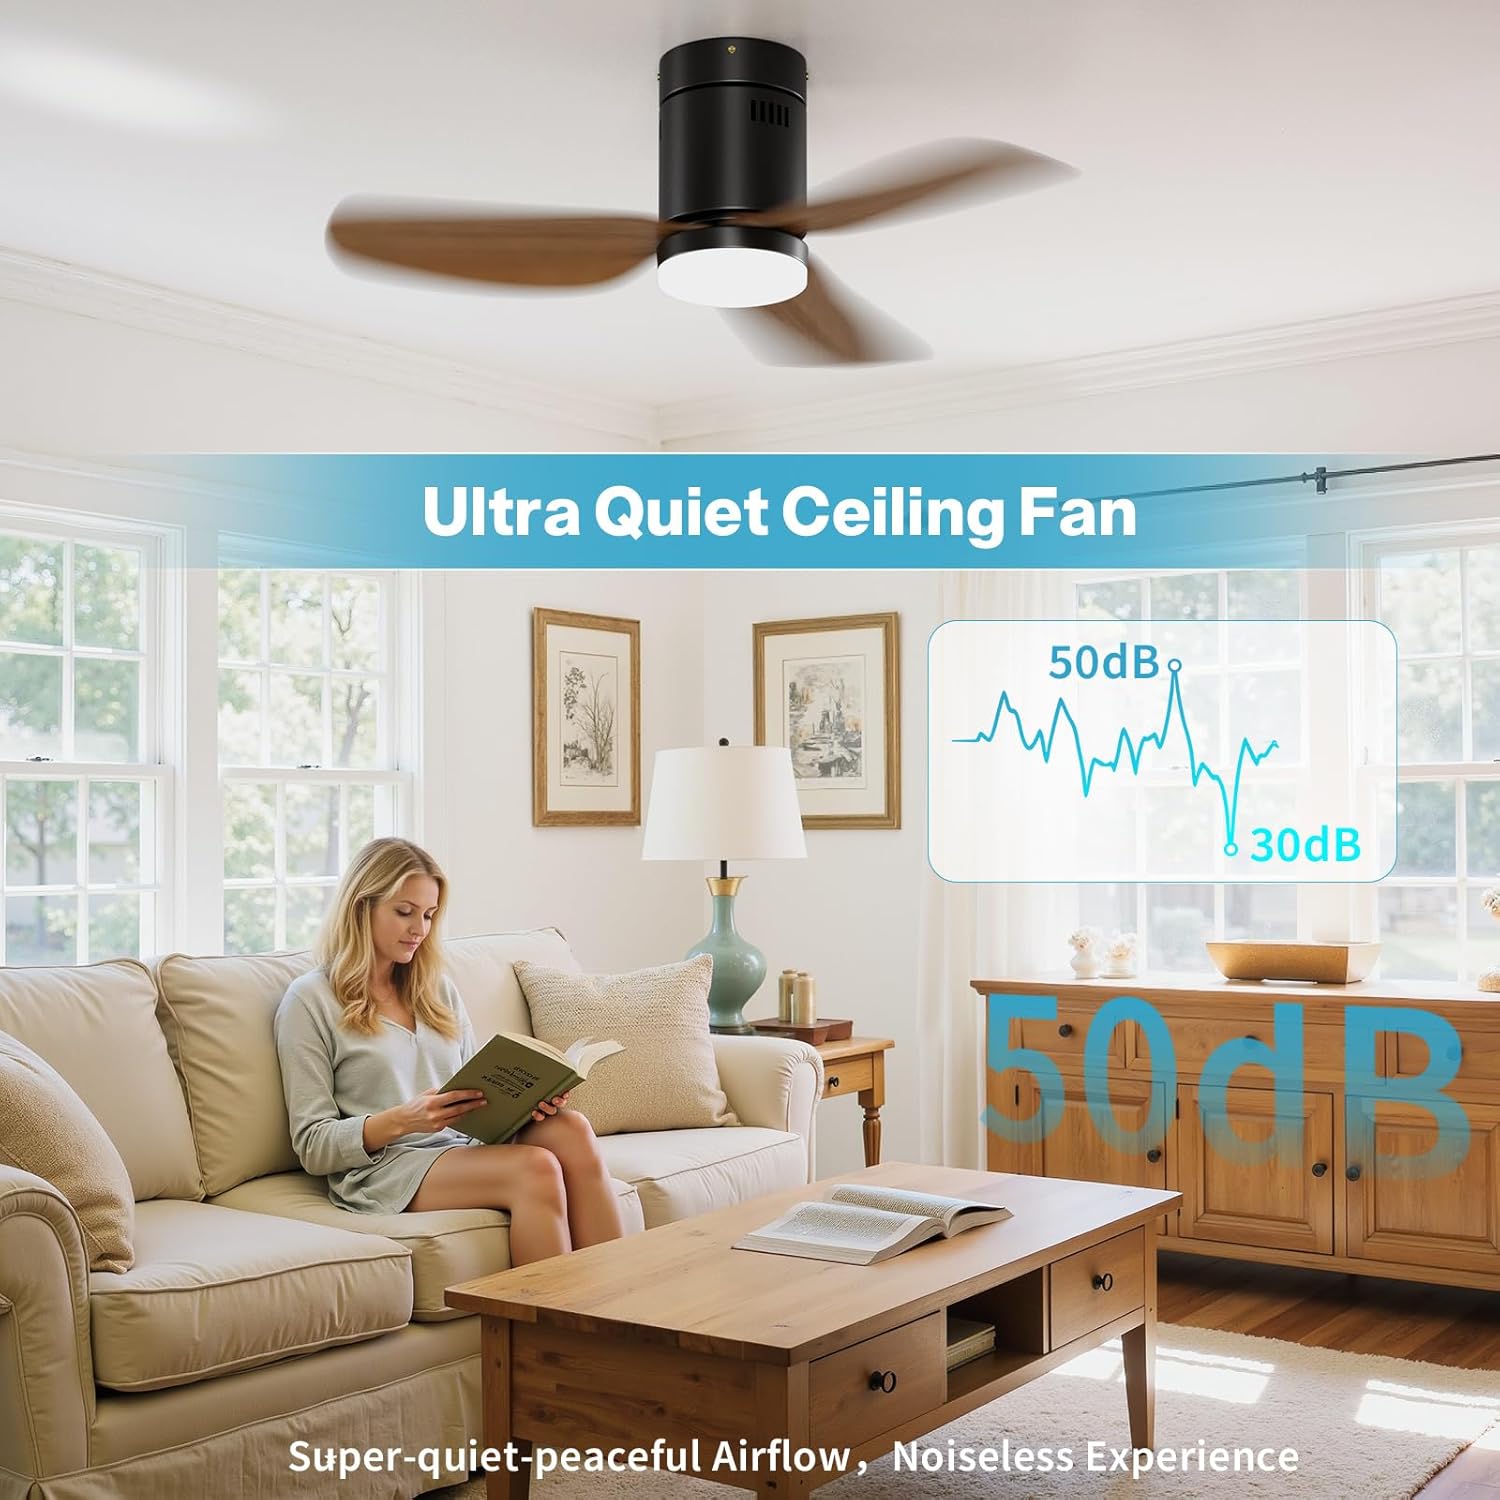
Image: A woman reading peacefully in a room with the ceiling fan operating, highlighting its ultra-quiet performance with a visual representation of low noise levels (50dB).
5. Entretien
Un entretien régulier contribue à assurer la longévité et les performances optimales de votre ventilateur de plafond.
- Nettoyage: Pour nettoyer le ventilateur, essuyez les pales et le boîtier du moteur avec un chiffon doux et sec.amp cloth. Do not use abrasive cleaners or solvents. For the wooden blades, a gentle hand wipe is recommended.
- Serrer les attaches : Vérifiez régulièrement toutes les vis et fixations du ventilateur et des éléments de montage pour vous assurer qu'elles sont bien serrées.
- Kit d'éclairage : The LED light kit has a long lifespan. If replacement is ever needed, consult the manufacturer for compatible parts.
6. Dépannage
Si vous rencontrez des problèmes avec votre ventilateur de plafond, consultez les problèmes et solutions courants suivants :
| Problème | Cause possible | Solution |
|---|---|---|
| Le ventilateur ne démarre pas | Ventilateur défaillant ; connexions électriques desserrées ; pile de la télécommande faible ou télécommande non appariée. | Check circuit breaker; Verify all wiring connections; Replace remote battery or re-pair remote. |
| La lumière ne fonctionne pas | Loose wire connection to light kit; Faulty LED light kit; Remote control issue. | Check light kit wiring; Contact support for light kit replacement; Ensure remote is functioning. |
| Le ventilateur fait un bruit excessif. | Loose fan blades; Loose mounting hardware; Motor issue. | Tighten all blade screws; Ensure mounting bracket is secure; Contact support if motor noise persists. |
| Le ventilateur vacille | Loose fan blades; Uneven blade installation; Loose mounting hardware. | Ensure all blade screws are tight; Verify blades are installed evenly; Check mounting bracket security. |
| La télécommande ne répond pas | Batterie faible ; non apparié avec un ventilateur ; obstruction entre la télécommande et le récepteur. | Replace remote battery; Re-pair remote with fan; Ensure clear line of sight. |
7. Spécifications
Detailed technical specifications for the Simple Deluxe 40" Ceiling Fan:
| Fonctionnalité | Spécification |
|---|---|
| Marque | De Luxe Simple |
| Nom du modèle | Ceiling Fan with Light & Remote Control |
| Taille | 40 Inch Standard |
| Dimensions du produit | 13"P x 21.5"L x 10"H |
| Poids de l'article | 10.85 livres |
| Couleur | Farmhouse Bronze |
| Nombre de lames | 3 |
| Longueur de la lame | 40 pouces |
| Matériel | Métal+Bois |
| Voltage | 90-265V |
| Quoitage | 15 watts (Fan), 29W (Total) |
| Niveau de bruit | 55 décibels |
| Méthode de contrôle | Télécommande |
| Nombre de niveaux de puissance | 6 |
| Kit d'éclairage | Integrated LED, 1500 Lumens, 3000K Warm White |
| Utilisation intérieure/extérieure | Intérieur |
| Caractéristiques spéciales | Remote Controlled, Reversible Motor, LED Light, Timer |

Image: Product dimensions (40" width, 10.8" height) and basic information including voltage (90-265V), color temperature (3000K), material (Metal+Wood), and wattage (29W).
8. Garantie et assistance
8.1 Informations sur la garantie
This Simple Deluxe ceiling fan is covered by a Garantie constructeur d'un an À compter de la date d'achat, cette garantie couvre les défauts de matériaux et de fabrication dans des conditions normales d'utilisation. Elle ne couvre pas les dommages résultant d'une installation incorrecte, d'un accident, d'une mauvaise utilisation, d'un usage abusif ou de modifications non autorisées.
8.2 Assistance clientèle
For technical assistance, warranty claims, or to inquire about replacement parts, please contact Simple Deluxe customer service. Refer to your purchase documentation or the Simple Deluxe official website pour les informations de contact actuelles.