1. Introduction
Thank you for choosing the Dexter 800AG2-125.5AB1 Angle Grinder. This manual provides essential information for the safe and efficient operation, maintenance, and troubleshooting of your new tool. Please read this manual thoroughly before first use and keep it for future reference.
This angle grinder is designed for cutting and grinding metal and various coatings. Its 800W motor delivers 11,500 RPM, accommodating 4.1/2" / 5" (115/125mm) discs. The tool features a 3-meter power cord for extended reach and an ergonomic grip for comfortable handling.
2. Consignes de sécurité
Respectez toujours les consignes de sécurité de base afin de réduire les risques d'incendie, d'électrocution et de blessures corporelles lors de l'utilisation d'outils électriques.
- Portez l'équipement de protection individuelle (EPI) approprié.: Always wear safety glasses, hearing protection, and gloves. A dust mask is recommended for dusty operations.
- Fixez la pièce: Always clamp ou fixer la pièce à usiner pour éviter tout mouvement pendant l'opération.
- Maintain a clean work area: Cluttered areas invite accidents. Ensure your workspace is well-lit.
- Évitez les environnements dangereux: Do not use power tools in damp or wet locations, or expose them to rain. Keep the work area well-ventilated.
- Éloignez les enfants et les passants: All visitors should be kept a safe distance from the work area.
- Stocker les outils inactifs: When not in use, tools should be stored in a dry, high, or locked-up place, out of reach of children.
- Ne forcez pas l'outil: It will do the job better and more safely at the rate for which it was designed.
- Utilisez le bon outil: Do not force a small tool or attachment to do the job of a heavy-duty tool.
- Vérifiez les pièces endommagées: Before using the tool, check for any damaged parts. A guard or other part that is damaged should be properly repaired or replaced by an authorized service center.
- Déconnectez l'alimentation: Always disconnect the tool from the power source before making any adjustments, changing accessories, or storing the tool.
- Utiliser la poignée auxiliaire: Always operate the angle grinder with the auxiliary handle securely attached for maximum control.
3. Produit terminéview
Familiarize yourself with the components of your Dexter Angle Grinder.
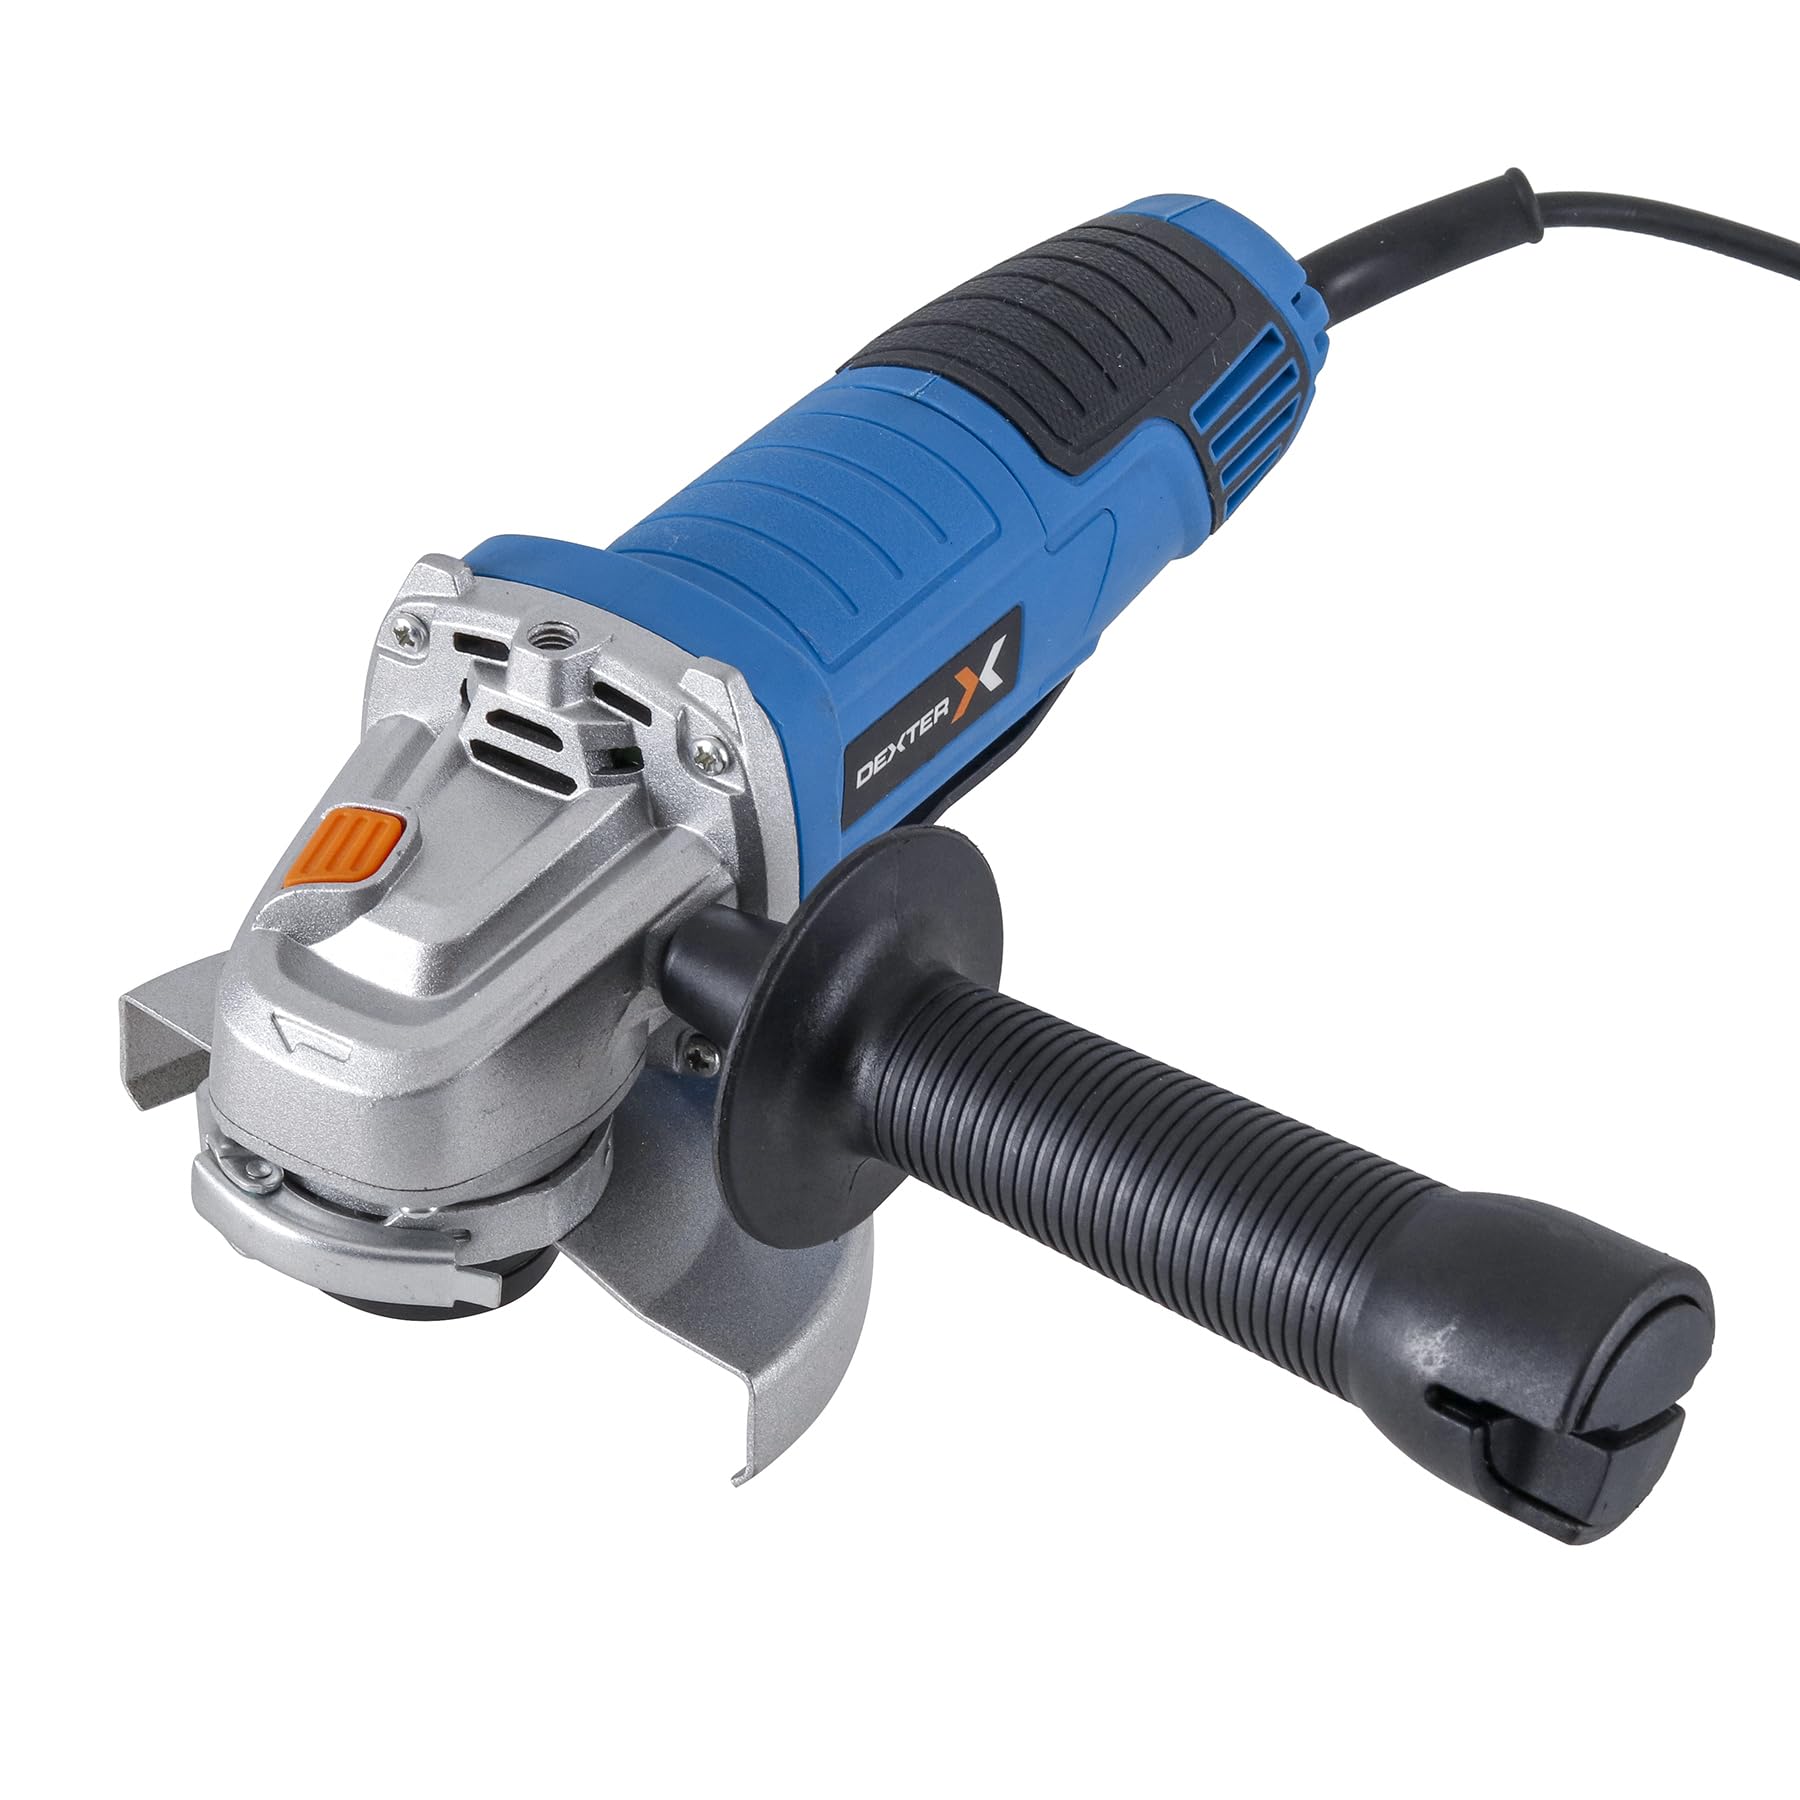
Figure 1 : Dans l'ensemble view of the Dexter Angle Grinder, highlighting its powerful motor suitable for heavy-duty tasks.

Figure 2 : Detail of the power switch, indicating the tool's robust power for demanding work.

Figure 3 : View of the disc mounting area, designed for simple and quick disc changes.

Figure 4 : Close-up of the spindle lock button, essential for secure disc changes.

Figure 5 : The ergonomic handle design, ensuring light and comfortable use.
Composants inclus :
- 1 x Dexter 5" Angle Grinder
- 1 x clé
- 1 x Poignée auxiliaire
- 1 x Disc Guard 115mm
- 1 x Disc Guard 125mm
4. Installation
4.1 Attaching the Disc Guard
- Assurez-vous que le broyeur est débranché de la source d'alimentation.
- Select the appropriate disc guard (115mm or 125mm) for your chosen disc size.
- Position the disc guard over the spindle housing, ensuring it aligns with the mounting points.
- Secure the guard firmly using the provided screws or clamping mechanism. Ensure it is oriented to provide maximum protection during operation.
4.2 Installation de la poignée auxiliaire
The auxiliary handle can be attached in three different positions (left, right, or top) to suit your working preference and ensure optimal control.
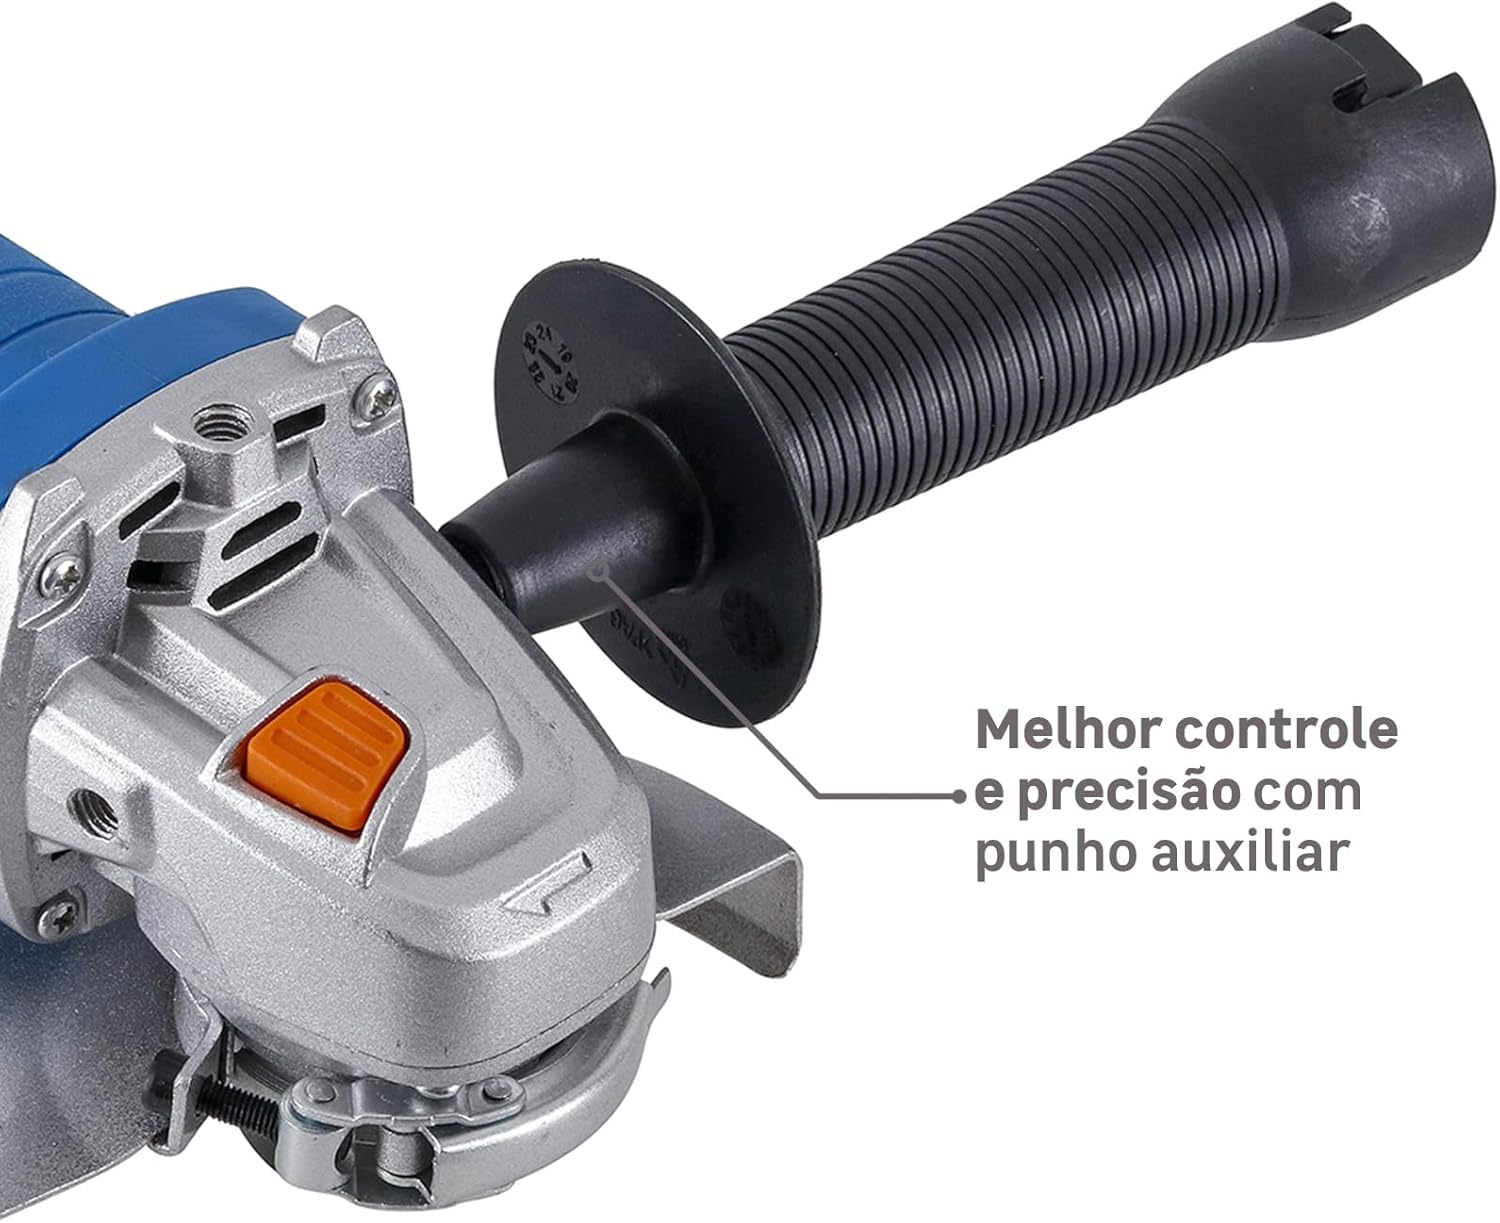
Figure 6 : Angle grinder with auxiliary handle attached, providing enhanced control and precision.
- Identify the threaded holes on the grinder's gear housing.
- Screw the auxiliary handle clockwise into the desired position until it is securely tightened.
4.3 Mounting a Grinding/Cutting Disc
- Assurez-vous que le broyeur est débranché.
- Press and hold the spindle lock button (Figure 4) to prevent the spindle from rotating.
- Placez la bride intérieure sur la broche.
- Position the grinding or cutting disc onto the inner flange, ensuring it sits flat.
- Screw the outer flange onto the spindle, hand-tightening it.
- Use the provided wrench to firmly tighten the outer flange, ensuring the disc is securely mounted. Release the spindle lock button.
5. Mode d'emploi
5.1 Mise sous/hors tension
- To turn on the grinder, slide the power switch (Figure 2) forward.
- To turn off the grinder, slide the power switch backward to the 'OFF' position.
5.2 Techniques de meulage et de découpe
Always hold the grinder firmly with both hands, using the main handle and the auxiliary handle.

Figure 7 : Angle grinder in use, demonstrating its effectiveness for cutting metal profiles and coatings.

Figure 8 : Angle grinder being used for sanding a wooden surface, showcasinet sa polyvalence.
- For Grinding: Hold the grinder at an angle of approximately 15-30 degrees to the workpiece. Apply moderate pressure and move the tool evenly across the surface.
- Pour la découpe : Hold the grinder perpendicular to the workpiece. Allow the disc to cut through the material without forcing it. Ensure the workpiece is stable and supported.
- Évitez la surcharge : Do not apply excessive pressure, as this can reduce disc life and motor efficiency.
- Allow the tool to reach full speed: Before making contact with the workpiece, allow the disc to reach its full operating speed.
6. Entretien
Un entretien régulier garantit la longévité et le fonctionnement sûr de votre meuleuse d'angle.
- Nettoyage: Regularly clean the ventilation openings to prevent dust buildup, which can cause overheating. Use a soft brush or compressed air.
- Balais de charbon : This tool uses a brushed motor. Carbon brushes are wear parts and should be checked periodically. If they are worn down, they must be replaced by qualified personnel.
- Cordon d'alimentation : Inspect the power cord for any damage before each use. Do not use the tool if the cord is damaged.
- Remplacement du disque : Replace worn or damaged discs immediately. Always use discs rated for the grinder's speed and application.
- Stockage: Rangez l'outil dans un endroit sec et sûr, hors de portée des enfants.
7. Dépannage
| Problème | Cause possible | Solution |
|---|---|---|
| Le broyeur ne démarre pas. | Pas d'alimentation électrique. Interrupteur d'alimentation défectueux. Balais de charbon usés. | Vérifiez la prise de courant et le cordon d'alimentation. Contactez le centre de service. Have brushes replaced by qualified personnel. |
| Vibrations excessives. | Disc improperly mounted. Disque endommagé ou déséquilibré. | Re-mount disc securely. Remplacer le disque. |
| Surchauffe. | Fentes d'aération obstruées. Surcharge de l'outil. | Nettoyer les fentes de ventilation. Reduce pressure and allow tool to cool. |
| Sparks excessively. | Balais de charbon usés. | Have brushes replaced by qualified personnel. |
8. Spécifications
| Fonctionnalité | Spécification |
|---|---|
| Modèle | 800AG2-125.5AB1 |
| Marque | Dexter |
| Source d'énergie | Électrique avec fil |
| Voltage | 220V |
| Pouvoir | 800 W |
| Vitesse de rotation maximale | 11,500 tr/min |
| Type de moteur | Moteur à balais |
| Contrôle de vitesse | Non |
| Disc Diameter (mm) | 125 mm |
| Disc Diameter (inches) | 5 pouces |
| Disc Included | Non |
| Poids du produit | 1.77 kg |
| Blocage de la broche | Oui |
| Filetage de la broche | M14 |
| Utilisation recommandée | Cutting and grinding metal and coatings |
| Intensité d'utilisation | Moderate use up to 5 hours/day |
9. Garantie et assistance
For warranty information, technical support, or service inquiries, please refer to the warranty card included with your product or contact your local Dexter authorized service center. Keep your purchase receipt as proof of purchase.