1. Produit terminéview
The JACK A2B Digital Industrial Sewing Machine is engineered for high-performance and reliability in professional and manufacturing environments. This machine integrates advanced digital technology with robust construction, making it suitable for a wide range of heavy-duty sewing applications.
Les principales caractéristiques comprennent :
- Construction durable : Built with a cast aluminum frame and stainless steel base for long-term use.
- Fonctionnement à grande vitesse : Capable of up to 5500 stitches per minute, with adjustable stitch length up to 6mm.
- Advanced Digital Features: Includes automatic needle threading, an integrated stitch regulator, and needle up/down functionality for precise control.
- Applications polyvalentes : Ideal for apparel manufacturing, quilting, home decor, and heavy fabric sewing.
- Visibilité améliorée : Equipped with a bright LED light to illuminate the work area.

Figure 1: The JACK A2B Digital Industrial Sewing Machine.
2. Consignes de sécurité
Read all instructions before operating the machine. Failure to follow safety guidelines may result in injury or damage to the machine.
- Débranchez toujours la machine de l'alimentation électrique avant de la nettoyer, de l'entretenir ou lorsqu'elle n'est pas utilisée.
- Pendant le fonctionnement, tenez vos doigts et vos mains éloignés de l'aiguille, du pied-de-biche et des autres pièces mobiles.
- N’utilisez pas la machine si les câbles sont endommagés ou si elle est tombée ou a été endommagée.
- Assurez-vous que la machine est placée sur une surface stable et plane.
- Utilisez uniquement les accessoires et pièces jointes recommandés.
- Gardez les enfants et les animaux domestiques éloignés de la machine pendant son fonctionnement.
3. Guide de configuration
3.1 Déballage et placement
Carefully remove all packaging materials. Place the sewing machine on a sturdy, level table or stand. Ensure adequate space around the machine for comfortable operation and material handling.
3.2 Connexion d'alimentation
Connect the power cord to a grounded electrical outlet. The machine operates on a corded electric power source. Verify that the voltage correspond à votre alimentation électrique locale.
3.3 Vérifications initiales
- Check that the needle is correctly installed and not bent.
- Ensure the bobbin is properly wound and inserted.
- Verify that all covers and guards are securely in place.
4. Mode d'emploi
4.1 Panneau de configuration terminéview
The digital control panel provides access to various machine functions and settings. Refer to the image below for button identification.
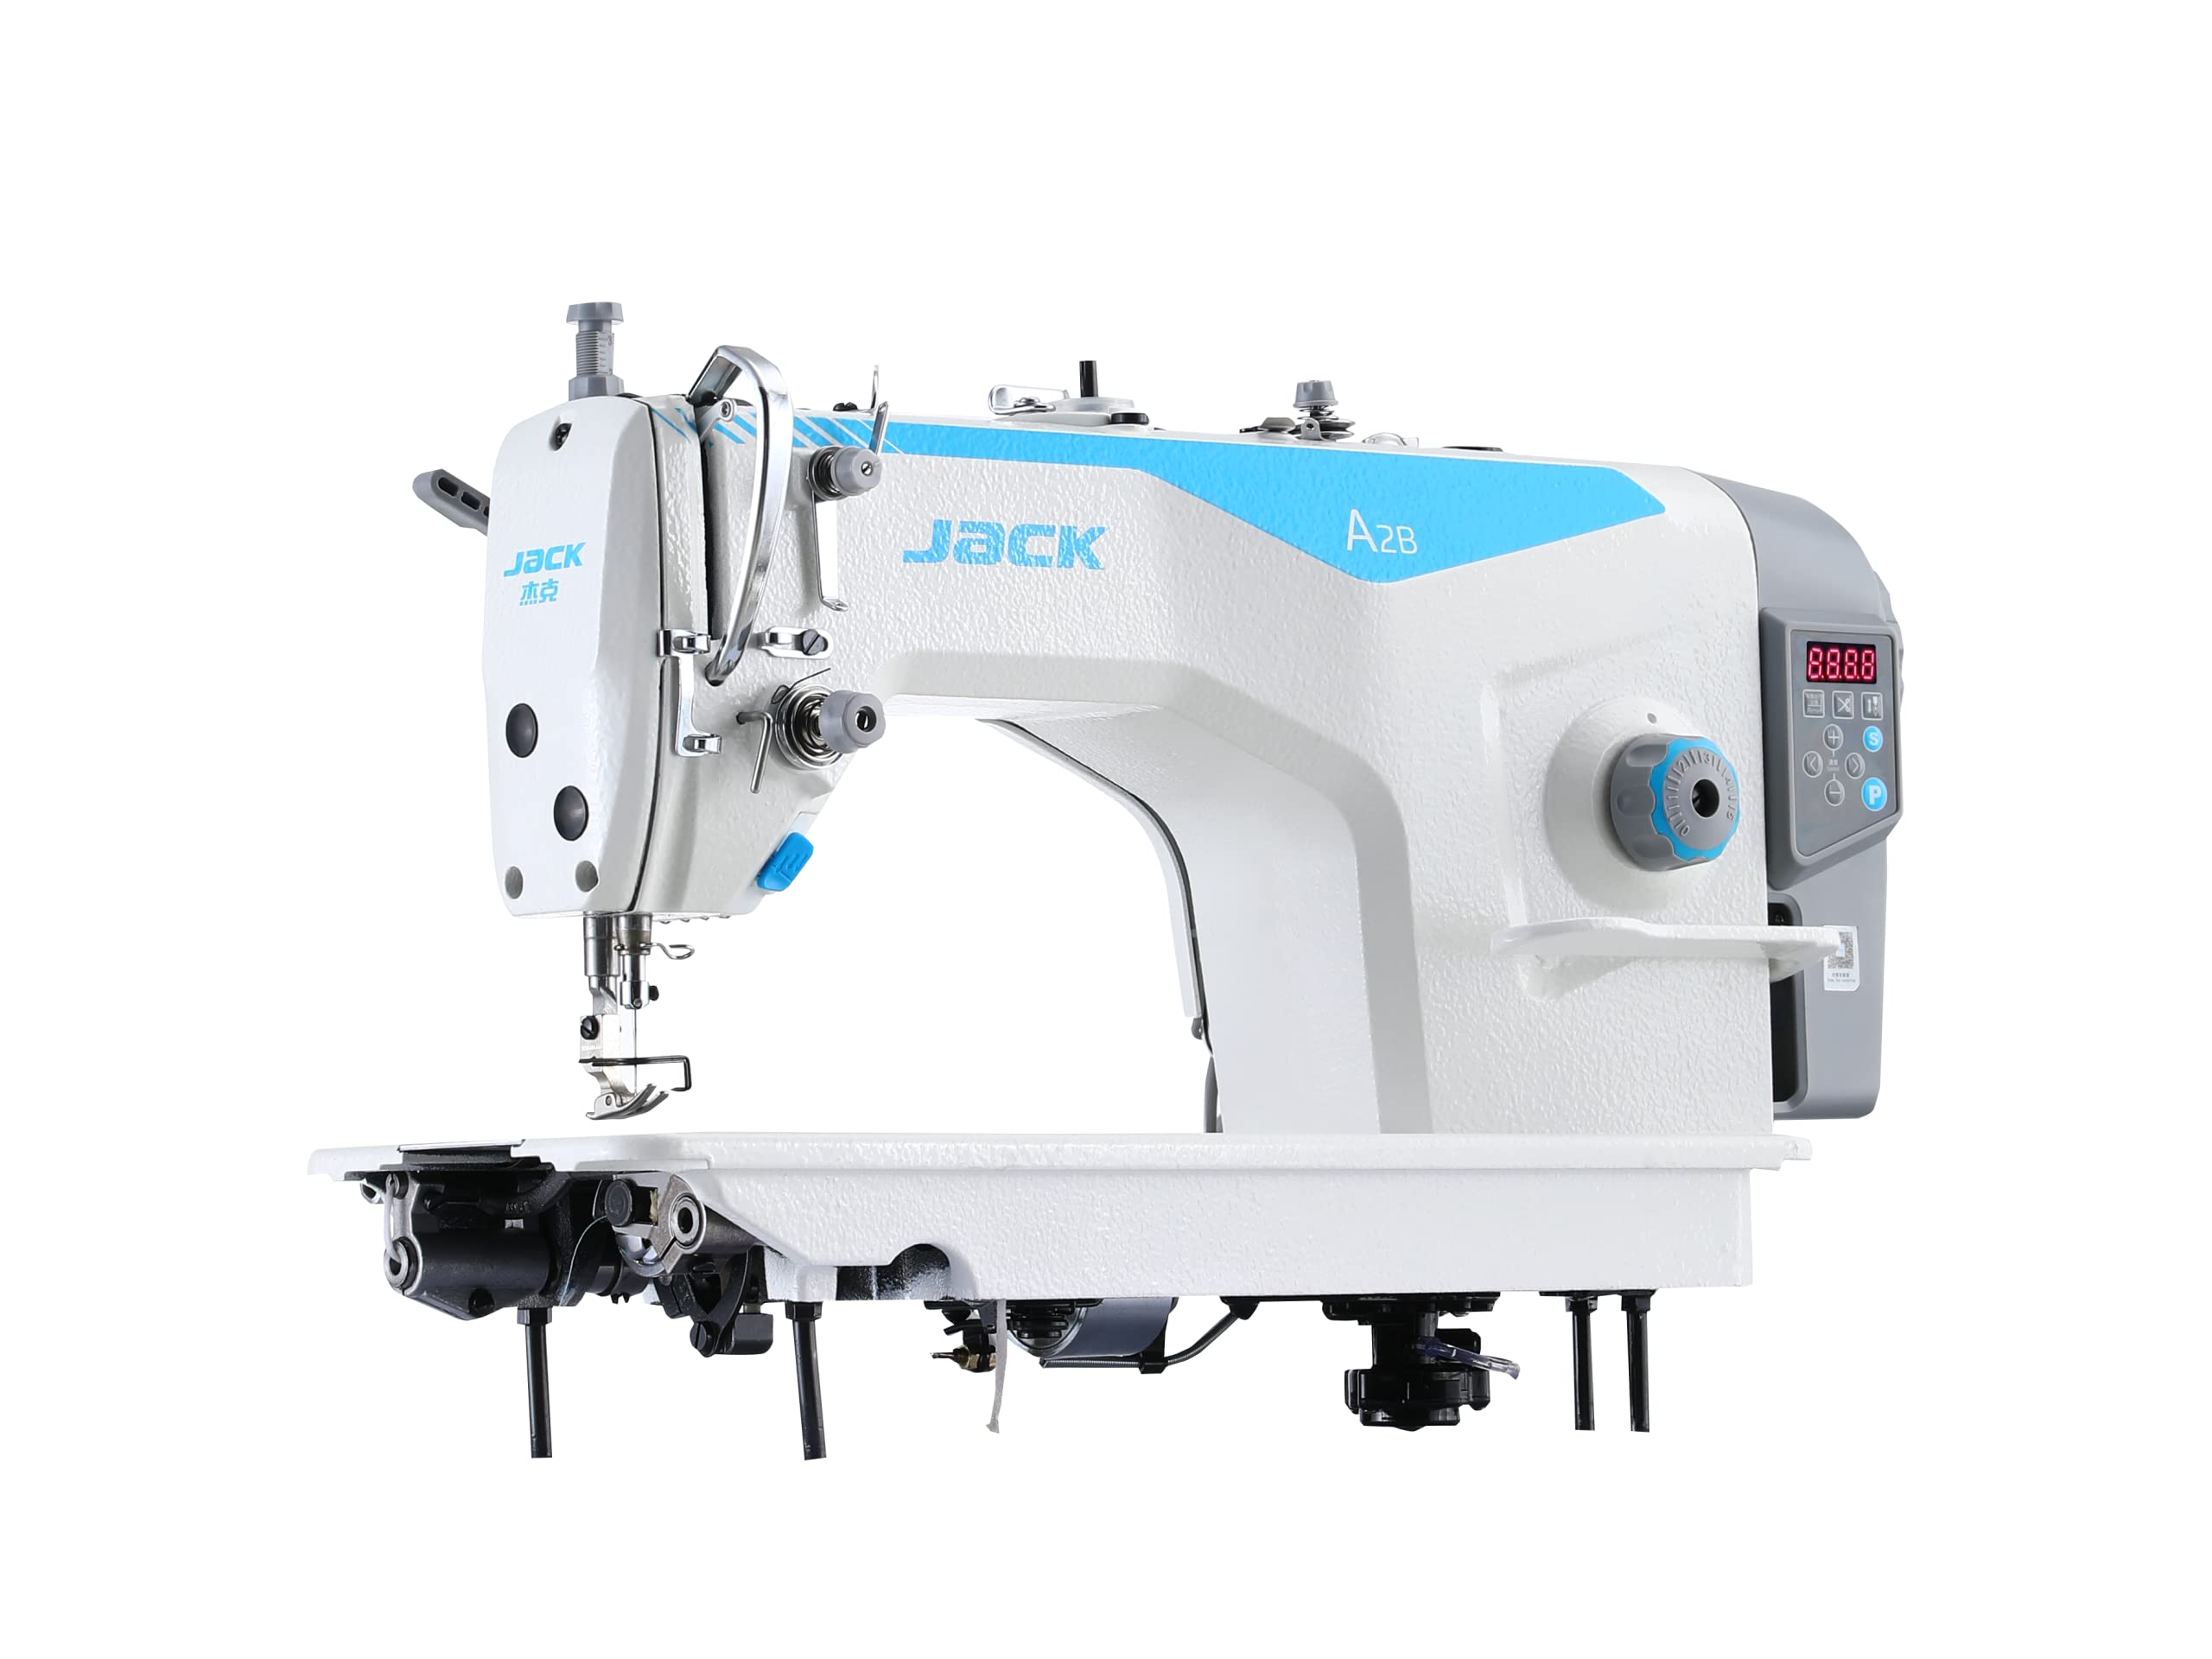
Figure 2 : Panneau de commande numérique.
- Affichage numérique: Shows current stitch length, speed, and error codes.
- Réglage de la vitesse: Use '+' and '-' buttons to increase or decrease sewing speed.
- Réglage de la longueur du point : Use dedicated buttons to set stitch length up to 6mm.
- Aiguille levée/abaissée : Controls the final resting position of the needle.
- Automatic Thread Trimmer: Activates the automatic thread cutting function.
4.2 Enfilage de la machine
Follow these steps to thread the upper thread:
- Placez la bobine de fil sur le porte-bobine.
- Guide the thread through the thread guides as indicated in the machine's physical markings.
- Passez le fil à travers les disques de tension.
- Enfilez le levier de tension.
- Utilisez l'enfile-aiguille automatique ou enfilez l'aiguille manuellement de l'avant vers l'arrière.
4.3 Enroulement de la bobine
The machine features an integrated bobbin winder for convenience.

Figure 3: Bobbin Winder.
- Placez une bobine vide sur l'axe du bobineur.
- Faites passer le fil de la bobine à travers le disque de tension de l'enrouleur de canette.
- Enroulez le fil plusieurs fois autour de la bobine.
- Push the bobbin winder spindle towards the right to engage.
- Mettez la machine en marche ; la canette se remplira automatiquement. Arrêtez-la lorsqu'elle est pleine.
4.4 Utilisation de la lumière LED
The integrated LED light illuminates the sewing area, improving visibility and reducing eye strain.

Figure 4: LED Work Light.
The LED light can typically be turned on or off via a dedicated button on the machine head or control panel, or it may activate automatically when the machine is in operation.
5. Entretien
Un entretien régulier garantit la longévité et les performances optimales de votre machine à coudre.
5.1 Nettoyage
- Tous les jours: Remove lint and dust from the bobbin case, feed dogs, and needle plate area using a small brush.
- Hebdomadaire: Clean the entire machine surface with a soft, dry cloth.
- Mensuel: For thorough cleaning, consult a qualified technician or refer to the detailed cleaning instructions in the full service manual.
5.2 Lubrification
Industrial sewing machines require regular lubrication. Refer to the machine's lubrication points diagram in the comprehensive manual. Use only high-quality sewing machine oil. Over-oiling can cause issues.
5.3 Remplacement de l'aiguille
Replace the needle regularly, especially if it becomes bent, dull, or if you experience skipped stitches. Use the correct needle type (DBx1 11-18#) for your fabric and thread.

Figure 5: Needle and Presser Foot Area.
6. Dépannage
Cette section aborde les problèmes courants que vous pourriez rencontrer.
| Problème | Cause possible | Solution |
|---|---|---|
| Points sautés | Aiguille incorrecte, aiguille tordue, enfilage incorrect, tension incorrecte. | Remplacez l'aiguille, réenfilez la machine, ajustez la tension. |
| Rupture de fil | High tension, poor quality thread, burrs on needle plate, incorrect threading. | Réduisez la tension, utilisez un fil de qualité, vérifiez l'absence de bavures, réenfilez. |
| Points inégaux | Tension incorrecte, griffes d'entraînement usées, alimentation irrégulière du tissu. | Ajustez la tension, nettoyez les griffes d'entraînement, assurez-vous d'une manipulation homogène du tissu. |
| La machine ne démarre pas | Pas d'alimentation, interrupteur de sécurité activé, problème de moteur. | Check power connection, ensure safety switches are disengaged, consult technician. |
6.1 Codes d'erreur
The digital display may show error codes to indicate specific issues.

Figure 6: E-04 High Voltage Alarme.
- E-04 (High Voltage Alarme): Indicates an issue with the power supply or internal voltage regulation. Disconnect power, wait a few minutes, and reconnect. If the error persists, contact support.
- For other error codes, refer to the comprehensive service manual or contact customer support.
7. Spécifications
Below are the general specifications for the JACK A2B Digital Industrial Sewing Machine.
| Fonctionnalité | Détail |
|---|---|
| Marque | JACK |
| Modèle | A2B |
| Couleur | Blanc |
| Poids de l'article | 65 kilogrammes |
| Matériel | Solid Alloy |
| Dimensions du produit (L x l x H) | 60 P x 60 L x 30 H cm |
| Source d'énergie | Électrique avec fil |
| Fonctionnement électrique | Oui |
| Max. Stitch Speed | 5500 points par minute |
| Longueur de point maximale | 6 mm |
| Type d'aiguille | DBx1 11-18# |
| Levier de pied-de-biche | 5-13 mm |

Figure 7 : Spécifications détaillées du modèle.
8. Garantie et assistance
8.1 Informations sur la garantie
The JACK A2B Digital Industrial Sewing Machine comes with a Garantie de 3 ans. This warranty covers manufacturing defects and ensures ongoing support and maintenance if required. Please retain your proof of purchase for warranty claims.
8.2 Assistance clientèle
For technical assistance, troubleshooting beyond this manual, or warranty service, please contact your authorized JACK dealer or the manufacturer's customer support. Contact details can typically be found on the product packaging or the official JACK website.