
Soobest SO800E
Soobest 14.2" Large Display Digital Wall Clock User Manual
Model: SO800E
Introduction
Thank you for choosing the Soobest 14.2" Large Display Digital Wall Clock. This versatile clock features a large LED screen, 8-in-1 color changing display, date, day of week, temperature, and timer functions. It is designed for easy readability and convenient operation with a remote control, making it ideal for various indoor settings including living rooms, bedrooms, offices, and gyms. This manual provides detailed instructions for setup, operation, and maintenance to ensure optimal performance and longevity of your device.

Image: The Soobest 14.2" Large Display Digital Wall Clock, showcasing its vibrant multi-color display and the included remote control.
Contenu du colis
Veuillez vérifier attentivement le colis pour vous assurer que tous les articles sont présents et en bon état.
- 1 x Soobest 14.2" Large Display Digital Wall Clock
- 1 x télécommande
- 1 x adaptateur secteur (électrique filaire)
- 1 x Button Battery (for memory function, pre-installed)
- Mounting Hardware (Nails)
- Manuel de l'utilisateur (ce document)

Image: An illustration of all items included in the Soobest Digital Wall Clock package, including the clock, remote, power adapter, and manual.
Installation
Connexion électrique
- Unpack the clock and all accessories from the box.
- Connect the power adapter cable to the "power in" port on the back of the clock.
- Branchez l'adaptateur secteur dans une prise électrique standard. L'affichage de l'horloge s'illuminera.
- The pre-installed button battery serves as a memory function, retaining time and alarm settings during power outages. It does not power the display.
Options de montage
The clock can be mounted on a wall or placed on a tabletop.
- Montage mural: Use the provided nails and the mounting holes on the back of the clock to secure it to a wall. Ensure the wall can support the clock's weight (approximately 1.34 pounds).
- Plateau de table : The clock can stand freely on a flat surface.

Image: Visual representation of the clock's dimensions and power connection, illustrating its suitability for wall mounting or tabletop use.
Mode d'emploi
Informations d'affichage de base
The large LED display shows the following information at a glance:
- Temps: Large digits for hours and minutes, with smaller seconds display.
- Date: Month and Day.
- Jour de la semaine: Indicated by illuminated abbreviations (MON, TUE, etc.).
- Température intérieure : Displayed in Fahrenheit (°F).
Utilisation de la télécommande
All settings and functions are easily controlled via the included remote control.
- Vérifiez que la télécommande possède une pile fonctionnelle.
- Point the remote control directly at the clock for optimal response.

Image: The clock displaying both time and timer modes, highlighting the seamless transition between them using the remote control.
Réglage de l'heure et de la date
- Appuyez sur le ENSEMBLE Appuyez sur le bouton de la télécommande. Les chiffres de l'heure clignoteront.
- Utilisez le HAUT/BAS flèches pour régler l'heure.
- Presse ENSEMBLE again to move to minutes, then date, month, and year, adjusting each with the HAUT/BAS flèches.
- Presse ENSEMBLE one last time to confirm all settings.
Affichage à changement de couleur
The clock offers 8 RGB color modes: 4 fixed pure colors and 4 dynamic RGB color changes.
- Appuyez sur le COULEUR button on the remote control to cycle through the available color modes.
- Choose the color that best suits your environment or mood.

Image : Examples of the clock's diverse color display options, from solid colors to dynamic RGB changes.
Timer Function (Count Up/Count Down)
The clock can function as a timer, useful for kitchen, gym, or study activities.
- Appuyez sur le MODE MINUTERIE button on the remote control to switch to timer mode. The display will show "00:00".
- Réglage du compte à rebours : Use the number buttons on the remote to input the desired countdown time (e.g., "0500" for 5 minutes). Press DÉMARRER/ARRÊTER pour commencer.
- Setting Count Up: En mode minuterie, appuyez sur DÉMARRER/ARRÊTER without setting a time to begin counting up from "00:00".
- When a countdown finishes, the clock will emit a crisp beep for 60 seconds.
- Presse MODE HORAIRE to return to clock display.

Image: The clock functioning as a digital timer, demonstrating its utility in a home gym setting.
Auto Daylight Saving Time (DST)
If your region observes Daylight Saving Time, you can enable the auto DST feature.
- Appuyez sur le Heure d'été button on the remote control to toggle Auto DST ON or OFF.
- When ON, the clock will automatically adjust forward or backward by one hour at the appropriate times of the year.
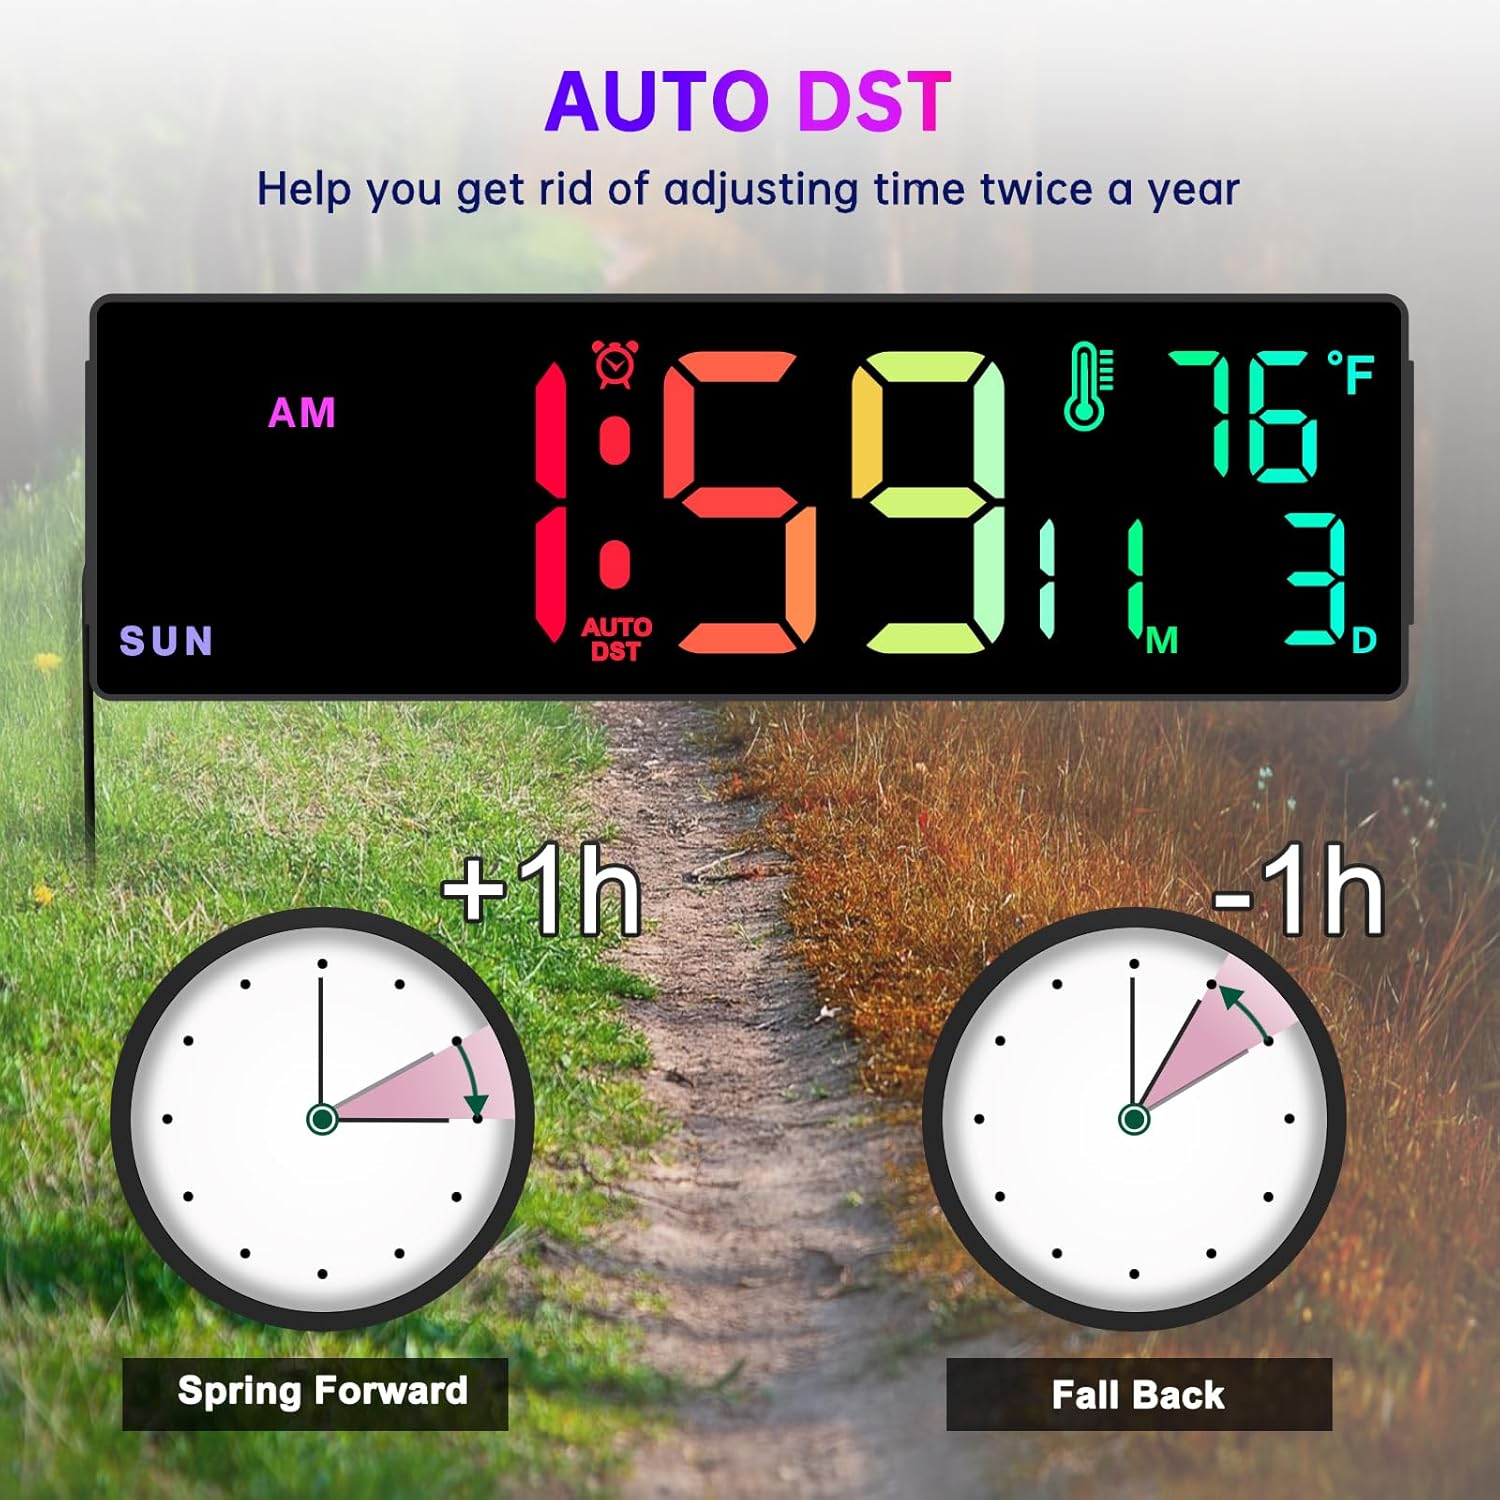
Image: A visual explanation of the Auto DST function, showing how the clock automatically adjusts for Daylight Saving Time.
Fonction variateur
The clock features 5 levels of brightness to suit different lighting conditions and preferences.
- Appuyez sur le VARIATEUR button on the remote control to cycle through the 5 brightness levels.
- Adjust the brightness to prevent the display from being too bright, especially in dark rooms or at night.
Time Format Switch (12/24 Hour)
You can switch between 12-hour (AM/PM) and 24-hour (military) time formats.
- Appuyez sur le 12/24H button on the remote control to toggle between the two formats.
Entretien
- Nettoyage: Use a soft, dry cloth to wipe the clock's surface. Do not use abrasive cleaners or solvents, as they may damage the display or casing.
- Pouvoir: Always ensure the clock is connected to a stable power source.
- Remplacement de la pile (télécommande) : If the remote control becomes unresponsive, replace its battery. Refer to the remote control's markings for the correct battery type.
- Batterie mémoire : The internal button battery for memory function typically lasts for a long time. If you notice settings are not retained after a power outage, it may need replacement by a qualified technician.
Dépannage
| Problème | Cause possible | Solution |
|---|---|---|
| L'affichage de l'horloge est éteint. | Aucune connexion électrique ni coupure de couranttage. | Assurez-vous que l'adaptateur secteur est bien branché à l'horloge et à une prise électrique fonctionnelle. Testez la prise électrique avec un autre appareil. |
| La télécommande ne fonctionne pas. | Remote battery is dead or incorrect orientation. Obstruction between remote and clock. | Replace the remote control battery. Ensure there are no obstructions and point the remote directly at the clock. |
| Time/Date/Day is incorrect. | Not set correctly or Auto DST issue. | Follow the "Setting Time and Date" instructions. Verify Auto DST setting is correct for your region. |
| L'écran est trop lumineux/sombre. | Dimmer setting is not adjusted. | Utilisez le VARIATEUR button on the remote to adjust brightness levels. |
| La lecture de la température semble inexacte. | Horloge placée près d'une source de chaleur/d'une bouche d'aération ou en plein soleil. | Relocate the clock to an area with stable ambient temperature. Note that minor variations compared to other thermometers are normal. |
Caractéristiques
- Marque: Soobest
- Modèle: SO800E
- Type d'affichage : LED numérique
- Taille de l'écran : 14.2 pouces (diagonale)
- Hauteur des chiffres: Approximately 3.1 inches (main time digits)
- Dimensions du produit : 13.1 po (L) x 4.1 po (H) x 1.1 po (P)
- Source d'alimentation : Électrique filaire (adaptateur secteur inclus)
- Batterie de secours : 1 x Lithium Metal battery (included, for memory function only)
- Caractéristiques: Time, Date, Day of Week, Indoor Temperature, Timer (Count Up/Down), 8 RGB Color Modes, 5-Level Dimmer, Auto DST, 12/24H Format.
- Type de montage : Support mural / de table
- Matériel: Plastique
- Poids de l'article : 1.34 livres
Garantie et assistance
The Soobest 14.2" Large Display Digital Wall Clock comes with a Garantie de 6 mois à compter de la date d'achat, couvrant les défauts de fabrication.
For technical support, warranty claims, or any questions regarding your product, please contact Soobest customer service. Refer to the contact information provided on the product packaging or the official Soobest website.
Veuillez conserver votre reçu d'achat comme preuve d'achat à des fins de garantie.
Ask a question about this manual
Ask about setup, troubleshooting, compatibility, parts, safety, or missing instructions. Manuals+ will review the question and use this page’s manual context to help answer it.