Introduction
Merci pour votre achatasing the DANFI AUDIO DF TE-2030 Vinyl Record Player. This manual provides essential information for the safe and efficient operation of your new record player. Please read it thoroughly before use and retain it for future reference.
The TE-2030 is a versatile 3-speed vintage-style record player featuring built-in speakers, adjustable treble and bass controls, Bluetooth input for wireless streaming, and multiple connectivity options including RCA line-out, AUX-in, and a 3.5mm headphone jack. Its belt-driven turntable is designed for smooth vinyl playback, making it suitable for 7", 10", and 12" records.
Consignes de sécurité
- Read all instructions before operating the record player.
- Gardez l'appareil à l'écart de l'eau ou de l'humidité.
- Ne bloquez aucune ouverture de ventilation.
- Utilisez uniquement les accessoires spécifiés par le fabricant.
- Débranchez l'appareil pendant les orages ou lorsqu'il n'est pas utilisé pendant de longues périodes.
- Confiez toute intervention d'entretien à un personnel qualifié.
Qu'y a-t-il dans la boîte
Lors du déballage, veuillez vérifier que tous les éléments énumérés ci-dessous sont présents et en bon état :
- DANFI AUDIO DF Vinyl Record Player (TE-2030)
- Adaptateur 45 tr / min
- Power Cord (100V-240V~)
- Cache-poussière
- Manuel d'utilisation
Produit terminéview
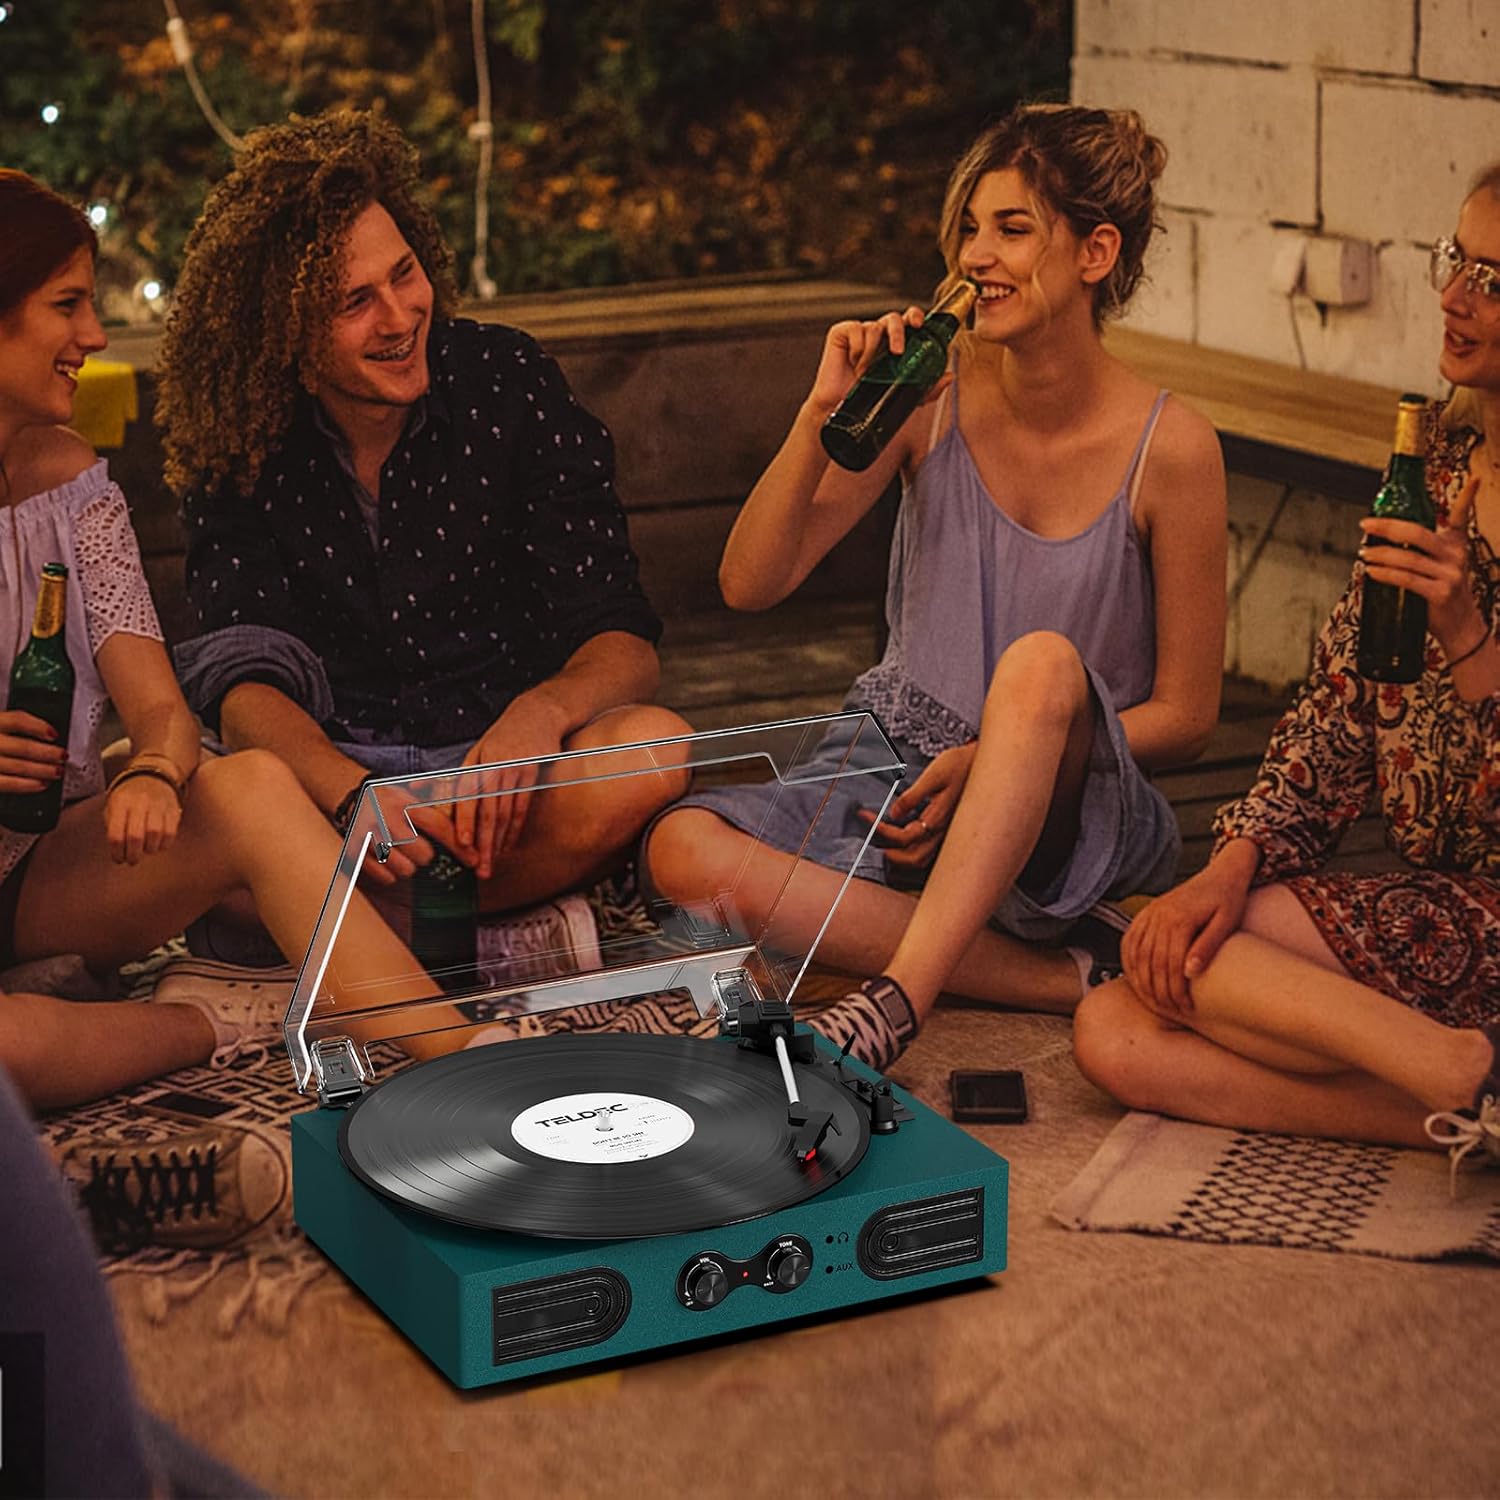
Figure 1 : Vue de face et de dessus View of the TE-2030 Record Player with Labeled Components
Front Panel Controls & Features:
- Interrupteur marche/arrêt/bouton de volume : Turns the unit on/off and adjusts playback volume.
- Treble/Bass Knob: Adjusts the tone for enhanced listening.
- Prise casque 3.5 mm: Pour une écoute privée.
- Entrée AUX 3.5 mm : Connectez des périphériques audio externes.
- Haut-parleurs intégrés : Haut-parleurs stéréo intégrés pour la sortie audio.
Composants de la platine vinyle :
- Plateau tournant: Là où repose le disque vinyle.
- Turntable Spindle: Maintient le record en place.
- Adaptateur 45 tours : Used for 7-inch records with large center holes.
- Lève-bras de lecture : Lève et abaisse le bras de lecture.
- Interrupteur d'arrêt automatique : Enables/disables automatic stopping of the platter.
- Commutation de vitesse : Selects playback speed (33 1/3, 45, 78 RPM).
- Cartouche/Stylet : Lit les sillons du disque.
- Verrouillage du bras de lecture : Permet de fixer le bras de lecture lorsqu'il n'est pas utilisé.
Connexions du panneau arrière :
- Port d'alimentation: Connecte l'adaptateur secteur.
- RCA Audio Out (L/R): Se connecte à des haut-parleurs externes ou à un amplifier.
Installation
- Déballer l'appareil : Carefully remove all packaging materials and place the record player on a stable, flat surface.
- Connecter l'alimentation : Plug the power cord into the DC 5V 1A input on the back of the unit, then plug the adapter into a standard wall outlet.
- Retirer le protecteur du stylet : Gently remove the white protective cap from the stylus.
- Cache-poussière : Place the clear dust cover onto the hinges at the back of the unit.
Mode d'emploi
Écouter des disques vinyles
- Turn the Power/Volume knob clockwise to turn on the unit. The indicator light will illuminate.
- Place a vinyl record on the turntable platter. If playing a 7-inch record, place the 45 RPM adapter on the center spindle.
- Select the appropriate speed (33 1/3, 45, or 78 RPM) using the Speed Switching lever.
- Unlock the tone arm from its rest.
- Lift the tone arm using the Tone Arm Lifter lever.
- Déplacez manuellement le bras de lecture jusqu'à la position souhaitée au-dessus du disque.
- Gently lower the tone arm onto the record using the Tone Arm Lifter lever. The record will begin playing.
- Adjust the volume using the Power/Volume knob. Use the Treble/Bass knob to fine-tune the sound.
- At the end of the record, if the Auto Stop switch is ON, the platter will stop spinning automatically. If OFF, the platter will continue to spin.
- To stop playback, lift the tone arm, return it to its rest, and lock it. Turn the Power/Volume knob counter-clockwise to turn off the unit.
Entrée Bluetooth

Figure 2: Wireless Bluetooth Streaming to the Record Player
- Turn the Power/Volume knob clockwise to turn on the unit. The indicator light will flash blue, indicating Bluetooth pairing mode.
- Enable Bluetooth on your smartphone or other device and search for “TE-2030”.
- Select “TE-2030” to pair. Once connected, the indicator light will turn solid blue.
- Play music from your device. Audio will stream through the record player's built-in speakers.
- Adjust volume and tone using the knobs on the record player or your device.
Entrée AUX

Figure 3: AUX-In and RCA Output Ports
- Connect a 3.5mm audio cable (not included) from your external audio device to the AUX-in port on the front of the record player.
- The unit will automatically switch to AUX mode.
- Play music from your connected device. Audio will be routed through the record player's speakers.
- Adjust volume and tone as desired.
Écoute au casque

Figure 4: Private Listening via Headphone Jack
- Plug your 3.5mm headphones (not included) into the headphone jack on the front of the unit.
- Audio will now be routed through your headphones for private listening.
- Adjust volume and tone as desired.
Sortie ligne RCA
- Connect an RCA cable (not included) from the RCA Audio Out ports (red for right, white for left) on the back of the unit to your external amplificateur ou enceintes amplifiées.
- Assurez-vous que votre système audio externe est réglé sur la bonne entrée.
- Audio will play through the connected external system.
Entretien
Remplacement du stylet
The stylus should last about 200-250 hours under normal use. If you notice a change in sound quality, it may be time to replace the stylus. The stylus needle is a universal type for Victrola and Crosley record players, purchasable on Amazon.
- Retrait de l'ancien stylet: Gently pull down the front edge of the needle. Pull the needle forward. Pull out and remove.
- Installation d'un nouveau stylet: Hold the tip of the stylus and insert the other edge by pressing upward. Push the stylus upward until it locks at the tip.
Soins généraux
- Keep the unit clean and dust-free. Use a soft, dry cloth for cleaning.
- Évitez de toucher le stylet avec vos doigts.
- Handle records by the edges to prevent fingerprints and dust.
Dépannage
| Problème | Cause possible | Solution |
|---|---|---|
| Pas de courant | Cordon d'alimentation non branché ; prise de courant défectueuse | Vérifiez que le cordon d'alimentation est bien branché ; essayez une autre prise. |
| Pas de son | Volume too low; Stylus damaged; External speakers not connected correctly | Increase volume; Replace stylus; Check RCA connections. |
| Saut de disque | Record dirty/damaged; Stylus worn; Unit not level | Clean record; Replace stylus; Place unit on a stable, level surface. |
| Bluetooth ne se connecte pas | Bluetooth not enabled on device; Device too far | Ensure Bluetooth is on and device is within range (approx. 10m). |
Caractéristiques
| Fonctionnalité | Détail |
|---|---|
| Dimensions du produit | 11.5 x 9 x 3.5 pouces |
| Poids de l'article | 5.45 livres |
| Numéro de modèle de l'article | TE 2030 |
| Marque | DANFI AUDIO DF |
| Vitesse de rotation maximale | 78 tr/min |
| Matériel | Acrylic, Engineered Wood, Plastic |
| Caractéristiques spéciales | Adjustable Speed, Built-In Speaker, Treble & Bass Control |
| Appareils compatibles | Headphone, PC, Smartphone, Tablet |
Vidéo officielle du produit
Video: DANFI AUDIO DF TE-2030 Vinyl Record Player with Built-in Speakers - Product Overview et fonctionnalités.
Garantie et assistance
For any questions, problems, or missing parts, please contact customer support directly. The manufacturer offers support for product inquiries.
E-mail du support client: support23@163.com
Please refer to the original purchase documentation for specific warranty details.