1. Introduction
This manual provides essential information for the safe and efficient operation, setup, and maintenance of your OMTech 150W CO2 Laser Engraver. Please read this manual thoroughly before operating the machine.
Caractéristiques principales :
- 150W CO2 Laser Tube for powerful cutting and engraving.
- 40x63 Inch Work Area with honeycomb and aluminum blade beds.
- Autofocus and Autolift for precise material height adjustment.
- 3-Way Pass-Through Doors for handling larger materials.
- Integrated Air Assist to clear debris and protect optics.
- Compatible with LightBurn software.
- Includes a dedicated Water Chiller for laser tube cooling.

Figure 1: OMTech 150W CO2 Laser Engraver with included water chiller and LightBurn software logo.
2. Consignes de sécurité
Operating a CO2 laser engraver requires strict adherence to safety protocols to prevent injury and equipment damage. Always prioritize safety.
- Protection des yeux : Ne jamais regarder directement le faisceau laser. L'élargissement viewing window is made from flame retardant material for safe observation, but direct exposure to the laser beam can cause severe eye damage.
- Ventilation: Ensure proper ventilation to remove smoke and fumes generated during operation. The built-in air assist helps, but an external exhaust system is highly recommended.
- Sécurité incendie : Keep a fire extinguisher nearby. Certain materials can ignite during laser processing. Never leave the machine unattended while operating.
- Compatibilité matérielle : Only engrave or cut materials approved for CO2 lasers. Avoid materials containing chlorine (e.g., PVC) as they produce corrosive and toxic fumes.
- Sécurité électrique : Assurez-vous que la machine est correctement mise à la terre. Ne pas utiliser avec les mains mouillées ou dans des conditions de forte humidité.amp environnements.
- Arrêt d'urgence: Familiarisez-vous avec l'emplacement et le fonctionnement du bouton d'arrêt d'urgence.
- Cours de laser : This is a Laser Class 2 device with 0.827 mW output power.
3. Installation
3.1 Déballage et placement
Carefully unpack the laser engraver and all accessories. Place the machine on a stable, level surface in a well-ventilated area, away from flammable materials.
3.2 Water Chiller Setup
The included water chiller is crucial for cooling the laser tube and ensuring its longevity. Connect the chiller to the laser engraver according to the provided diagrams in the separate chiller manual.

Figure 2: The CW-5200 Industrial Water Chiller, essential for maintaining optimal laser tube temperature.
Fill the chiller with distilled water to the recommended level. Ensure proper water flow before operating the laser.
3.3 Installation du logiciel (LightBurn)
The OMTech 150W laser engraver is compatible with LightBurn software. Install LightBurn on your computer following the instructions provided with the software. Connect the laser engraver to your computer via USB or Ethernet.
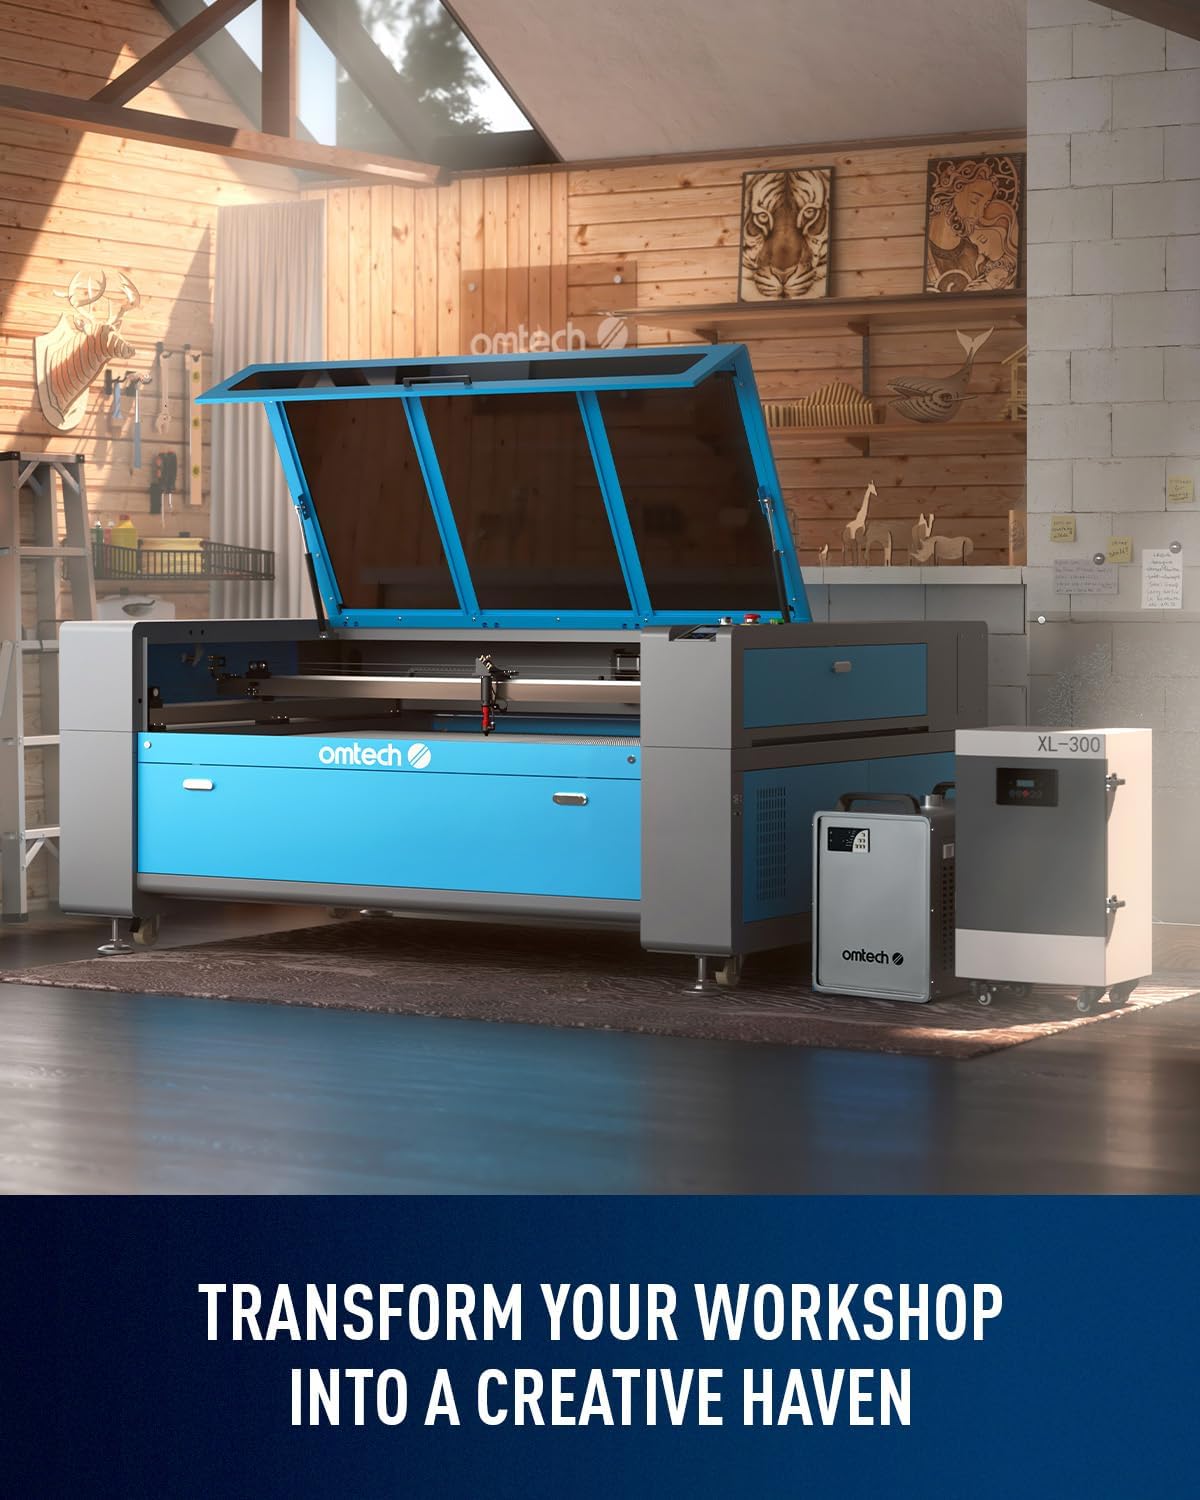
Figure 3: LightBurn software interface, showing design capabilities and compatibility with Windows, Linux, and MacOS.
Pour un généralview of OMTech laser engravers, including setup considerations, please watch the video below:
Video 1: "OMTech Laser Engraver for Most People" - This video provides a general introduction to OMTech laser engravers and their applications.
4. Mode d'emploi
4.1 Material Loading
Place your material onto the honeycomb or aluminum blade bed. Ensure the material is flat and secured to prevent movement during engraving or cutting. The 40"x63" work area accommodates large projects.
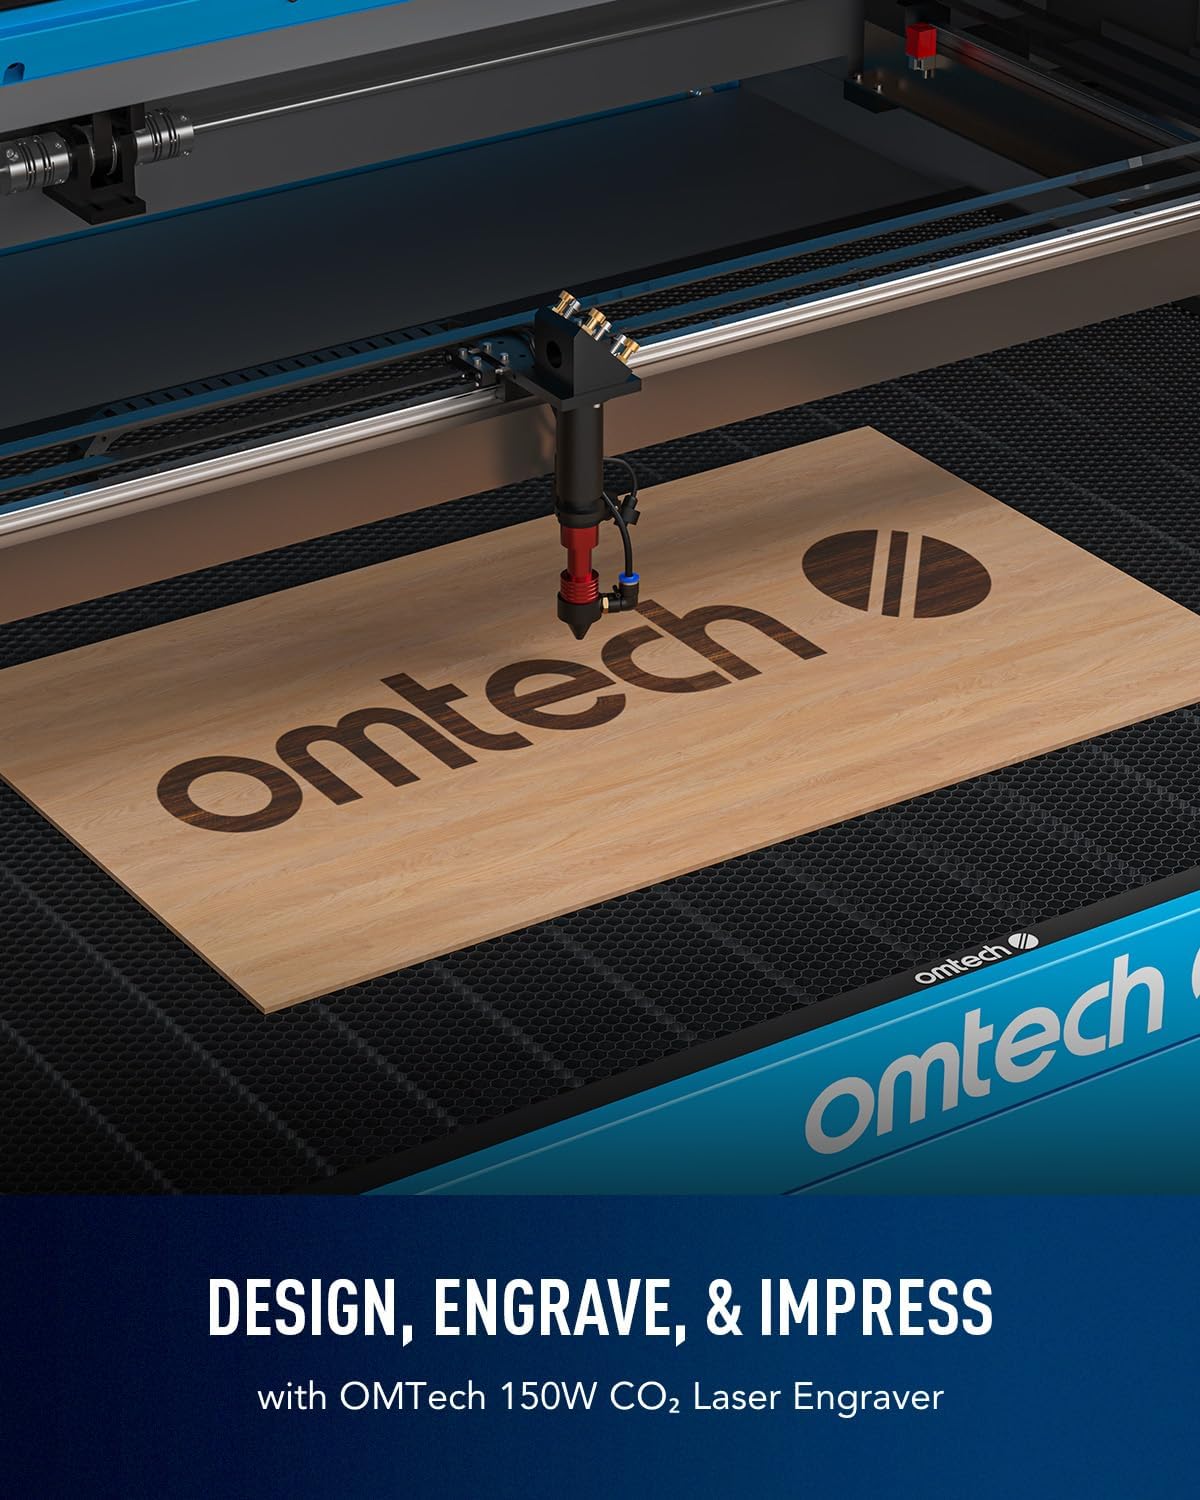
Figure 4: The three-way pass-through doors allow for processing of larger and longer materials than the workbed itself.
For a demonstration of laser engraving and cutting on acrylic mirror, including material loading, refer to the video below:
Video 2: "Laser Engraving and Cutting on Acrylic Mirror - DIY Project" - This video demonstrates the process of engraving and cutting acrylic mirror, including material preparation.
4.2 Autofocus Feature
This model features an autofocus system. Simply press the autofocus button, and the laser head will automatically adjust to the correct focal distance for your material, eliminating manual guesswork.

Figure 5: The automatic focusing system ensures precise focal distance at the push of a button for flawless results.
4.3 Gravure et découpe
Once your design is loaded into LightBurn and material is in place, set your desired power and speed settings based on the material type and thickness. The machine supports engraving speeds up to 600 mm/s for increased productivity.

Figure 6: High-speed engraving at 600 mm/s significantly boosts productivity for batch work.
For detailed instructions on how to laser engrave a photo, watch the video below:
Video 3: "How to laser engrave a photo with a CO2 Laser Engraver" - This video guides you through the steps of engraving a photo using a CO2 laser.
5. Entretien
Un entretien régulier garantit la longévité et les performances optimales de votre graveur laser.
5.1 Entretien du tube laser
The Yongli A8s tube has a lifespan of up to 7,000 hours. Ensure the water chiller is always running and maintaining the correct temperature to prevent overheating. Regularly check the water level and quality.
5.2 Nettoyage des optiques
Clean the laser lenses and reflective mirrors regularly using appropriate cleaning solutions and lint-free wipes. Dust and debris can degrade laser performance. The built-in air assist helps minimize debris accumulation.
5.3 Nettoyage du plan de travail et de l'intérieur
Periodically clean the honeycomb and blade beds to remove accumulated residue. Keep the interior of the machine free from dust and material scraps.
6. Dépannage
Cette section aborde les problèmes courants que vous pourriez rencontrer pendant le fonctionnement.
- Aucune émission laser : Check the laser tube connection, water chiller operation, and power settings in LightBurn. Ensure the emergency stop button is not engaged.
- Qualité de gravure/découpe médiocre : Verify focal distance (use autofocus), check lens and mirror cleanliness, and adjust power/speed settings for your material. Ensure the material is flat.
- La machine ne se connecte pas à l'ordinateur : Check USB/Ethernet cable connections, ensure LightBurn is configured for the correct machine, and verify driver installation.
- Overheating Chiller: Ensure the chiller has adequate ventilation and is filled to the correct water level. Check for blockages in the water lines.
For further assistance, refer to the comprehensive troubleshooting guide available on the OMTech support website ou contacter le service client.
7. Spécifications
| Fonctionnalité | Détail |
|---|---|
| Dimensions du produit | 86.6 x 60.6 x 37 pouces |
| Numéro de modèle de l'article | SH-G1610 |
| Poids de l'article | 816 livres |
| Fabricant | OMTech |
| Max. Vitesse de gravure | 600 mm/s |
| Transmission de données | Câble USB, câble Ethernet, clé USB, hors ligne |
| Taille du laissez-passer avant/arrière | 66.9 x 1.9 pouces |
| Side Pass Size | 42.1 x 0.7 pouces |
| Laser Tube Type | Yongli A8s CO2 |
| Durée de vie du tube laser | Jusqu'à 7,000 XNUMX heures |
8. Garantie et assistance
This product comes with a return policy allowing for refund/replacement within 30 days of purchase. For specific warranty details and technical support, please refer to the documentation included with your product or visit the official OMTech website.
Vous pouvez également visiter le Boutique OMTech sur Amazon pour plus d'informations et de produits.