Introduction
This manual provides comprehensive instructions for the assembly, operation, maintenance, and troubleshooting of your WORKPRO Garage Workbench with Storage. Designed for durability and functionality, this workbench is an ideal solution for garages, workshops, and utility rooms, offering ample storage and a robust work surface.

Image: The WORKPRO Garage Workbench, fully assembled, showcasing its pegboard, integrated LED light, power outlets, and a spacious pull-out drawer. Tools are organized on the pegboard and workbench surface.
Consignes de sécurité
Please read and understand all safety warnings and instructions before assembling or using this product. Failure to follow these instructions may result in property damage or personal injury.
- Capacité de poids : Do not exceed the maximum load capacity of 800 lbs for the entire workbench. The top shelf supports up to 50 lbs, the pegboard up to 100 lbs, the work surface up to 600 lbs, and each drawer up to 50 lbs.
- Assemblée: Assemble the workbench on a flat, stable surface. Ensure all bolts and fasteners are securely tightened before use.
- Stabilité: Do not climb or stand on the workbench. Distribute weight evenly on the work surface and shelves.
- Sécurité électrique : When using the integrated power outlets, ensure that the total electrical load does not exceed the specified rating. Do not use in wet conditions.
- Enfants et animaux domestiques : Keep children and pets away from the assembly area. Do not allow children to play on or around the workbench.
- Entretien: Regularly inspect the workbench for loose fasteners, damage, or wear. Tighten as necessary and replace damaged parts.
Contenu du colis
Avant de commencer l'assemblage, vérifiez que tous les composants énumérés ci-dessous sont présents et en bon état. Si des pièces sont manquantes ou endommagées, veuillez contacter le service client.
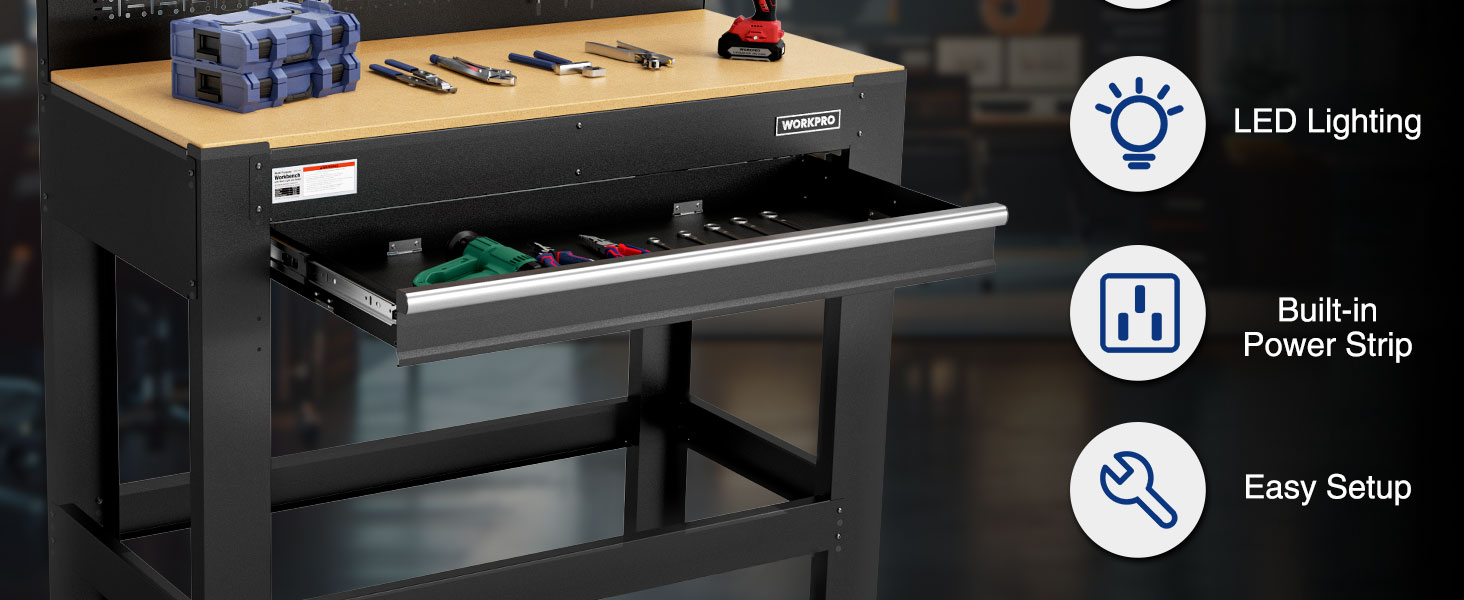
Image: An exploded diagram illustrating all individual components of the workbench, including legs, beams, pegboard, top shelf, drawer, and hardware, laid out before assembly.
Each component is numbered for easy identification during assembly. Refer to the assembly video for visual guidance on component identification.
Configuration et assemblage
For a detailed visual guide, please watch the official assembly video provided below. Follow the steps carefully to ensure proper and safe assembly.
Video: An official assembly guide for the WORKPRO Garage Workbench with Storage, demonstrating each step of the setup process.
Étapes d'assemblage :
- Install the Legs and Braces (0:07): Begin by assembling the main leg structures. Ensure the rear legs with the notch face inward.
- Install the Rear Bottom Beam (0:17): Attach the rear bottom beam to the assembled leg structures.
- Attach the Front Bottom Beam (0:21): Secure the front bottom beam. Note that it can be attached on the top or at the bottom of the front legs, offering flexibility.
- Install the Front Top Beam and Rear Top Beam (0:25): Attach the top beams to complete the main frame.
- Install the Drawer Slide Panel (0:29): Install the panel that will support the drawer slides.
- Install the Left and Right Slide Panel (0:32): Attach the side panels for the drawer mechanism.
- Install the Support Rod (0:35): Secure the support rod for additional stability.
- Install the Pegboard (0:38): Mount the pegboard onto the rear of the workbench frame.
- Install the MDF Table Top (0:42): Carefully place and secure the MDF work surface onto the frame.
- Install the Top Shelf (0:46): Assemble and attach the top shelf above the pegboard.
- Install the Drawer and Drawer Mat (1:02): Assemble the drawer, insert the drawer mat, and slide the drawer into its designated position.
- Install the Light Support Bracket and Light (1:20): Attach the light support bracket and then install the LED light, connecting its power cable.
Mode d'emploi
Your WORKPRO Garage Workbench is designed for versatile use in various environments. Here's how to maximize its features:
- Surface de travail : The spacious MDF work surface (600 lbs capacity) is ideal for assembly, repair, and crafting projects. Keep it clean and dry for optimal performance.
- Panneau perforé : Utilize the sturdy pegboard (100 lbs capacity) to organize frequently used tools and accessories. Compatible with standard pegboard hooks (not included).
- Étagère supérieure : The integrated top shelf (50 lbs capacity) provides convenient storage for smaller items, supplies, or additional lighting.
- Tiroir: The pull-out drawer (50 lbs capacity) with a ball-bearing slide offers secure and organized storage for tools and supplies. The included drawer mat helps prevent items from shifting and protects the drawer's interior.
- Prises de courant: The built-in power strip provides convenient access to electrical outlets for your power tools and devices. Ensure the workbench is connected to a grounded outlet.
- Lumière LED : The integrated 9W LED light illuminates your work area, improving visibility and precision during tasks. Use the switch on the light fixture to turn it on/off.

Image: Visual representation of the workbench emphasizing its multi-purpose design, including the heavy-duty construction, LED lighting, built-in power strip, equipped drawer, and pegboard.
Entretien
Regular maintenance will extend the life and performance of your WORKPRO workbench:
- Nettoyage: Wipe down steel surfaces with a damp cloth and mild detergent. Dry thoroughly to prevent rust. For the MDF top, use a dry or slightly damp En tissu, évitez l'humidité excessive.
- Fixations : Periodically check all bolts, screws, and connections for tightness. Re-tighten as needed to maintain stability.
- Glissières de tiroirs : Keep drawer slides clean and free of debris. A light application of silicone lubricant can ensure smooth operation.
- Inspection des dommages : Inspect the frame, pegboard, and work surface for any signs of damage, such as dents, bends, or cracks. Address any damage promptly to prevent further issues.
Dépannage
Voici des solutions aux problèmes courants que vous pourriez rencontrer :
| Problème | Cause possible | Solution |
|---|---|---|
| L'établi est bancal. | Fixations desserrées ; sol inégal. | Check and tighten all assembly bolts. Ensure the workbench is on a level surface. |
| Le tiroir coince ou ne coulisse pas correctement. | Debris in slides; Dry slides; Overloaded drawer. | Clean the drawer slides. Apply a silicone lubricant. Reduce the weight in the drawer. |
| La lumière LED ne s'allume pas. | Not plugged in; Power outlet issue; Light switch off. | Ensure the light is properly plugged into the power strip. Check if the power strip is receiving power. Verify the light's switch is in the "on" position. |
Caractéristiques
| Fonctionnalité | Détail |
|---|---|
| Marque | TRAVAIL PRO |
| Numéro de modèle | W082136AE |
| Matériel | Q195 cold-rolled steel; Wood (MDF) |
| Dimensions du produit (L x l x H) | 45"L x 22"W x 62"H (Total Height) |
| Hauteur de la surface de travail | 37" |
| Capacité de charge totale | 800 LBS |
| Work Surface Capacity | 600 LBS |
| Pegboard Capacity | 100 LBS |
| Capacité de l'étagère supérieure | 50 LBS |
| Capacité du tiroir | 50 livres (chacun) |
| Assemblage requis | Oui |
| Éclairage intégré | Lampe LED 9 W |
| Prises de courant | Built-in Power Strip |

Image: A detailed diagram illustrating the dimensions and various weight capacities of the workbench components.
Informations sur la garantie
WORKPRO products are manufactured to high-quality standards and are backed by a manufacturer's warranty. For specific warranty terms and conditions, please refer to the product packaging or contact WORKPRO customer support directly. Keep your purchase receipt for warranty claims.
Assistance clientèle
If you have any questions, require assistance with assembly, or need to report missing/damaged parts, please contact WORKPRO customer support. You can find contact information on the product packaging or by visiting the official WORKPRO website.
For more information and to explore other WORKPRO products, visit the Boutique WORKPRO sur Amazon.