1. Introduction
This manual provides detailed instructions for the proper use and maintenance of your TFA Dostmann LT202 Professional Digital Thermometer. This device is designed for precise temperature measurement in various environments, including refrigerators, freezers, aquariums, terrariums, pharmacies, laboratories, and supermarkets, where accurate temperature monitoring is crucial.
The thermometer features a waterproof cable sensor, permanent display of maximum and minimum values, and an adjustable optical and acoustic temperature alarm. It complies with EN13485 standards, making it suitable for professional applications.
2. caractéristiques du produit
- Control Thermometer: Practical digital measuring device for temperature control in refrigerators, freezers, aquariums, terrariums, or other areas requiring precise temperature.
- Cable Probe: Features an approximately 2-meter long waterproof cable probe for fast response times (measurement interval every 10 seconds) and flexible placement options (magnet, stand, hanging eyelet).
- Affichage numérique: Permanent display of maximum and minimum values (manual reset) with an adjustable optical and acoustic temperature alarm, configurable to 3 volume levels (loud, normal, mute).
- Haute précision : Operates with high-quality sensors to display temperature with high precision and trigger the alarm within seconds. Accuracy: ±0.3 °C from -10 °C to +20 °C, ±0.5 °C from -20 °C to -10 °C and +20 °C to +40 °C, ±1 °C from -40 °C to -20 °C and +40 °C to +70 °C.
- Conformité: The thermometer complies with EN13485 standards.
3. Installation
- Installation de la batterie :
Open the battery compartment cover on the back of the device. Insert 2 x 1.5V AAA batteries, ensuring correct polarity (+/-). Close the battery compartment cover securely.

Image: Back of the thermometer with battery compartment.
- Connexion de la sonde :
Connect the waterproof cable probe to the designated port on the thermometer. Ensure the connection is firm.
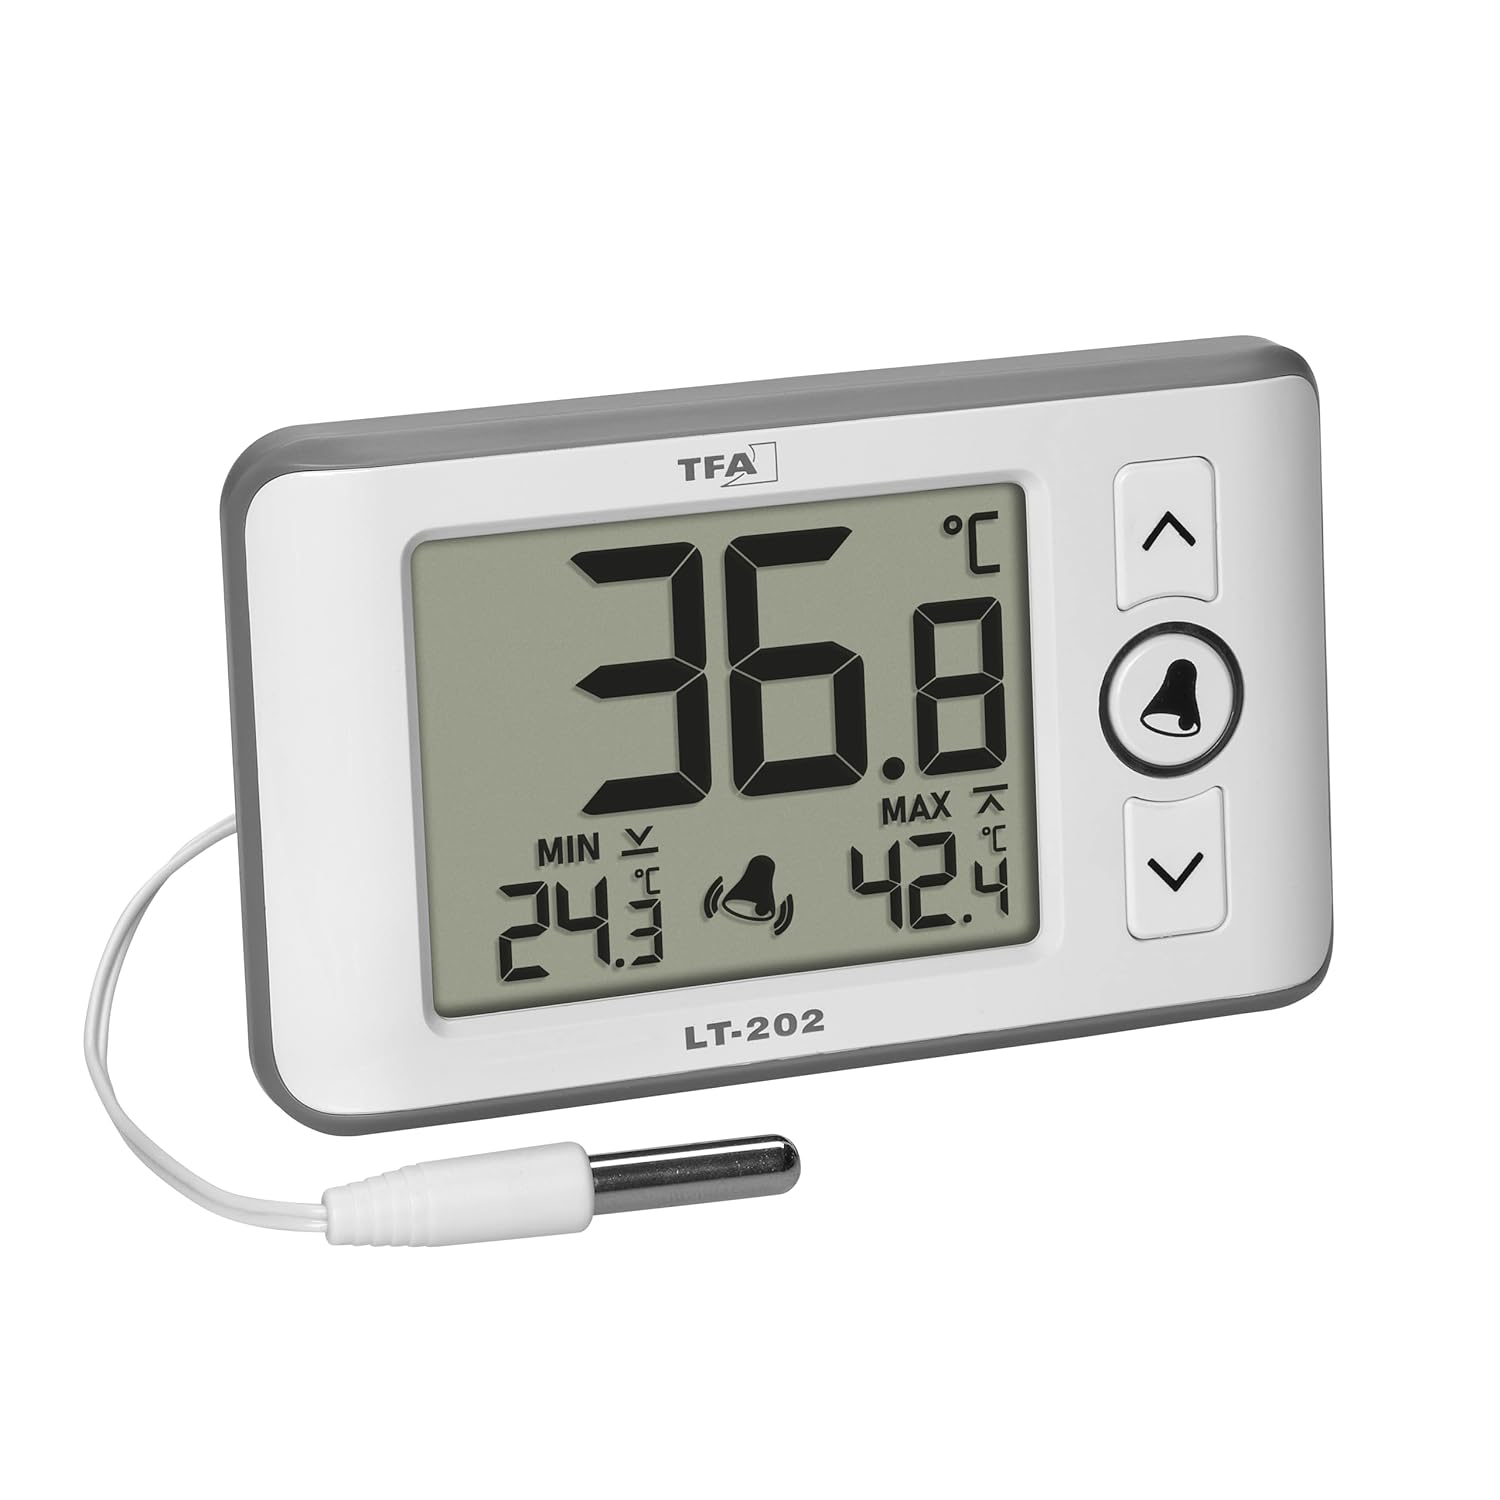
Image: Thermometer with connected probe.

Image : détaillée view of the waterproof probe tip.
- Placement:
The thermometer can be placed in various ways:
- Debout: Use the integrated stand on the back of the device to place it on a flat surface.
- Pendaison: Utilize the hanging eyelet on the back for wall mounting.
- Fixation magnétique : The device has a magnet for attaching to metallic surfaces.
Position the waterproof probe in the area where temperature measurement is required (e.g., inside a refrigerator, aquarium, or terrarium).

Image: Thermometer in a professional refrigerator setting.

Image: Thermometer used with an aquarium.

Image: Thermometer used with a terrarium.
4. Mode d'emploi

Image : Avant view of the thermometer display and controls.
- Marche/Arrêt : The device powers on automatically upon battery insertion. There is no dedicated power button.
- Affichage de la température actuelle : The large digits on the display show the current temperature measured by the probe.
- Maximum and Minimum Values (MAX/MIN):
The display permanently shows the highest (MAX) and lowest (MIN) temperatures recorded since the last reset.
Pour réinitialiser les valeurs MAX/MIN, appuyez et maintenez enfoncé le bouton CLOCHE button for approximately 3 seconds until the values clear and new recording begins.
- Temperature Alarm (HI/LO):
The device features an adjustable temperature alarm for both high (HI) and low (LO) temperature thresholds.
- Setting Alarm Thresholds:
- Appuyez sur le CLOCHE button once to enter alarm setting mode. The HI alarm value will flash.
- Utilisez le HAUT (^) et BAS (v) buttons to adjust the HI temperature threshold.
- Appuyez sur le CLOCHE button again to confirm the HI setting and move to the LO alarm value, which will flash.
- Utilisez le HAUT (^) et BAS (v) buttons to adjust the LO temperature threshold.
- Appuyez sur le CLOCHE button a third time to confirm the LO setting and exit alarm setting mode.
- Activation/Désactivation de l'alarme :
While in normal display mode, press the CLOCHE button briefly to toggle the alarm function on or off. A bell icon will appear on the display when the alarm is active.
- Volume de l'alarme :
The alarm has 3 volume levels: loud, normal, and mute. To adjust, press and hold the HAUT (^) button while the alarm is sounding or when setting the alarm thresholds. Cycle through the volume options until desired level is reached.
- Setting Alarm Thresholds:
- Sélection de l'unité de température (°C/°F) :
On the back of the device, locate the °C/°F switch. Slide the switch to select your preferred temperature unit.
5. Entretien
- Nettoyage:
Essuyez l'appareil avec un chiffon doux, damp cloth. Do not use abrasive cleaners or solvents. Ensure no water enters the main unit.
The probe is waterproof and can be cleaned with mild soap and water.
- Remplacement de la batterie :
When the display becomes dim or the device stops functioning, replace the batteries. Open the battery compartment on the back and replace the 2 x 1.5V AAA batteries with new ones, observing polarity.
Jetez les piles usagées conformément aux réglementations locales.
- Stockage:
Si vous devez stocker l'appareil pendant une période prolongée, retirez les piles pour éviter les fuites.
6. Dépannage
| Problème | Cause possible | Solution |
|---|---|---|
| Aucun affichage ou affichage faible | Dead or low batteries; incorrect battery polarity. | Remplacez les piles par des piles AAA 1.5 V neuves, en veillant à respecter la polarité. |
| Lectures de température inexactes | Probe not properly connected; probe damaged; device exposed to extreme conditions. | Ensure probe is firmly connected. Inspect probe for damage. Avoid placing the main unit in extreme temperatures. |
| L'alarme ne sonne pas | Alarm deactivated; alarm volume set to mute; alarm thresholds not met. | Activate the alarm (bell icon visible). Adjust alarm volume. Verify alarm thresholds are set correctly relative to current temperature. |
| MAX/MIN values not resetting | BELL button not held long enough. | Press and hold the BELL button for approximately 3 seconds until values clear. |
7. Spécifications
| Fonctionnalité | Détail |
|---|---|
| Numéro de modèle | 30.1052.02 |
| Plage de mesure de température | -40 ° C à +70 ° C (-40 ° F à +158 ° F) |
| Précision | ±0.3 °C (-10 °C à +20 °C) ±0.5 °C (-20 °C to -10 °C and +20 °C to +40 °C) ±1 °C (-40 °C to -20 °C and +40 °C to +70 °C) |
| Cable Probe Length | 200 cm (2 mètre) |
| Temps de réponse | 10 secondes |
| Source d'énergie | 2 piles AAA 1.5 V (non incluses) |
| Matériel | Plastique |
| Dimensions (L x l x H) | 100 x 21 (30) x 61 mm (approx. 10 x 2.1/3 x 6.1 cm) |
| Poids | 78 g |
| Conformité | EN13485 |
| Type d'affichage | Numérique |
| Options de montage | Hanging, Standing, Magnetic |
| Conseils d'entretien | Essuyer |
8. Garantie
This TFA Dostmann product comes with a 1-year availability of spare parts. For specific warranty terms and conditions, please refer to the documentation included with your purchase or contact TFA Dostmann customer support.
9. Assistance
For further assistance, technical support, or inquiries regarding your TFA Dostmann Professional Digital Thermometer LT202 30.1052.02, please visit the official TFA Dostmann website ou contactez leur service client.
Fabricant: TFA-Dostmann
Website: www.tfa-dostmann.de
Veuillez avoir votre numéro de modèle (30.1052.02) à portée de main lorsque vous contactez l'assistance.