BIQU EBB42 CAN Bus + CNC Voron Tap V2.0
BIQU BIGTREETECH EBB42 CAN Bus & Voron Tap V2.0 Instruction Manual
Model: EBB42 CAN Bus + CNC Voron Tap V2.0
1. Introduction
This manual provides detailed instructions for the installation, operation, and maintenance of the BIQU BIGTREETECH EBB42 CAN Bus Adapter Board and the CNC Voron Tap V2.0 All Metal Machining Kit. Please read this manual thoroughly before use to ensure proper functionality and safety.
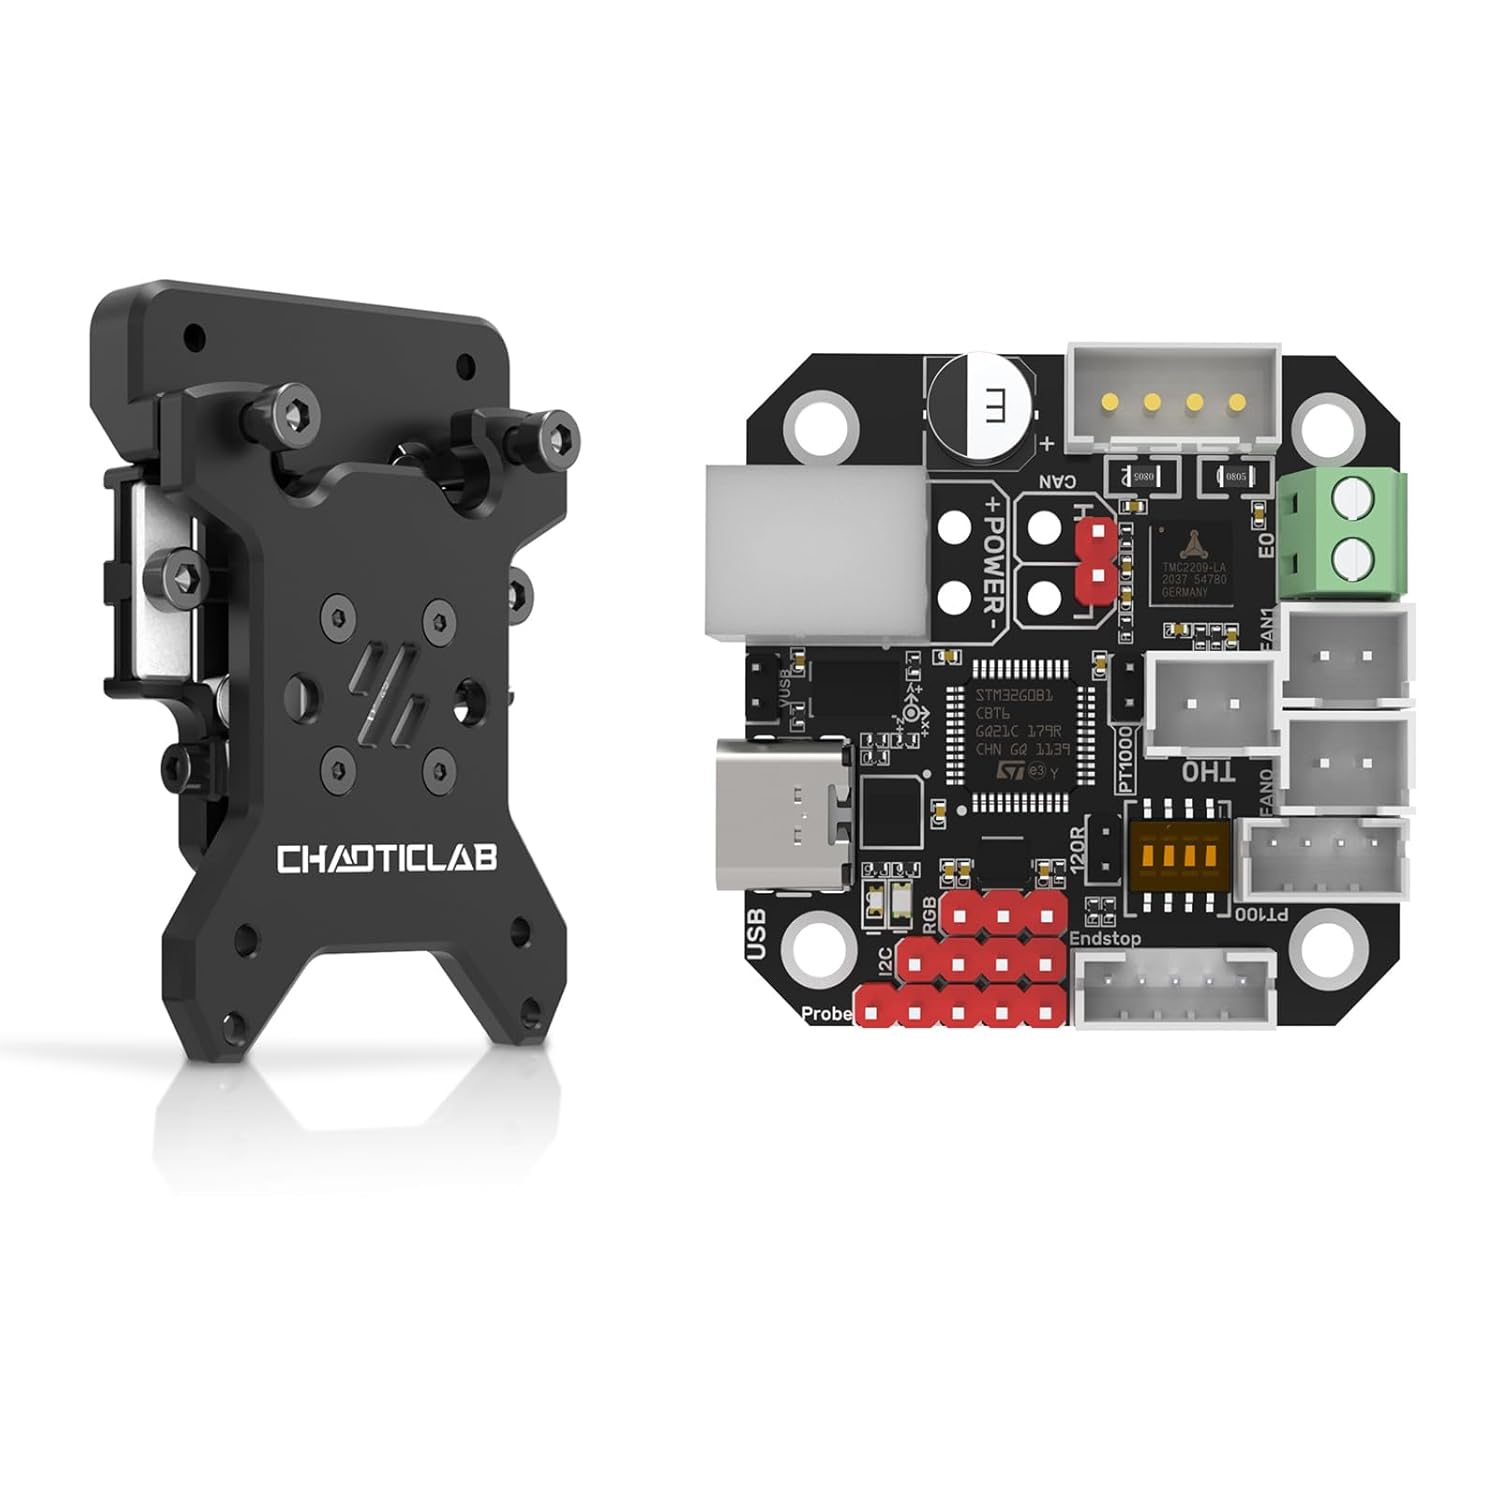
Figure 1 : Plusview of the BIGTREETECH EBB42 CAN Bus Adapter Board and CNC Voron Tap V2.0 Kit. This image displays both components side-by-side, highlighting their compact design.
2. Spécifications
The BIQU BIGTREETECH EBB42 CAN Bus Adapter Board and CNC Voron Tap V2.0 offer advanced features for 3D printer extruders and leveling systems. The Voron Tap V2.0 is notably lightweight, weighing approximately 68g (including mounting screws), which minimizes added mass to the toolhead.
- EBB42 CAN Bus Board:
- Onboard MAX31865 for PT100/PT1000 (2-wire/4-wire) temperature sensor support.
- Communication via CAN Bus or USB.
- Selectable 120R CAN terminal resistance via jumper cap.
- Reserved CAN expansion and RGB interfaces.
- BOOT and RESET buttons for DFU mode firmware updates via USB.
- ESD and Surge Protection for enhanced safety.
- Applicable for 35/36/42mm stepper motors.
- CNC Voron Tap V2.0:
- Ultra-high accuracy: 0.0004mm.
- Lightweight design: Approximately 68g (including mounting screws).
- OMRON EE-SX4320 Transmissive Photomicrosensor with 0.3mm wide aperture.
- Expanded voltage range: Supports 5-24V.
- High temperature reliability (70°C to 100°C).
- No separate Z-endstop required; includes crash protection.
- Utilizes HIWIN MGN7H Linear Guideways for stability and reduced weight.
- Designed with steel limit nuts and a magnetic limit assembly.
- Compatible with VORON 2.4 / Trident 3D Printers, specifically for MGN12H X-Axis.
3. Configuration et installation
Follow these steps for proper installation of the EBB42 CAN Bus board and the Voron Tap V2.0.
3.1 EBB42 CAN Bus Adapter Board Installation
- Connexion du moteur: Connect your 35/36/42mm stepper motor to the EBB42 board. Ensure connections are secure.

Figure 2: Diagram illustrating the easy installation of the EBB42 board, showing screw points for attachment and compatibility with 35/36/42mm motors. It is crucial to prevent the pinhead of the motherboard from contacting metal to avoid short circuits.
- PT100/PT1000 Sensor Configuration: The board supports 2-wire or 4-wire PT100/PT1000 sensors. Configure the jumper settings on the MAX31865 adapter board as required for your specific sensor type.

Figure 3: Close-up of the EBB42 board showing jumper settings for PT100/PT1000 sensor selection and the 120R terminal resistance for CAN communication. This image highlights the flexibility in sensor and communication configurations.
- Communication par bus CAN : If using CAN communication, the 120R terminal resistance can be enabled or disabled via a jumper cap. Ensure this is set correctly for your CAN network.

Figure 4: This image details the superior safety features of the EBB42 board, including ESD and Surge Protection. It also shows the jumper cap for selecting whether USB provides power to the motherboard, enhancing installation flexibility.
- Alimentation: The board can be powered via USB or an external power source. A jumper cap allows selection of USB power for the motherboard.
3.2 CNC Voron Tap V2.0 Installation
The Voron Tap V2.0 is designed for easy integration into Voron 2.4 / Trident 3D printers, specifically for the MGN12H X-Axis.
- Montage: Attach the Voron Tap V2.0 to your printer's MGN12H X-axis using the provided mounting screws. The kit includes a metal X-axis limit switch mounting bracket.

Figure 5: This image illustrates the straightforward installation of the CNC Voron Tap V2.0, highlighting the metal X-axis limit switch mounting bracket, the stable 4-pre-installed screws for secure setup, and the intuitive red/blue indicator light for trigger/open status.
- Linear Guideways: The Tap V2.0 utilizes HIWIN MGN7H linear guideways. Ensure these are properly seated and secured for optimal performance.

Figure 6: Detail of the HIWIN MGN7H Linear Guideways, emphasizing the quality assurance, steel thread inserts for stability, and the upgrade to trapezoidal magnetic limit components for higher accuracy.
- Capteur optique: The OMRON EE-SX4320 optical sensor is integrated. No separate Z-endstop is required.

Figure 7: This image showcases the OMRON EE-SX4320 Transmissive Photomicrosensor, highlighting its 0.3mm wide aperture and the expanded 5-24V voltage range for enhanced accuracy and reliability in the Voron Tap V2.0.
- Câblage : Connect the Voron Tap V2.0 to your printer's control board according to your printer's wiring diagram. The Tap V2.0 supports a voltagla gamme de 5-24V.
4. Fonctionnement
This section outlines the general operation principles for the EBB42 board and Voron Tap V2.0.
4.1 EBB42 CAN Bus Board Operation
- Mise à jour du firmware: To update the firmware, connect the EBB42 board via USB. Press the BOOT and RESET buttons to enter DFU (Device Firmware Upgrade) mode. Refer to the BIGTREETECH documentation for specific firmware flashing procedures.
- Communication: The board can communicate with your main control board via either USB or CAN Bus. Ensure your Klipper configuration (or other firmware) is set to the correct communication method.
- Surveillance de la température : The MAX31865 chip provides accurate temperature readings from PT100/PT1000 sensors. Monitor these readings through your printer's interface.
- Interface RVB : If an RGB LED is connected, it can be controlled via the reserved RGB interface, typically through firmware commands.
4.2 CNC Voron Tap V2.0 Operation
- Nivellement du lit : The Voron Tap V2.0 functions as a highly accurate bed leveling probe. Integrate it into your printer's firmware (e.g., Klipper) for automatic bed leveling routines.
- Précision: With an accuracy of 0.0004mm, the Tap V2.0 provides precise bed mesh generation, contributing to consistent first layers.
- Protection contre les collisions : The integrated crash protection mechanism helps prevent damage to the nozzle or print bed in case of unexpected contact during probing.
- Voyant lumineux : Observe the intuitive indicator light (Red: Trigger, Blue: Open) for real-time status feedback during probing operations.
5. Entretien
Regular maintenance ensures the longevity and optimal performance of your BIGTREETECH EBB42 and Voron Tap V2.0 components.
- Nettoyage: Periodically clean the components, especially the optical sensor of the Voron Tap V2.0, to ensure accurate readings. Use a soft, dry cloth. Avoid abrasive cleaners or solvents.
- Mises à jour du micrologiciel : Check the official BIGTREETECH website for the latest firmware updates for the EBB42 board. Keeping firmware up-to-date can improve performance and add new features.
- Inspection: Regularly inspect all wiring connections for looseness or damage. Ensure all mounting screws are secure.
- Linear Guideways: While HIWIN MGN7H guideways are robust, occasional inspection for debris or wear is recommended.
6. Dépannage
Cette section aborde les problèmes courants que vous pourriez rencontrer.
| Problème | Cause possible | Solution |
|---|---|---|
| EBB42 board not detected via CAN Bus. | Incorrect 120R terminal resistance setting, wiring issue, or firmware configuration. | Verify the 120R jumper cap setting. Check CAN bus wiring for continuity and correct polarity. Ensure Klipper (or other firmware) is configured for CAN communication. |
| Inaccurate temperature readings from PT100/PT1000. | Incorrect 2-wire/4-wire jumper setting, faulty sensor, or wiring. | Confirm the MAX31865 jumper settings match your sensor type. Inspect sensor wiring for damage. Test with a known good sensor if available. |
| Voron Tap V2.0 inconsistent probing. | Debris on optical sensor, loose mounting, or incorrect firmware configuration. | Clean the OMRON optical sensor carefully. Ensure the Tap is securely mounted to the X-axis. Review your printer's firmware configuration for probing settings. |
| Voron Tap V2.0 indicator light not functioning. | Wiring issue or power supply problem. | Check the wiring connections to the Tap V2.0. Ensure the Tap is receiving adequate power (5-24V). |
7. Assistance et garantie
For technical support, firmware downloads, and additional resources, please visit the official BIQU/BIGTREETECH website. Information regarding product warranty can also be found on their official support pages.
Ressources en ligne : BIQU Official Website