1. Introduction
Thank you for choosing the VEVOR 50A MPPT Solar Charge Controller. This device is designed to efficiently manage power flow from your solar panels to your battery bank, ensuring optimal charging and extending battery life. Featuring advanced Maximum Power Point Tracking (MPPT) technology, it offers superior charging efficiency compared to traditional PWM controllers. This controller automatically detects 12V or 24V DC input systems and includes a built-in Bluetooth module for convenient remote monitoring and control via a mobile application. Please read this manual thoroughly before installation and operation to ensure safe and correct usage.
2. Consignes de sécurité
Respectez les consignes de sécurité suivantes lors de l'installation et du fonctionnement :
- Ensure all wiring is correctly polarized. Incorrect polarity can damage the controller and connected devices.
- Branchez toujours d'abord la batterie au contrôleur, puis le panneau solaire, et enfin la charge. Débranchez-les dans l'ordre inverse.
- Installez le contrôleur dans un endroit bien ventilé, à l'écart des matériaux inflammables et de la lumière directe du soleil.
- Use appropriate circuit breakers or fuses for all connections to prevent overcurrent damage.
- Ne tentez pas de démonter ou de réparer le contrôleur. Contactez un technicien qualifié pour toute intervention.
- Portez des lunettes de protection lorsque vous manipulez des piles. Les piles peuvent dégager des gaz explosifs.
- Ensure all connections are tight to prevent loose contacts and overheating.
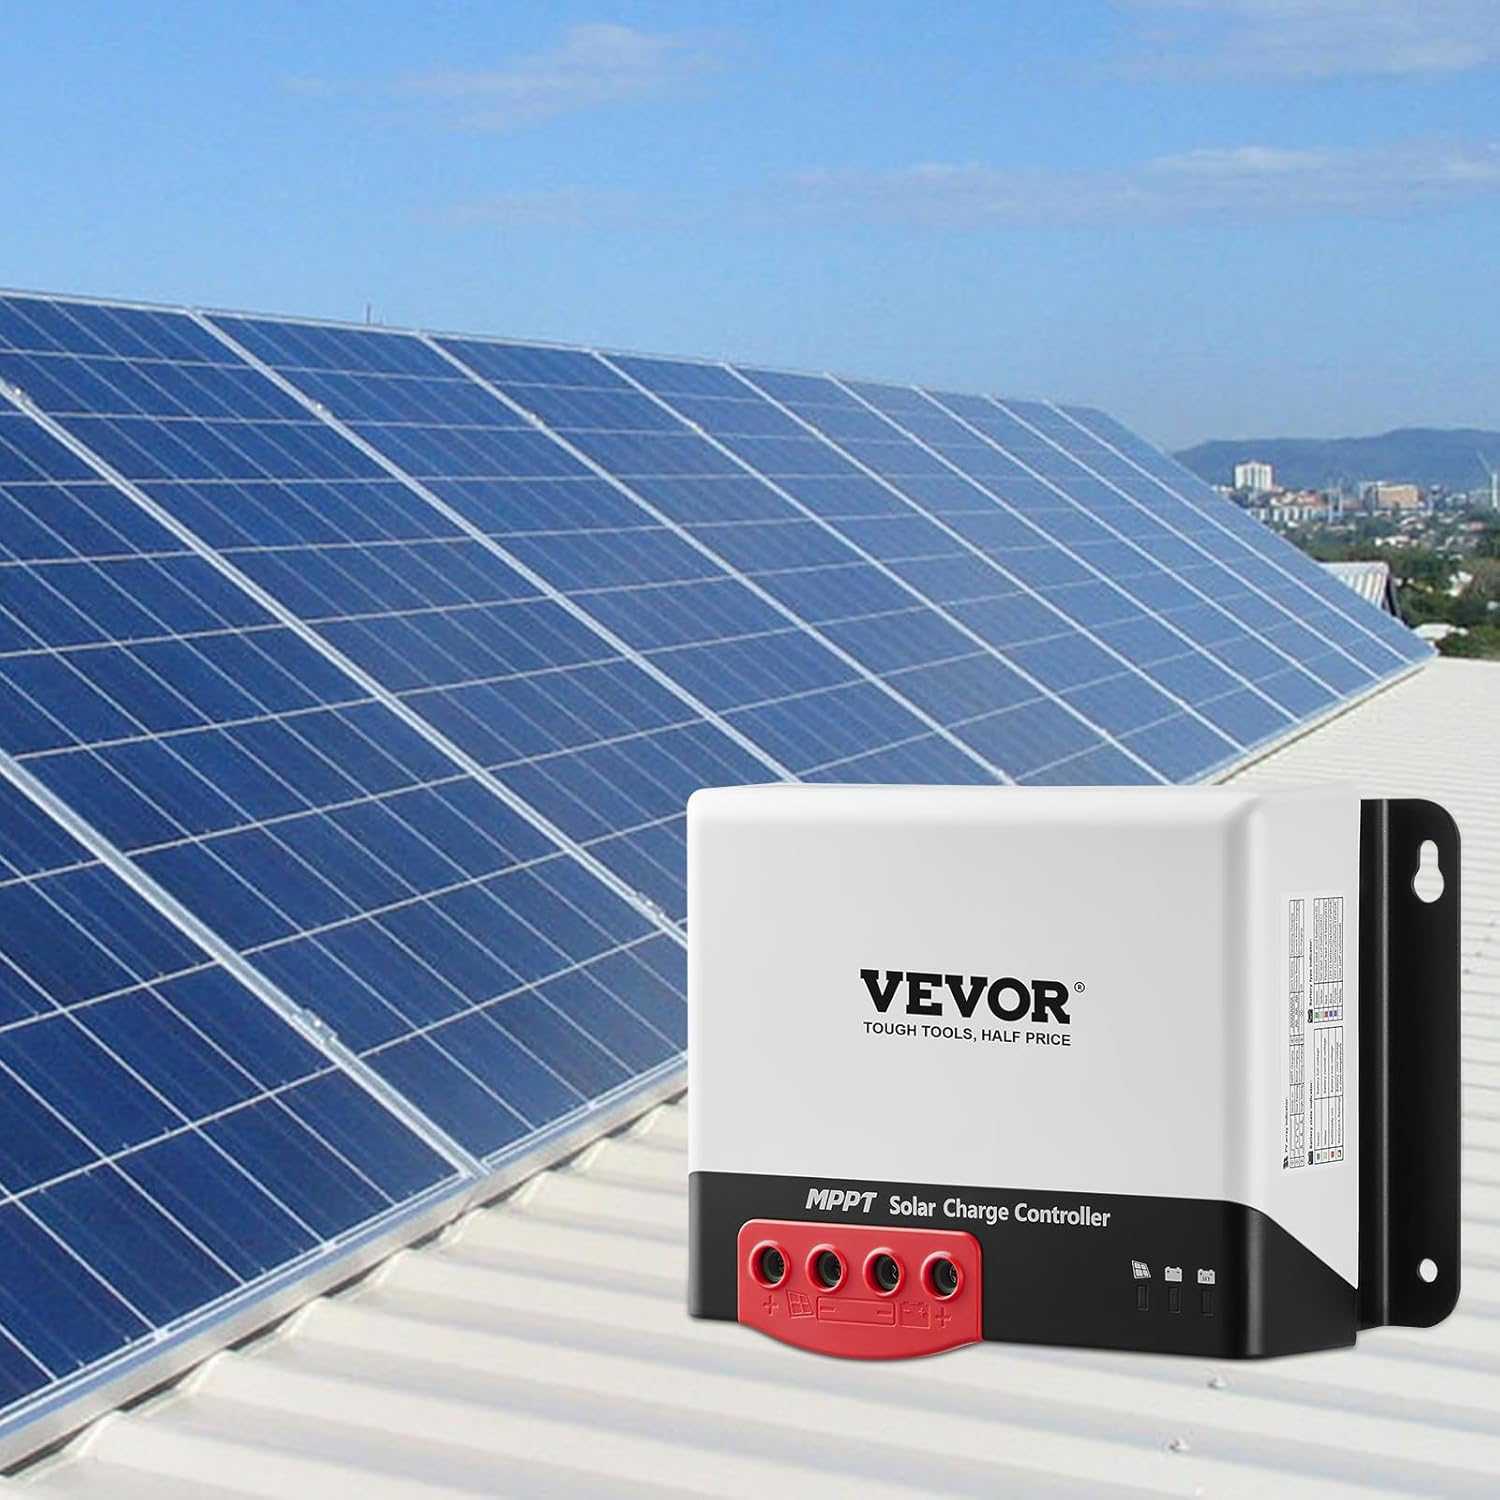
Figure 2.1 : The controller features comprehensive electronic protection, including battery reverse protection, PV reverse protection, PV short-circuit protection, overcurrent charging protection, and TVS lightning protection, ensuring safe operation.
3. Produit terminéview
The VEVOR 50A MPPT Solar Charge Controller is a compact and robust unit designed for efficient solar power management. It features clearly labeled terminals for solar panel input, battery connection, and DC load output. The integrated Bluetooth module allows for wireless monitoring and parameter adjustment.
3.1. Composants
- Solar Panel Input Terminals (PV+)
- Battery Connection Terminals (BAT+)
- DC Load Output Terminals (LOAD+)
- LED Indicators for System Status
- Port du capteur de température externe
- Module Bluetooth intégré

Figure 3.1 : The VEVOR 50A MPPT Solar Charge Controller, showcasing its compact design and the Bluetooth connectivity feature with a smartphone.

Figure 3.2 : Un détail view of the controller's top surface, showing the input/output terminals and mounting brackets.
4. Installation
4.1. Montage du contrôleur
Mount the controller vertically on a flat, non-flammable surface. Ensure adequate airflow around the unit for heat dissipation. Use the provided mounting template or measure the mounting holes for secure installation. Avoid mounting in direct sunlight or areas with high humidity.
4.2. Connexions de câblage
Follow the wiring order precisely to prevent damage. Use appropriate wire gauges for your system's current and distance.
- Connectez la batterie : Connect the battery to the controller's battery terminals (BAT+ and BAT-). Ensure correct polarity. The controller will automatically detect the system voltage (12V ou 24V).
- Connecter le panneau solaire : Connect the solar panel to the controller's solar input terminals (PV+ and PV-). Ensure correct polarity.
- Raccordez la charge CC (facultatif) : If using a DC load directly from the controller, connect it to the load terminals (LOAD+ and LOAD-).
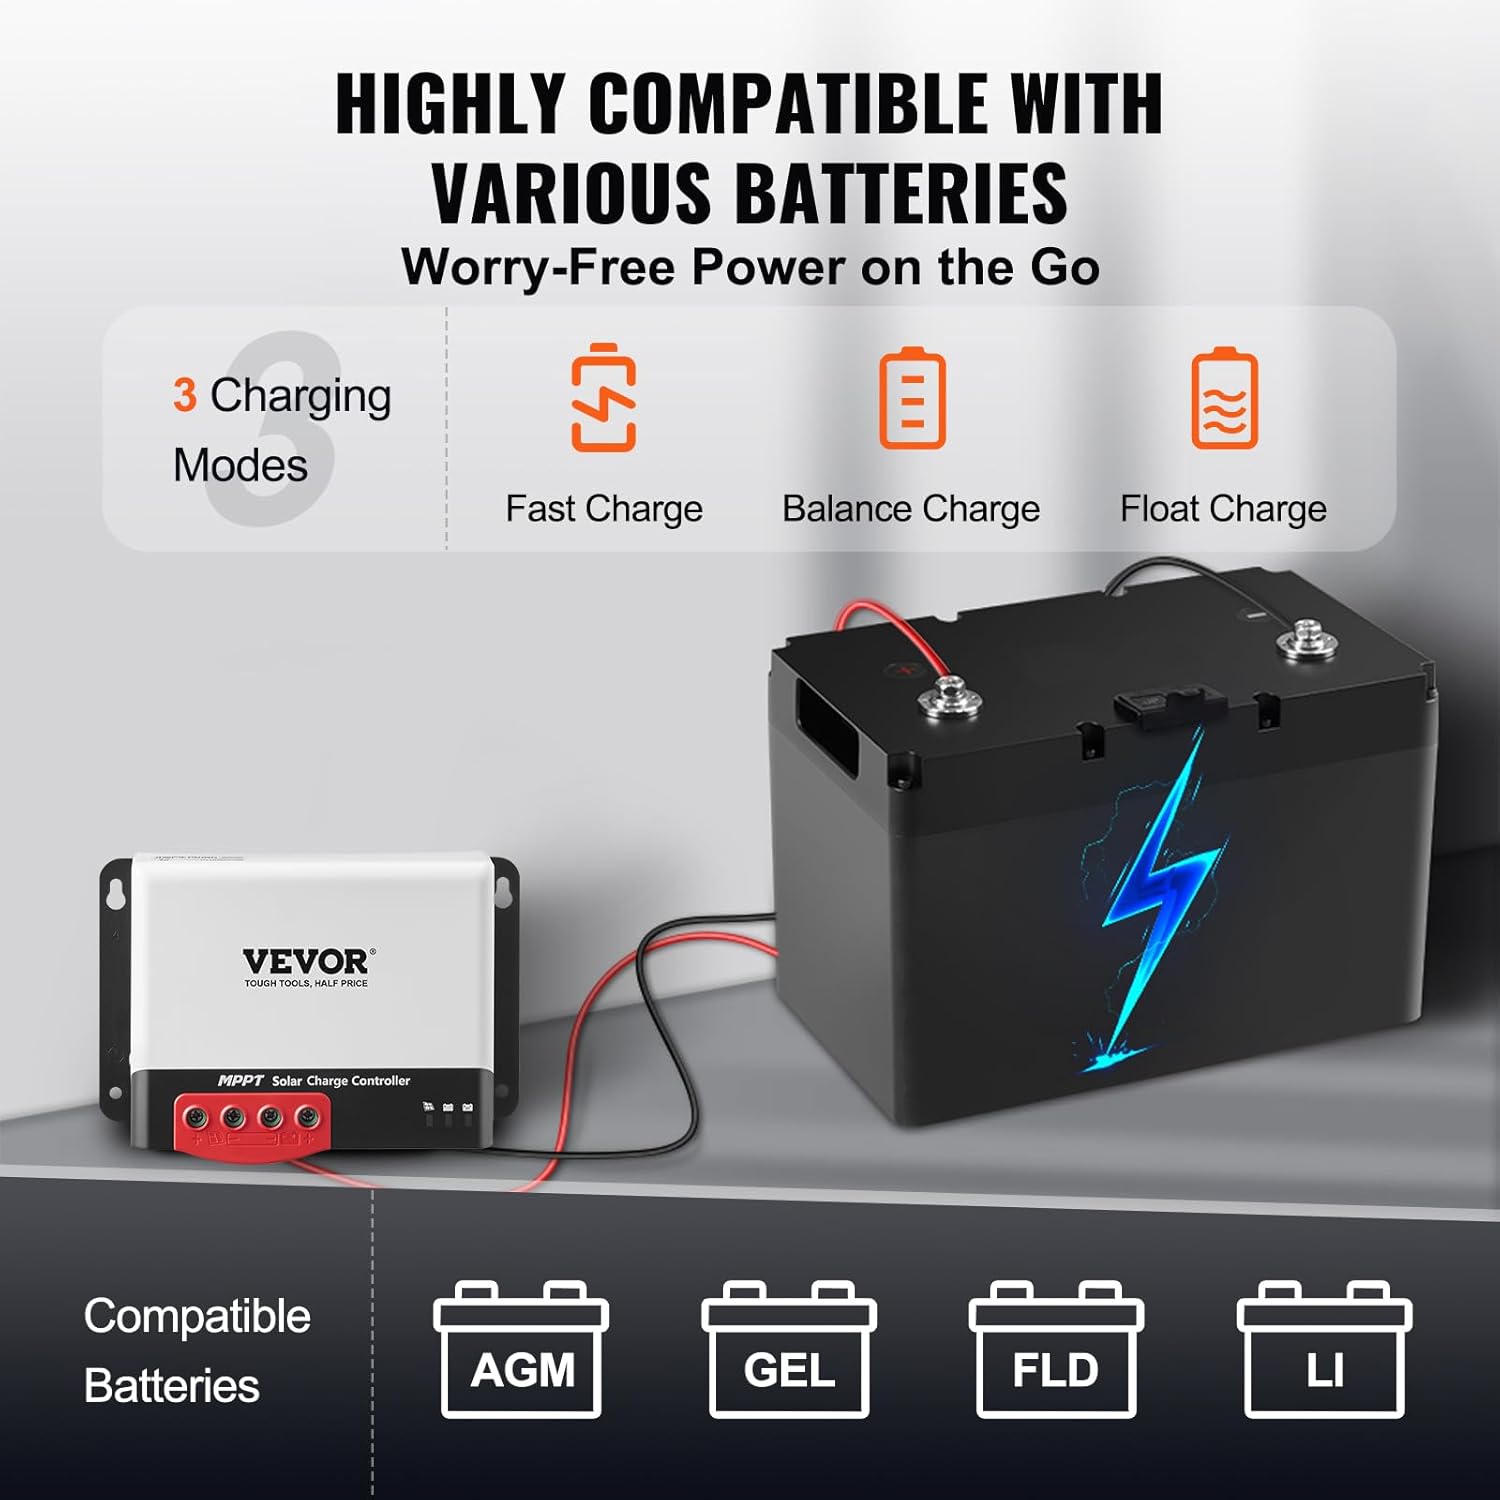
Figure 4.1 : Wiring diagram illustrating the connection of solar panels and battery to the VEVOR MPPT solar charge controller.
4.3. Bluetooth App Installation
The controller features a built-in Bluetooth module for remote monitoring and control. To use this feature:
- Scan the QR code provided in the physical manual or search for the 'SRNE' app on your mobile device's app store (Google Play Store or Apple App Store). Note: The VEVOR app on some app stores may be for shopping, not controller management.
- Installez l'application sur votre smartphone ou tablette.
- Enable Bluetooth on your device and open the SRNE app.
- The app should automatically detect the controller. Follow the on-screen prompts to connect.

Figure 4.2 : The mobile application interface for monitoring and controlling the solar charge controller via Bluetooth.
5. Mode d'emploi
5.1. Mise sous tension initiale
After connecting the battery and solar panel, the controller will power on automatically. The LED indicators will show the current status of the system. Refer to the LED indicator guide in the full manual for specific meanings.
5.2. Monitoring via Bluetooth App
The Bluetooth app provides real-time data and allows for parameter adjustments:
- Données en temps réel : View vol actueltage, current, power for solar input, battery, and load.
- Données historiques: Access daily, monthly, and total energy generation and consumption records.
- Paramètres des paramètres: Adjust battery type (AGM, Gel, Flooded, Lithium), charging voltage limits, and load control modes.
5.3. Modes de charge
The controller supports three main charging modes to optimize battery health:
- Charge rapide: Bulk charging phase where the controller delivers maximum current to rapidly charge the battery.
- Frais de solde : An equalization charge for certain battery types (e.g., Flooded) to ensure all cells are equally charged. This mode is typically not used for sealed or lithium batteries.
- Charge flottante: Once the battery is fully charged, the controller reduces the voltage to a lower level to maintain the battery at full capacity without overcharging.

Figure 5.1 : The controller supports various battery types and offers optimized charging through Fast, Balance, and Float modes.
6. Entretien
Un entretien régulier garantit des performances optimales et une longue durée de vie à votre régulateur de charge solaire :
- Vérifier les connexions : Periodically inspect all wiring connections for tightness and corrosion. Loose connections can cause overheating and power loss.
- Nettoyer le contrôleur : Veillez à ce que la manette reste propre et exempte de poussière et de débris. Essuyez l'extérieur avec un chiffon sec. Assurez-vous que les ouvertures de ventilation ne sont pas obstruées.
- Inspecter les dommages : Check for any visible signs of damage to the casing ou câblage.
- Conditions environnementales : Veillez à ce que l'environnement de travail reste dans les plages de température et d'humidité spécifiées.
7. Dépannage
If you encounter issues with your VEVOR solar charge controller, refer to the following common problems and solutions:
- Manette ne s'allume pas :
- Vérifiez les connexions de la batterie et assurez-vous de la polarité correcte.
- Vérifier le vol de la batterietage est supérieur au volume de fonctionnement minimaltage.
- Aucune recharge par panneau solaire :
- Vérifiez les connexions et la polarité des panneaux solaires.
- Assurer le vol du panneau solairetage is within the controller's input range (Max. 100V DC).
- Verify sufficient sunlight.
- Check the Bluetooth app for any error messages or indications that charging has been automatically turned off (e.g., due to overcurrent or overvoltagprotection).
- Problèmes de connexion Bluetooth :
- Assurez-vous que Bluetooth est activé sur votre appareil mobile.
- Confirm you are using the correct 'SRNE' app.
- Be within the 20m Bluetooth range of the controller.
- Redémarrez l'application et/ou votre appareil mobile.
- La batterie ne se charge pas complètement :
- Verify the correct battery type is selected in the app settings.
- Check solar panel output and ensure it's sufficient for your battery bank size.
- Inspect for excessive load draw.
For persistent issues, consult the full product manual or contact VEVOR customer support.
8. Spécifications
| Fonctionnalité | Spécification |
|---|---|
| Modèle | MC2450N10-B |
| Courant de charge | DC Max. 50A |
| Vol de batterie applicabletage | DC 12V/24V (Auto) |
| Panneau solaire en circuit ouvert Voltage | Max. 100V CC |
| Puissance d'entrée nominale (système 12 V) | 660 W |
| Puissance d'entrée nominale (système 24 V) | 1320 W |
| Efficacité du contrôle MPPT | ≥ 98 % |
| Modes de charge | Fast Charge, Balance Charge, Float Charge |
| Communication externe | Built-in Bluetooth Module (APP Controlled) |
| Capteur de température externe | Soutenu |
| Plage de température de fonctionnement | -20°C à 50°C (-4°F à 122°F) |
| Poids net du produit | 1.33 kg (2.93 lb) |
| Dimensions du colis | 240 x 190 x 130 mm (9.45 x 7.46 x 5.12 pouces) |
| Matériel | Acrylonitrile butadiène styrène (ABS), polycarbonate (PC) |
| Code UPC | 840349949017 |

Figure 8.1 : The controller is designed for stable operation in temperatures ranging from -20°C to 50°C.
9. Garantie et assistance
Les produits VEVOR sont conçus pour offrir durabilité et performance. Pour toute information relative à la garantie, à l'assistance technique ou au service après-vente, veuillez consulter les coordonnées fournies avec votre documentation d'achat ou visiter le site officiel de VEVOR. website. Please have your model number (MC2450N10-B) and purchase date available when contacting support.