
1. Consignes de sécurité
Read and understand all instructions before operating the Hyper Toys 24V Go Kart Ride On. Failure to follow safety guidelines may result in serious injury.
- Surveillance d'un adulte requise : This product is intended for use under direct adult supervision.
- Équipement de protection : Always wear a helmet and appropriate safety gear (e.g., knee pads, elbow pads) when operating the Go Kart.
- Limite de poids: Do not exceed the maximum rider weight of 154 livres (70 kg).
- Surface de travail : Operate the Go Kart only on hard, flat, dry surfaces. Avoid loose dirt, sand, gravel, steep inclines, or wet conditions.
- Zone dégagée: Ensure the operating area is free from obstacles, traffic, and other hazards.
- Sécurité des batteries : Handle the battery according to instructions. Do not modify or expose to extreme temperatures.
- Pas de passagers : This Go Kart is designed for a single rider only.
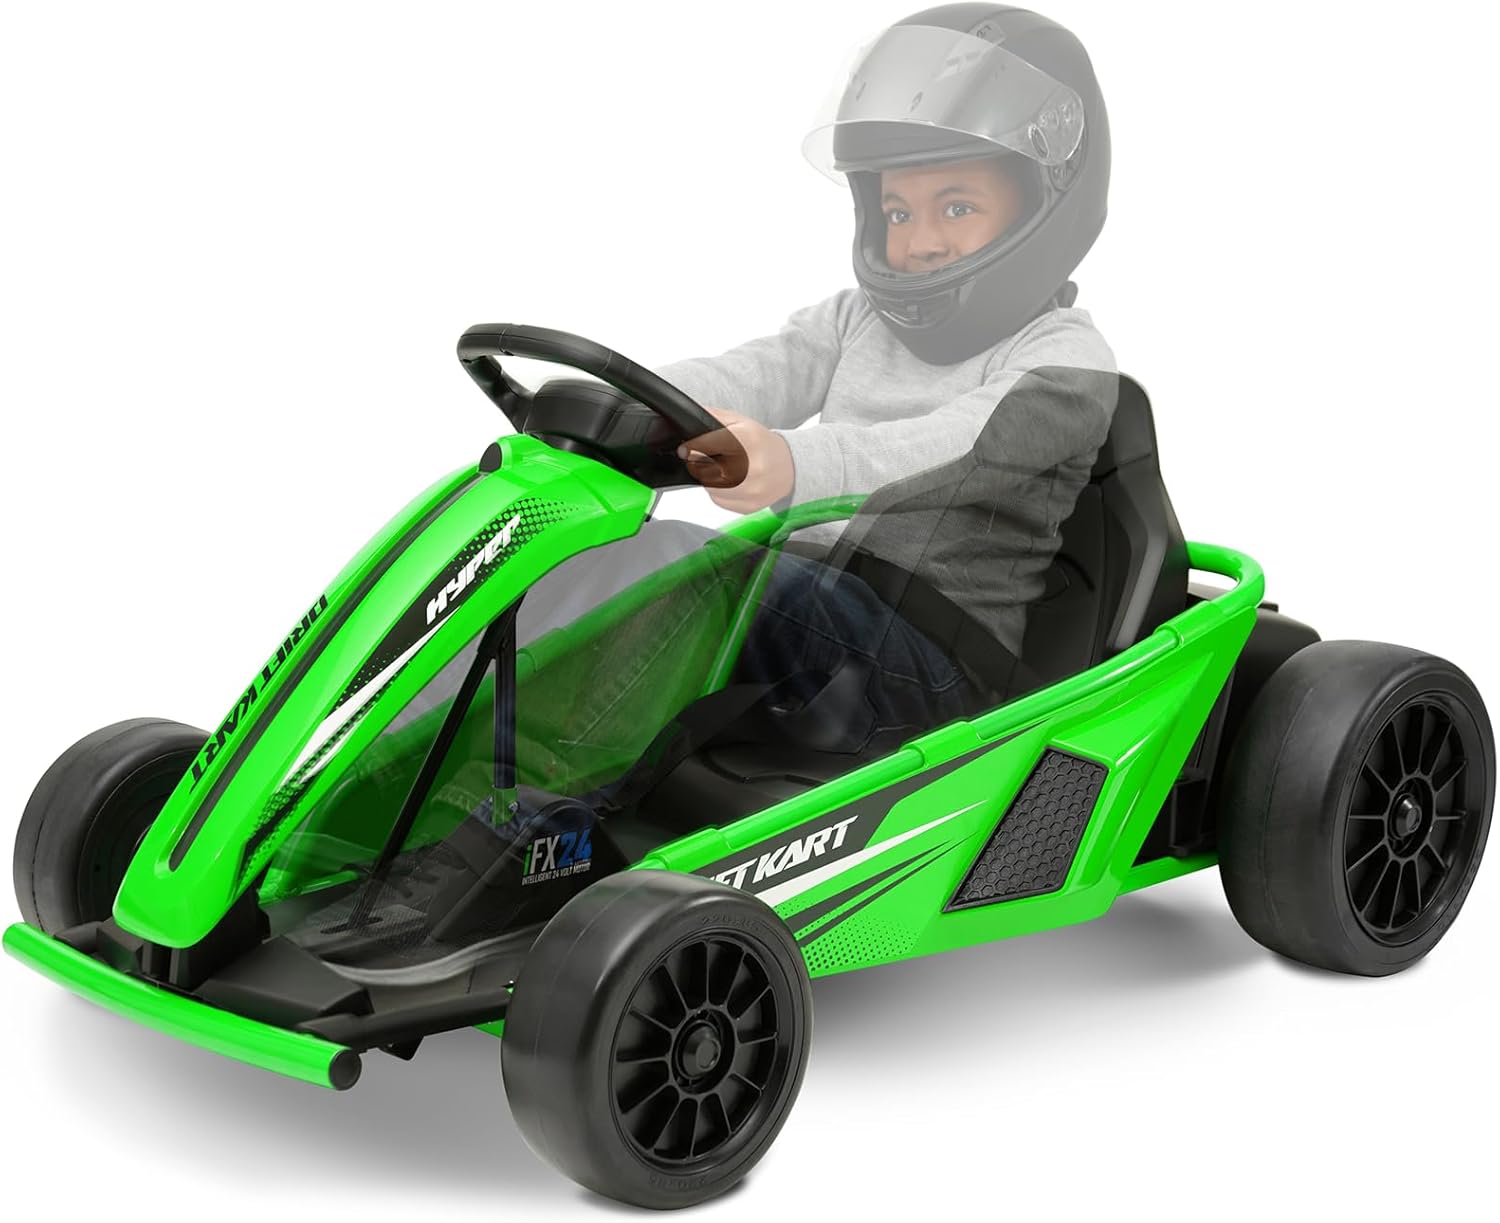
2. Produit terminéview
The Hyper Toys 24V Go Kart Ride On is an electric vehicle designed for recreational use on appropriate surfaces. It features multiple speed settings and a drift driving mode for an engaging experience.
Caractéristiques principales :
- Fonctionnement facile par bouton-poussoir
- Forward low speed: 5 mph
- Reverse speed: 5 mph
- Forward maximum speed: 9 mph
- Drift driving mode
- Realistic racing-style steering wheel
- Durable construction with a racing bucket seat


3. Instructions de montage
The Hyper Toys 24V Go Kart requires some assembly before first use. Please follow these general steps. Refer to the detailed assembly manual included in the product packaging for specific diagrams and instructions.
Outils requis :
- Wrench (size may vary)
- Tournevis (tête Phillips)
Étapes d'assemblage :
- Déballer les composants : Retirez soigneusement toutes les pièces de l'emballage et vérifiez-les par rapport à la liste des pièces figurant dans votre manuel.
- Fixer les roues avant : Securely attach the front wheels to the axle using the provided hardware.
- Fixez les roues arrière : Securely attach the rear wheels to the drive axle.
- Installer la colonne de direction : Insert the steering column and connect it to the steering mechanism.
- Siège de montage : Attach the racing bucket seat to the Go Kart frame.
- Connectez la batterie : Locate the battery compartment, typically under the seat or chassis. Connect the battery terminals as instructed. Ensure connections are secure.
- Vérifications finales : Before first use, ensure all bolts, nuts, and connections are tight and secure.
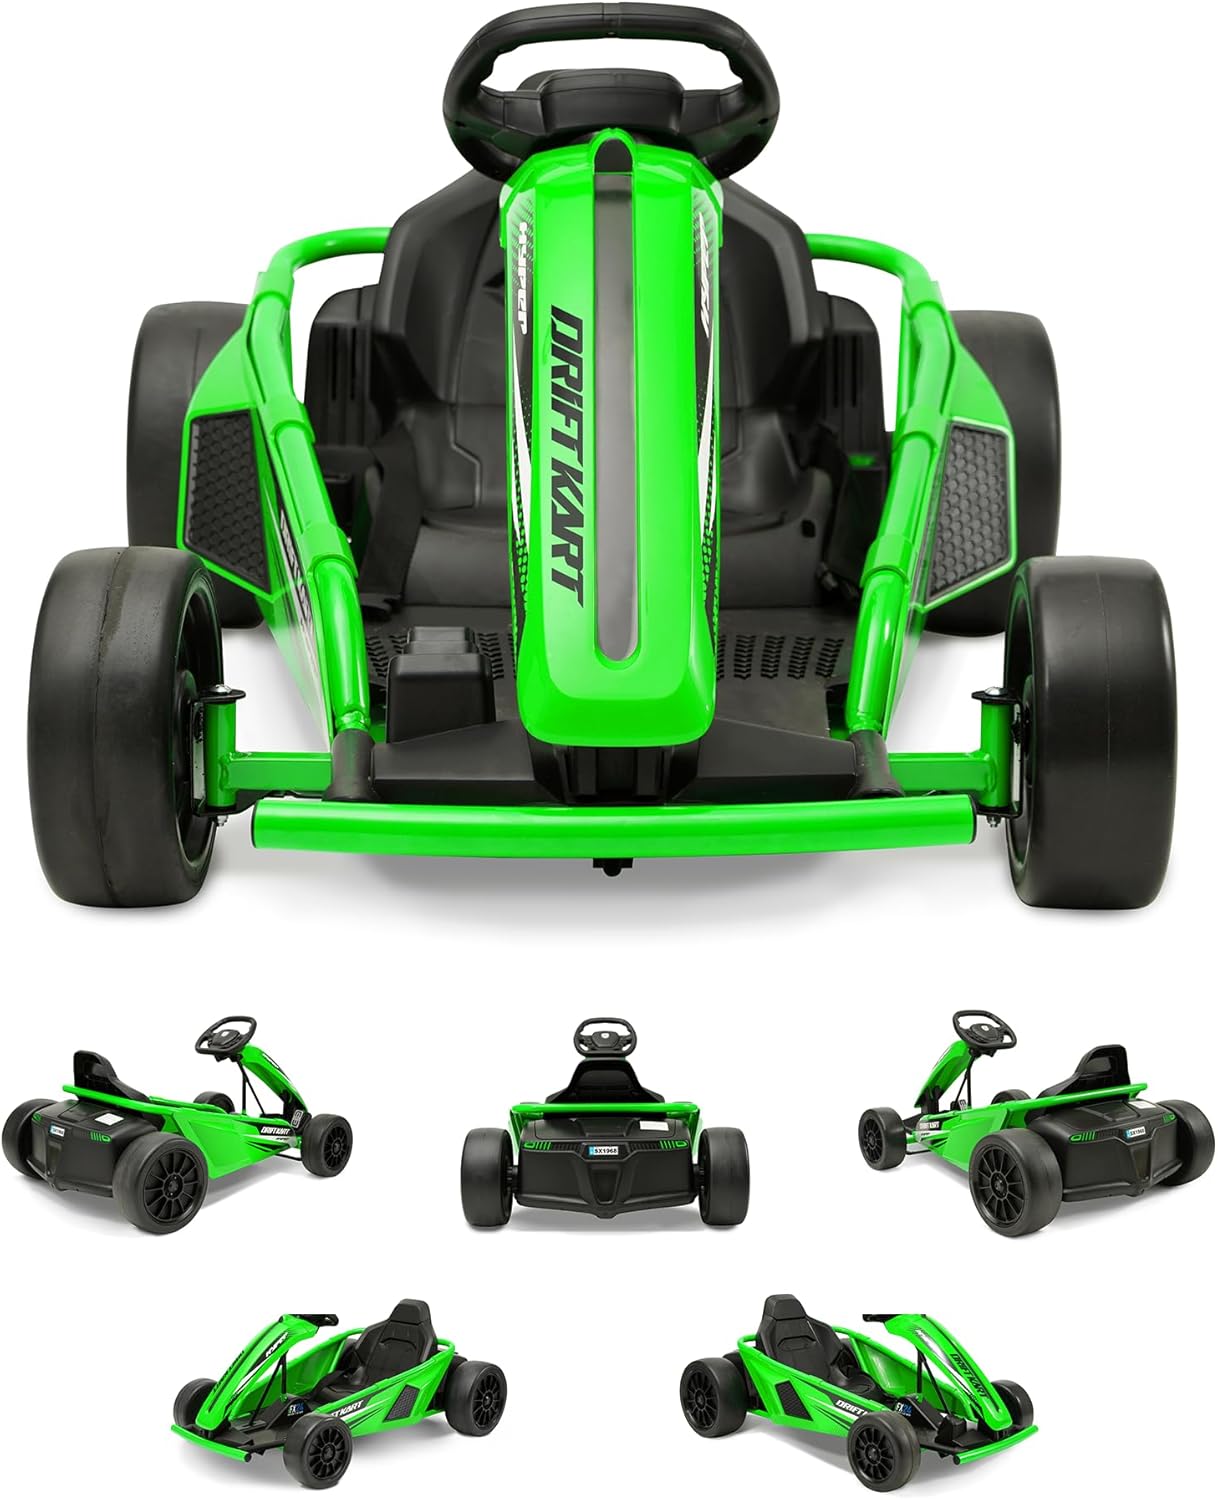
4. Operating the Go Kart
Familiarize yourself with the controls before operating the Go Kart.
Contrôles :
- Bouton d'alimentation : Located on the dashboard or near the steering wheel. Press to turn the Go Kart on or off.
- Pédale d'accélérateur : Located on the right footrest. Press to move forward.
- Pédale de frein: Located on the left footrest. Press to slow down or stop.
- Sélecteur de vitesse : A switch or button to select between low speed (5 mph), reverse (5 mph), and maximum speed (9 mph).
- Drift Mode Switch: Activates the drift function, typically affecting the rear wheels for controlled sliding.
Starting and Driving:
- Ensure the Go Kart is fully charged.
- Sit securely in the racing bucket seat.
- Press the power button to turn on the Go Kart.
- Select your desired speed setting (low, reverse, or max).
- Gently press the accelerator pedal to begin moving.
- Utilisez le volant pour contrôler la direction.
- To activate drift mode, engage the drift mode switch while driving. This mode is best used on smooth, hard surfaces.
- To stop, release the accelerator and press the brake pedal.

5. Maintenance et entretien
Regular maintenance ensures the longevity and safe operation of your Go Kart.
Chargement de la batterie :
- The Go Kart uses 1 Lithium Ion battery (included).
- Always use the charger provided with the Go Kart.
- Chargez complètement la batterie avant la première utilisation (généralement 8 à 12 heures).
- Ne surchargez pas la batterie. Débranchez le chargeur une fois la charge terminée.
- Rechargez la batterie après chaque utilisation, même pour une courte durée, afin de préserver sa durée de vie.
- If storing the Go Kart for an extended period, charge the battery monthly.
Nettoyage:
- Wipe down the Go Kart with a damp chiffon après chaque utilisation.
- Évitez d’utiliser des produits chimiques agressifs ou des nettoyants abrasifs.
- Ne pas vaporiser d'eau directement sur les composants électriques.
Stockage:
- Store the Go Kart in a dry, cool place away from direct sunlight and moisture.
- Protect the Go Kart from extreme temperatures.
Entretien des roues :
- The Go Kart is designed for hard surfaces. Avoid rough terrain or surfaces that may cause excessive wear to the wheels.
- Periodically inspect wheels for wear and tear.
6. Dépannage
If you encounter issues with your Go Kart, refer to the following common problems and solutions.
| Problème | Cause possible | Solution |
|---|---|---|
| Go Kart does not move | Battery not charged; Battery connection loose; Power switch off; Motor issue | Charge battery fully; Check battery terminals for secure connection; Ensure power switch is ON; Inspect motor and wiring (contact support if needed). |
| Vitesse ou puissance réduite | Low battery charge; Overload (exceeding weight limit); Operating on unsuitable surface | Recharge battery; Ensure rider is within weight limit; Operate on hard, flat surfaces. |
| Go Kart makes unusual noises | Loose parts; Debris in wheels/motor; Worn components | Inspect for loose parts and tighten; Clear any debris; Contact support for worn component assessment. |
| Steering is difficult or unresponsive | Steering mechanism obstruction; Loose steering components | Check for obstructions; Inspect and tighten steering connections. |
If troubleshooting steps do not resolve the issue, please contact Hyper Toys customer support.
7. Spécifications
Detailed specifications for the Hyper Toys 24V Go Kart Ride On.
| Fonctionnalité | Détail |
|---|---|
| Dimensions du produit | 46 x 11.5 x 23 pouces (117 x 29 x 58 cm) |
| Poids de l'article | 56 livres (25.4 kg) |
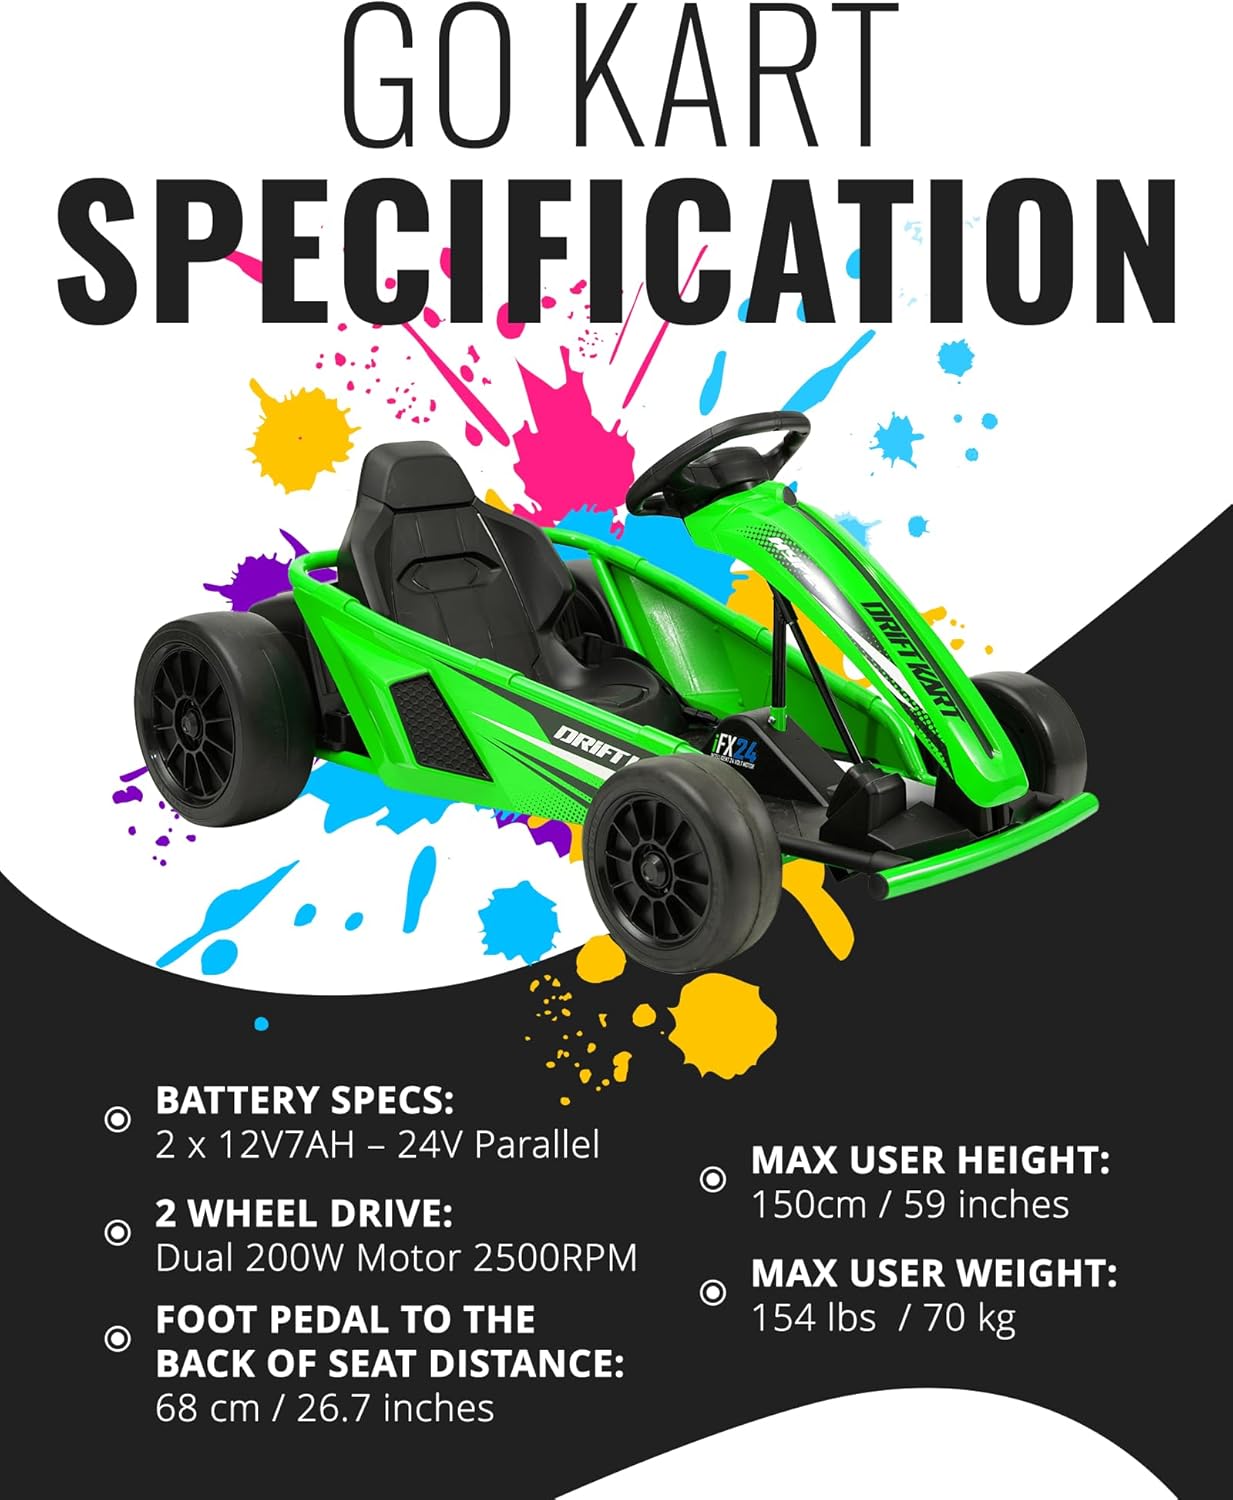
| Batterie | 1 Lithium Ion battery (included), 2 x 12V7AH - 24V Parallel |
| Moteur | Dual 200W Motor 2500RPM (2 Wheel Drive) |
| Poids maximal du pilote | 154 livres (70 kg) |
| Hauteur maximale de l'utilisateur | 150 cm / 59 pouces |
| Foot Pedal to Back of Seat Distance | 68 cm / 26.7 pouces |
| Vitesses | Forward Low: 5 mph, Reverse: 5 mph, Forward Max: 9 mph |
| Surface d'opération | Hard surfaces only |

8. Garantie et assistance
Hyper Toy Co is committed to providing high-quality products. This product comes with a standard manufacturer's warranty covering defects in materials and workmanship under normal use.
Informations sur la garantie :
- Please refer to the warranty card included in your product packaging for specific terms, conditions, and duration.
- Conservez votre preuve d'achat pour les réclamations au titre de la garantie.
Assistance clientèle :
For technical assistance, parts replacement, or warranty inquiries, please contact Hyper Toys customer support:
- Website: Visit the official Hyper Toys website (se référer à l'emballage du produit pour URL).
- E-mail: [Insert Customer Support Email Here, if available in packaging]
- Téléphone: [Insert Customer Support Phone Number Here, if available in packaging]
