
1. Introduction
Thank you for choosing the GZCRDZ V519 OBD2 Car Code Reader. This multifunctional diagnostic tool is designed to help you efficiently read and clear engine fault codes, monitor vehicle data, and perform various diagnostic tests on your vehicle. This manual provides detailed instructions on how to set up, operate, and maintain your V519 device.
The V519 supports international universal OBD protocols for vehicles manufactured from 2012 onwards. For vehicles older than 2012, please consult customer service for compatibility. This product is not compatible with new energy vehicles, hybrid vehicles, or models that do not comply with the OBD2 protocol.
2. Produit terminéview et fonctionnalités
The GZCRDZ V519 is a professional, plug-and-play OBD2 scanner featuring a 2.8-inch color screen (resolution: 240*320) for clear display of diagnostic information. It is powered directly by the vehicle's OBDII data link connector, requiring no external battery or charger.

Figure 2.1: The GZCRDZ V519 OBD2 Car Code Reader, a compact and ergonomic diagnostic tool with a clear color display and intuitive button layout.
Caractéristiques principales :
- Multifonctionnalité : Lire et effacer les codes d'erreur du moteur, view I/M readiness status, access vehicle information, display live data streams, read battery voltage, perform Mode 6 and Mode 8 detection, conduct oxygen sensor tests, query fault codes, utilize playback function, and print diagnostic reports.
- Bibliothèque DTC étendue : Integrated with 35901 Diagnostic Trouble Codes (DTCs) to assist in diagnosing and resolving vehicle faults.
- Conception conviviale : Features an elegant appearance with a comfortable grip, anti-slip and anti-fall protective cover, and reinforced wiring for stability and durability. Buttons provide accurate feedback.
- Fonctionnement Plug-and-Play : Simply connect to your vehicle's OBDII port for immediate use.
- Prise en charge multilingue : Prend en charge 10 langues, dont l'anglais, l'allemand, le français, l'espagnol, l'italien, le russe, le néerlandais, le chinois, le japonais et le portugais.

Figure 2.2 : Plusview of the V519's main features, including code reading, data stream, DTC library, and various diagnostic functions, displayed on the device screen.
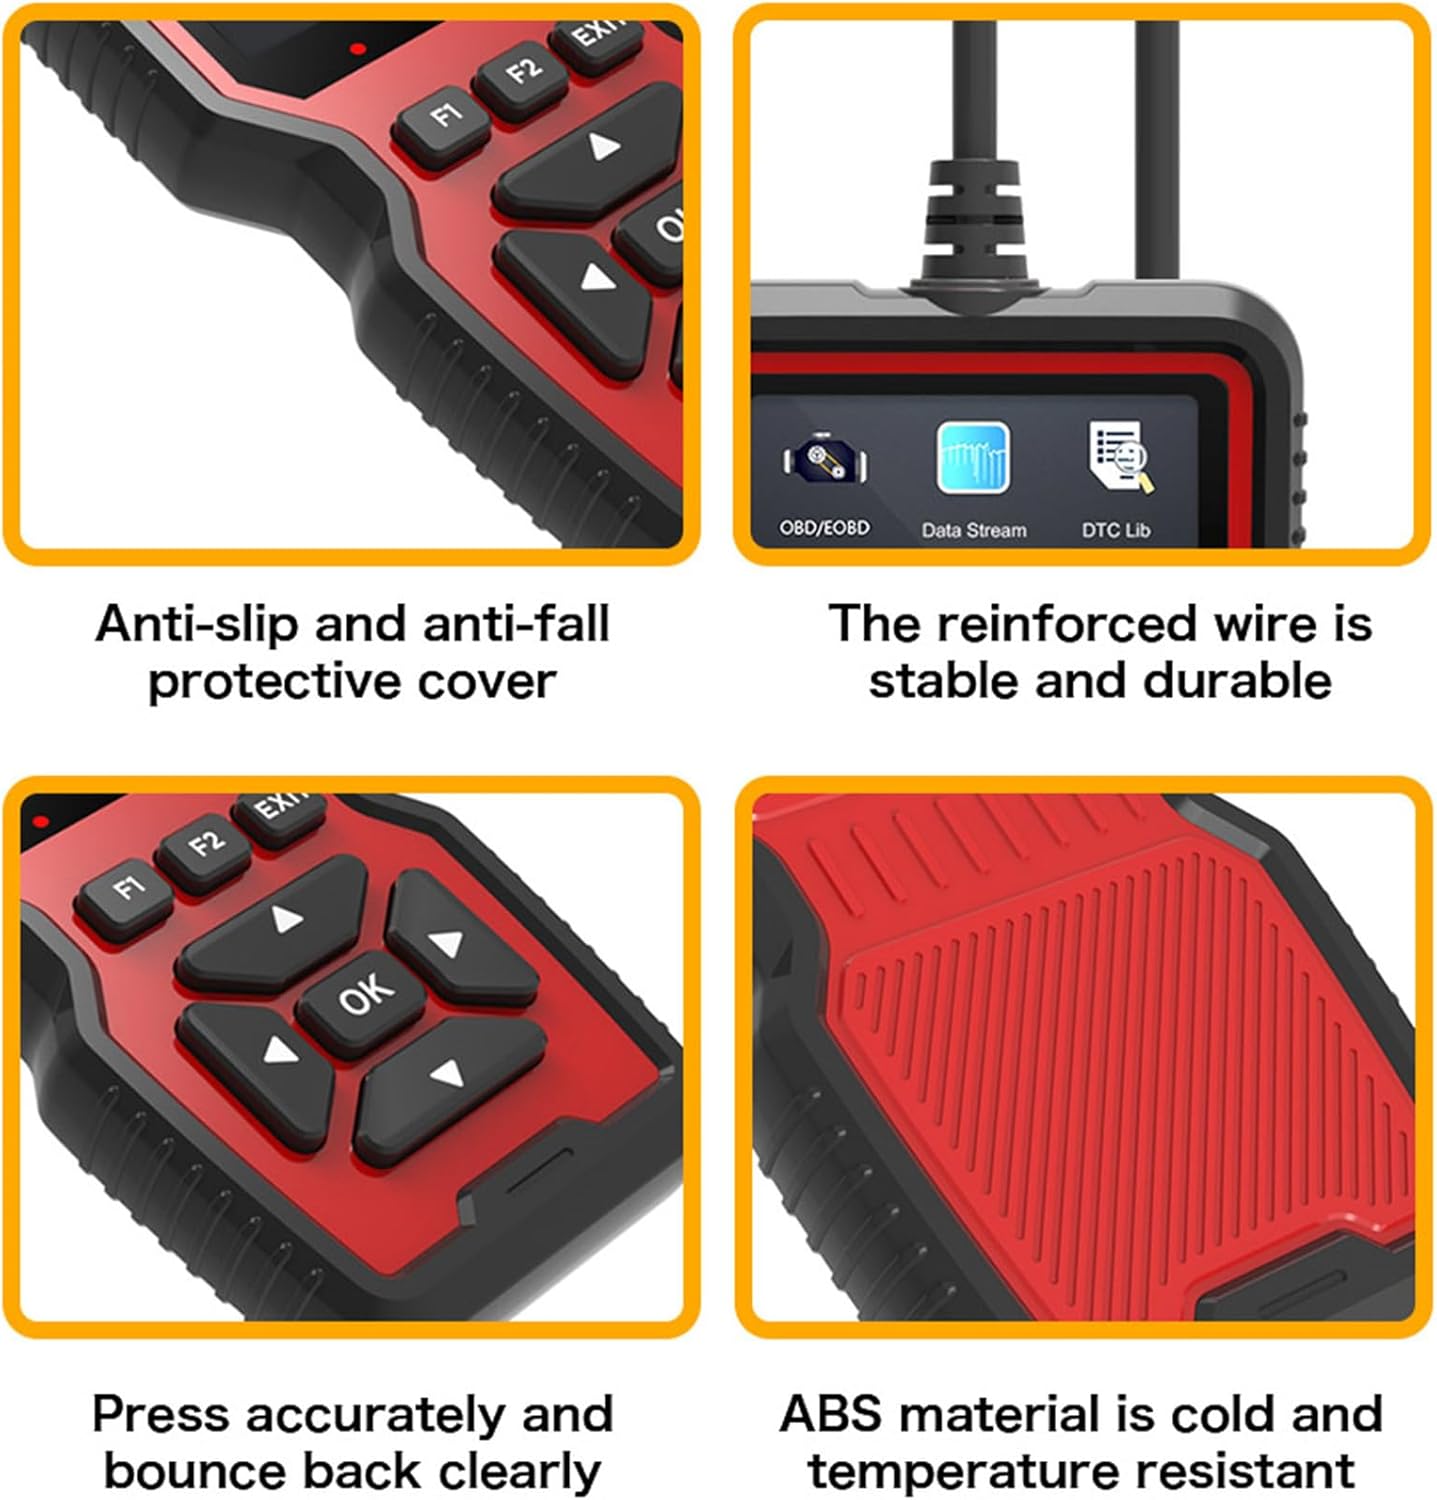
Figure 2.3 : Gros plan views highlighting the V519's design elements: anti-slip protective cover, reinforced and durable wire, responsive buttons, and robust ABS material construction.

Figure 2.4: The V519 supports 10 languages, indicated by flags of various countries, making it accessible to a wide range of users.
3. Contenu du colis
À l'ouverture du colis, veuillez vérifier que tous les éléments énumérés ci-dessous sont présents et en bon état :
- 1 x GZCRDZ V519 Fault Detector
- 1 x Manuel d'utilisation
4. Spécifications
| Spécification | Valeur |
|---|---|
| Modèle de produit | V519 |
| Vol d'exploitationtage | 12 - 16 V |
| Température de l'environnement de fonctionnement | -20 °C à 65 °C (-4 °F à 149 °F) |
| Température de stockage | -30 °C à 70 °C (-22 °F à 158 °F) |
| Langues prises en charge | Anglais, allemand, français, espagnol, italien, russe, néerlandais, chinois, japonais, portugais |
| Afficher | 2.8-inch Color Screen (240*320 resolution) |
| Poids | 330g |
| Dimensions | Environ. 20 x 13 x 4.3 cm |
5. Configuration et installation
The GZCRDZ V519 is designed for simple plug-and-play operation. Follow these steps to connect the device to your vehicle:
- Locate the OBDII (On-Board Diagnostics II) port in your vehicle. This port is typically found under the dashboard on the driver's side, but its exact location may vary by vehicle model. Common locations are marked A, B, C, D in Figure 5.1.
- Assurez-vous que le contact de votre véhicule est en position OFF avant de connecter le scanner.
- Firmly plug the V519's 16-pin connector into the vehicle's OBDII port.
- Once connected, turn the vehicle's ignition to the ON position (engine can be off or running, depending on the diagnostic task). The V519 will power on automatically.

Figure 5.1: Common locations for the automotive OBD universal interface (A, B, C, D) within a vehicle's cabin, typically under the dashboard on the driver's side.
6. Mode d'emploi
After connecting the V519 to your vehicle, the device will power on and display the main menu. Use the navigation buttons to select desired functions.

Figure 6.1: Diagram illustrating the button layout and functions on the V519 device, including navigation (up, down, left, right, OK), function keys (F1, F2), and EXIT button.
Fonctions des boutons :
- Bouton OK : Confirme la sélection ou ouvre un menu.
- Flèches haut/bas : Naviguez dans les options du menu ou ajustez les valeurs.
- Flèches gauche/droite : Navigate horizontally or change digits during input.
- F1/F2 Buttons: Function-specific keys, their purpose may change depending on the current screen.
- Bouton QUITTER : Retourne à l'écran précédent ou quitte une fonction.
Indicateurs LED :
The V519 features LED indicators to provide quick status feedback:
- Feu rouge : Indicates an error code is present. Read the error code for details.
- Lumière jaune : Indicates the device is unable to connect to the vehicle's ECU. Check connections.
- Feu vert: Indicates a successful connection to the vehicle.
Opérations courantes :
- Lire les codes : Select 'Read Codes' from the main menu to retrieve Diagnostic Trouble Codes (DTCs) stored in the vehicle's ECU.
- Effacer les codes : After addressing a fault, select 'Erase Codes' to clear the DTCs and turn off the Check Engine Light (MIL).
- Flux de données: View live data parameters from the vehicle's sensors, such as engine RPM, vehicle speed, oxygen sensor readings, etc.
- Préparation I/M : Vérifiez l'état des moniteurs liés aux émissions pour déterminer si le véhicule est prêt pour un contrôle des émissions.
- Informations sur le véhicule : Retrieve vehicle information such as VIN (Vehicle Identification Number), CID (Calibration ID), and CVN (Calibration Verification Number).
- Vol batterietage: Surveillez le volume de la batterie du véhiculetage en temps réel.
7. Fault Code Library (DTC Lookup)
The V519 has a built-in library of 35901 Diagnostic Trouble Codes (DTCs). This feature allows you to quickly look up the definition of a fault code directly on the device, helping you understand the nature of the problem without needing external resources.
- From the main menu, select 'DTC Lib' or 'Fault Code Query'.
- Enter the specific fault code using the navigation buttons to change digits.
- Appuyez sur « OK » pour view la description détaillée du code.

Figure 7.1: The V519's fault code library interface, showing a list of common DTCs and the input screen for looking up specific codes.
8. Software Update and Printing Function
The V519 supports software updates and allows you to print diagnostic reports by connecting to a computer.
- Log in to elm327.com (or the official GZCRDZ support website) to download the V519 Product Tool software.
- After successful download, use a Type-C data cable to connect the V519 device to your computer.
- Double-click the downloaded 'V519ProductTool' executable file pour lancer l'application.
- Within the software, select 'Update Firmware' or 'Review Datastream' as required.
- Follow the on-screen prompts to complete the upgrading process or print your diagnostic reports.

Figure 8.1: Setup for the V519's software update and print function, showing the device connected via USB-C to a laptop, with a printer nearby for report output.
9. Dépannage
If you encounter issues while using your GZCRDZ V519, refer to the following common problems and solutions:
- L'appareil ne s'allume pas :
- Ensure the V519 is securely plugged into the vehicle's OBDII port.
- Vérifiez que le contact du véhicule est en position ON.
- Check the vehicle's fuse for the OBDII port (refer to your vehicle's owner's manual).
- Yellow LED (No Connection):
- Confirm the vehicle supports the universal OBDII protocol (vehicles from 2012 onwards are generally compatible).
- Assurez-vous que le contact du véhicule est mis.
- Try connecting the device to a different compatible vehicle to rule out a vehicle-specific issue.
- Inspect the OBDII port and the V519 connector for any damage or debris.
- Red LED (Error Code Present) but No Codes Displayed:
- Ensure you have selected the 'Read Codes' function.
- Some codes may be pending or historical; check all code types available in the menu.
- Impossible d'effacer les codes :
- Ensure the underlying fault has been repaired. Codes will reappear if the issue persists.
- The ignition must be ON, and the engine may need to be off for some vehicles to clear codes.
- Software Update Fails:
- Assurez une connexion Internet stable.
- Temporarily disable antivirus software that might interfere with the update process.
- Use the provided Type-C data cable and ensure it is securely connected.
If problems persist, please contact GZCRDZ customer support for further assistance.
10. Consignes de sécurité
Please read and follow these safety precautions to prevent personal injury or damage to the device or vehicle:
- Utilisez toujours le véhicule dans un endroit bien ventilé.
- Ne portez pas de vêtements amples ni de bijoux lorsque vous travaillez sur un véhicule.
- Tenez l'appareil à l'écart de l'eau, de l'huile et des températures extrêmes.
- Do not attempt to disassemble or modify the V519 device. There are no user-serviceable parts inside.
- Be aware of hot engine components and moving parts when working under the hood.
- Always consult your vehicle's service manual for specific diagnostic procedures and safety warnings.
- N'utilisez pas l'appareil en conduisant.
11. Garantie et assistance
For information regarding warranty coverage and terms, please refer to the warranty card included with your product or visit the official GZCRDZ website. For technical support, troubleshooting assistance, or any other inquiries, please contact GZCRDZ customer service through the contact information provided on their official website ou l'emballage du produit.