Bar Food Processor and Small Rice Cooker Combo (ASIN: B0CB69PXWR)
Manuel d'utilisation du robot culinaire de bar et du petit cuiseur à riz
Model: Food Processor and Small Rice Cooker Combo (ASIN: B0CB69PXWR)
Marque : Bar
1. Introduction et plusview
Thank you for choosing the Bar Food Processor and Small Rice Cooker combo. This manual provides essential information for the safe and efficient operation, maintenance, and troubleshooting of your new kitchen appliances. Please read this manual thoroughly before first use and retain it for future reference.
This versatile combo is designed to simplify your cooking tasks. The food processor efficiently handles chopping, mixing, grating, shredding, slicing, and dough-making, while the rice cooker offers multiple functions for perfectly cooked rice, porridge, soup, and more.
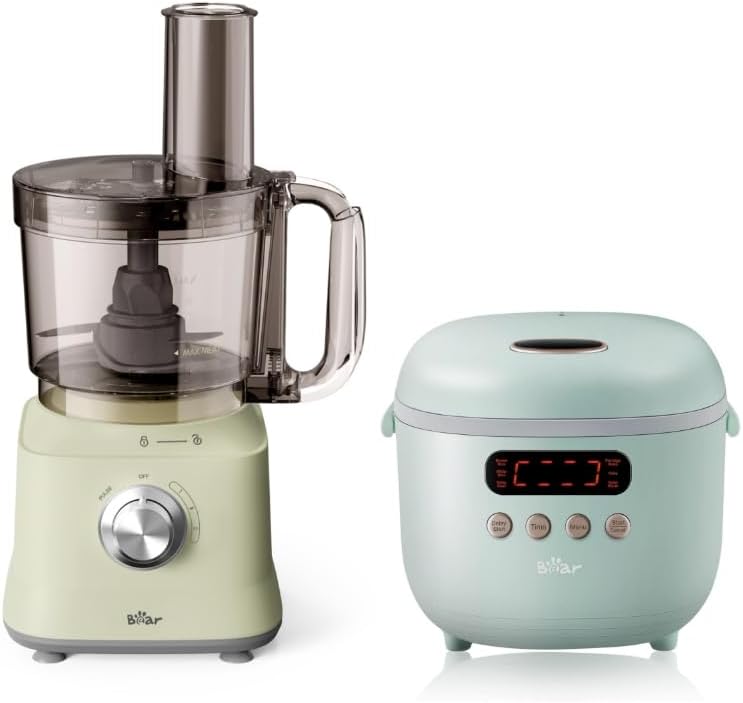
Figure 1.1 : The Bar Food Processor (left) and Small Rice Cooker (right) together. This image displays both appliances included in the combo, showcasing their compact design and white/light green color scheme.
2. Consignes de sécurité importantes
AVERTISSEMENT : Afin de réduire les risques d'incendie, d'électrocution ou de blessure, suivez toujours ces précautions de sécurité de base.
- Lisez toutes les instructions avant d’utiliser l’appareil.
- Do not immerse the motor base of either appliance in water or other liquids.
- Débranchez l'appareil de la prise lorsqu'il n'est pas utilisé, avant d'installer ou de retirer des pièces et avant de le nettoyer.
- Une surveillance étroite est nécessaire lorsqu’un appareil est utilisé par ou à proximité d’enfants.
- Avoid contact with moving parts. Always use the food pusher when feeding food into the food processor.
- Les lames sont tranchantes. Manipuler avec une extrême prudence.
- N'utilisez aucun appareil avec un cordon ou une prise endommagés, ou après un dysfonctionnement de l'appareil ou une chute ou des dommages de quelque manière que ce soit.
- Ne pas utiliser à l'extérieur.
- Ne laissez pas le cordon pendre du bord de la table ou du comptoir, ni toucher des surfaces chaudes.
- Ne pas placer sur ou à proximité d'un brûleur à gaz ou électrique chaud, ni dans un four chaud.
- Une extrême prudence doit être exercée lors du déplacement d’un appareil contenant de l’huile chaude ou d’autres liquides chauds.
- Branchez toujours la fiche à l'appareil en premier, puis le cordon d'alimentation à la prise murale. Pour débrancher l'appareil, placez une commande sur « Off », puis retirez la fiche de la prise murale.
- L’utilisation d’accessoires non recommandés ou vendus par le fabricant peut provoquer un incendie, un choc électrique ou des blessures.
3. Composants du produit
3.1 Food Processor Components
- Base moteur avec molette de commande
- Processing Bowl (1500mL capacity)
- Couvercle avec goulotte d'alimentation
- Poussoir de nourriture
- S-Blade (for chopping/mixing)
- Lame à pâte
- Reversible Shred/Slice Disc
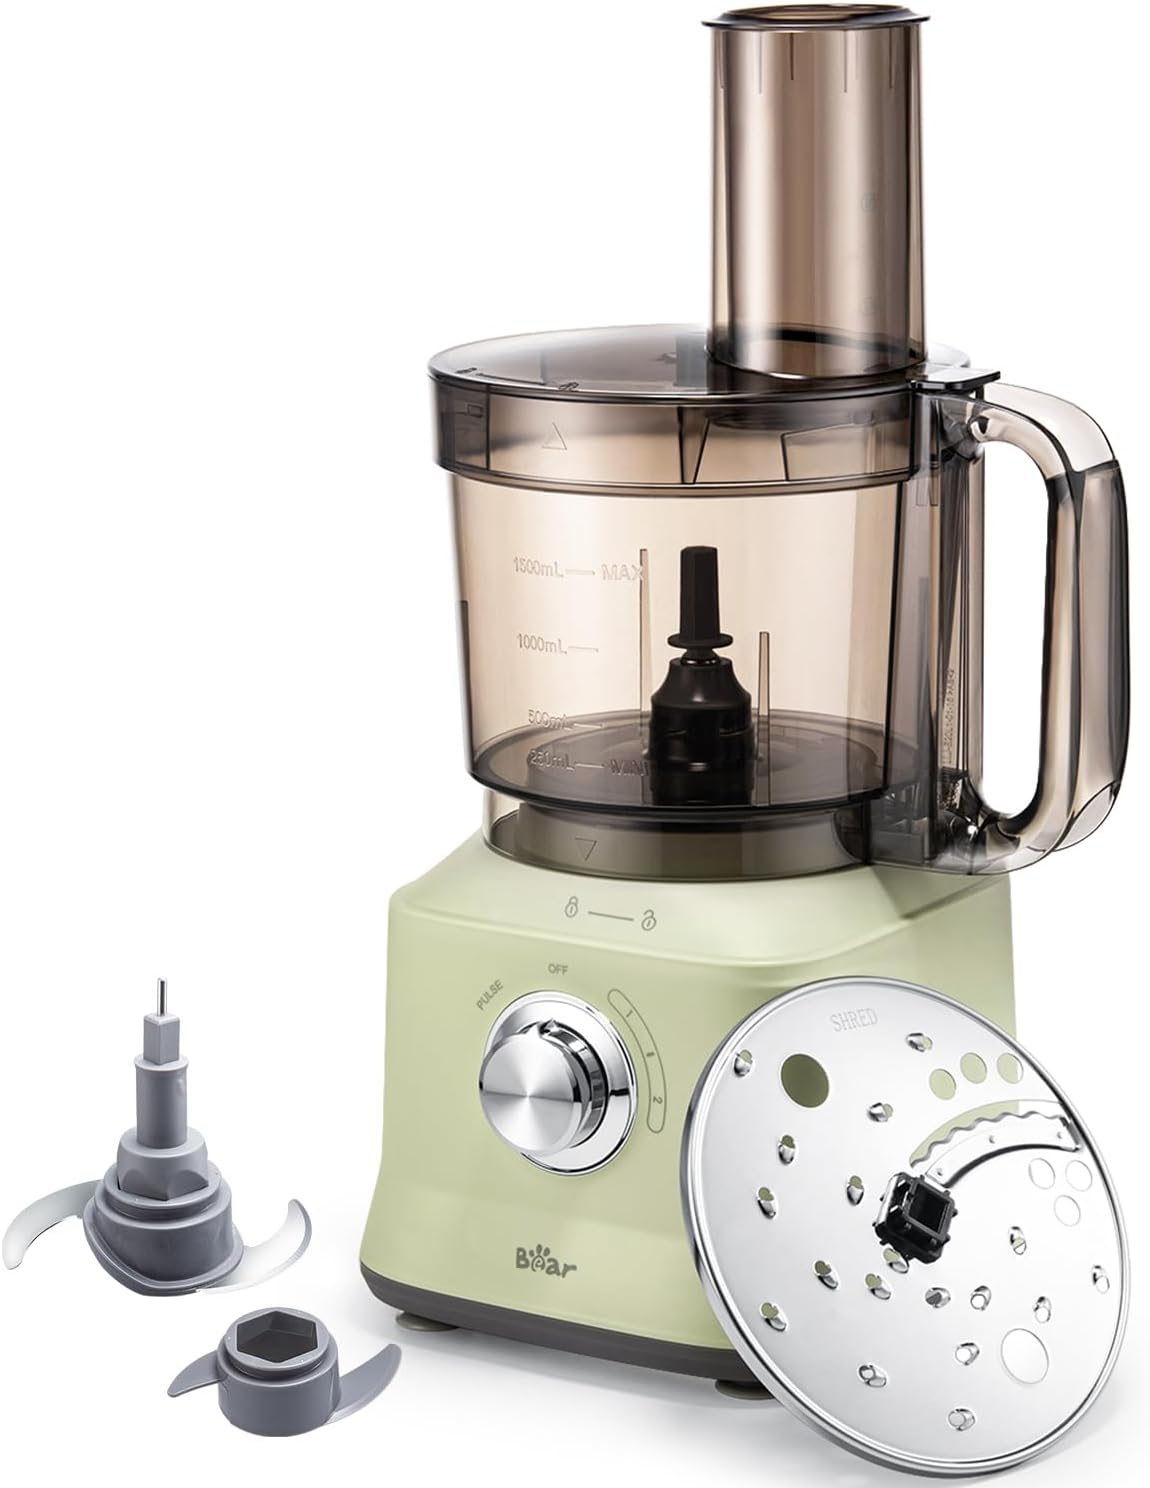
Figure 3.1 : The Bar Food Processor disassembled, showing the motor base, processing bowl, lid, and various attachments including the S-blade, dough blade, and reversible shred/slice disc.
3.2 Small Rice Cooker Components
- Unité principale avec panneau de commande
- Pot intérieur amovible
- Couvercle
- Tasse à mesurer
- Pagaie de riz

Figure 3.2 : Devant view of the Bar Small Rice Cooker, highlighting its compact design and digital display with control buttons.
4. Installation
4.1 Food Processor Setup
- Placez le socle du moteur sur une surface propre, sèche et stable.
- Place the processing bowl onto the motor base, aligning the tabs and twisting clockwise until it locks into place.
- Carefully place the desired blade (S-blade or dough blade) or disc onto the center shaft inside the bowl. Ensure it is seated properly.
- Ajouter les ingrédients dans le bol.
- Place the lid onto the processing bowl, aligning the tabs and twisting clockwise until it locks. The appliance will not operate unless the bowl and lid are correctly locked.
- Ensure the control dial is in the 'OFF' position before plugging the unit into a power outlet.
4.2 Small Rice Cooker Setup
- Placez l'unité principale sur une surface stable et résistante à la chaleur.
- Wash the inner pot, measuring cup, and rice paddle thoroughly before first use.
- Placez le pot intérieur propre dans l'unité principale.
- Assurez-vous que le couvercle est correctement fermé.
- Branchez le cordon d'alimentation à une prise électrique appropriée. L'écran s'illuminera.
5. Mode d'emploi
5.1 Food Processor Operation
The food processor features an 800W motor with two speed settings and a pulse function for precise control.
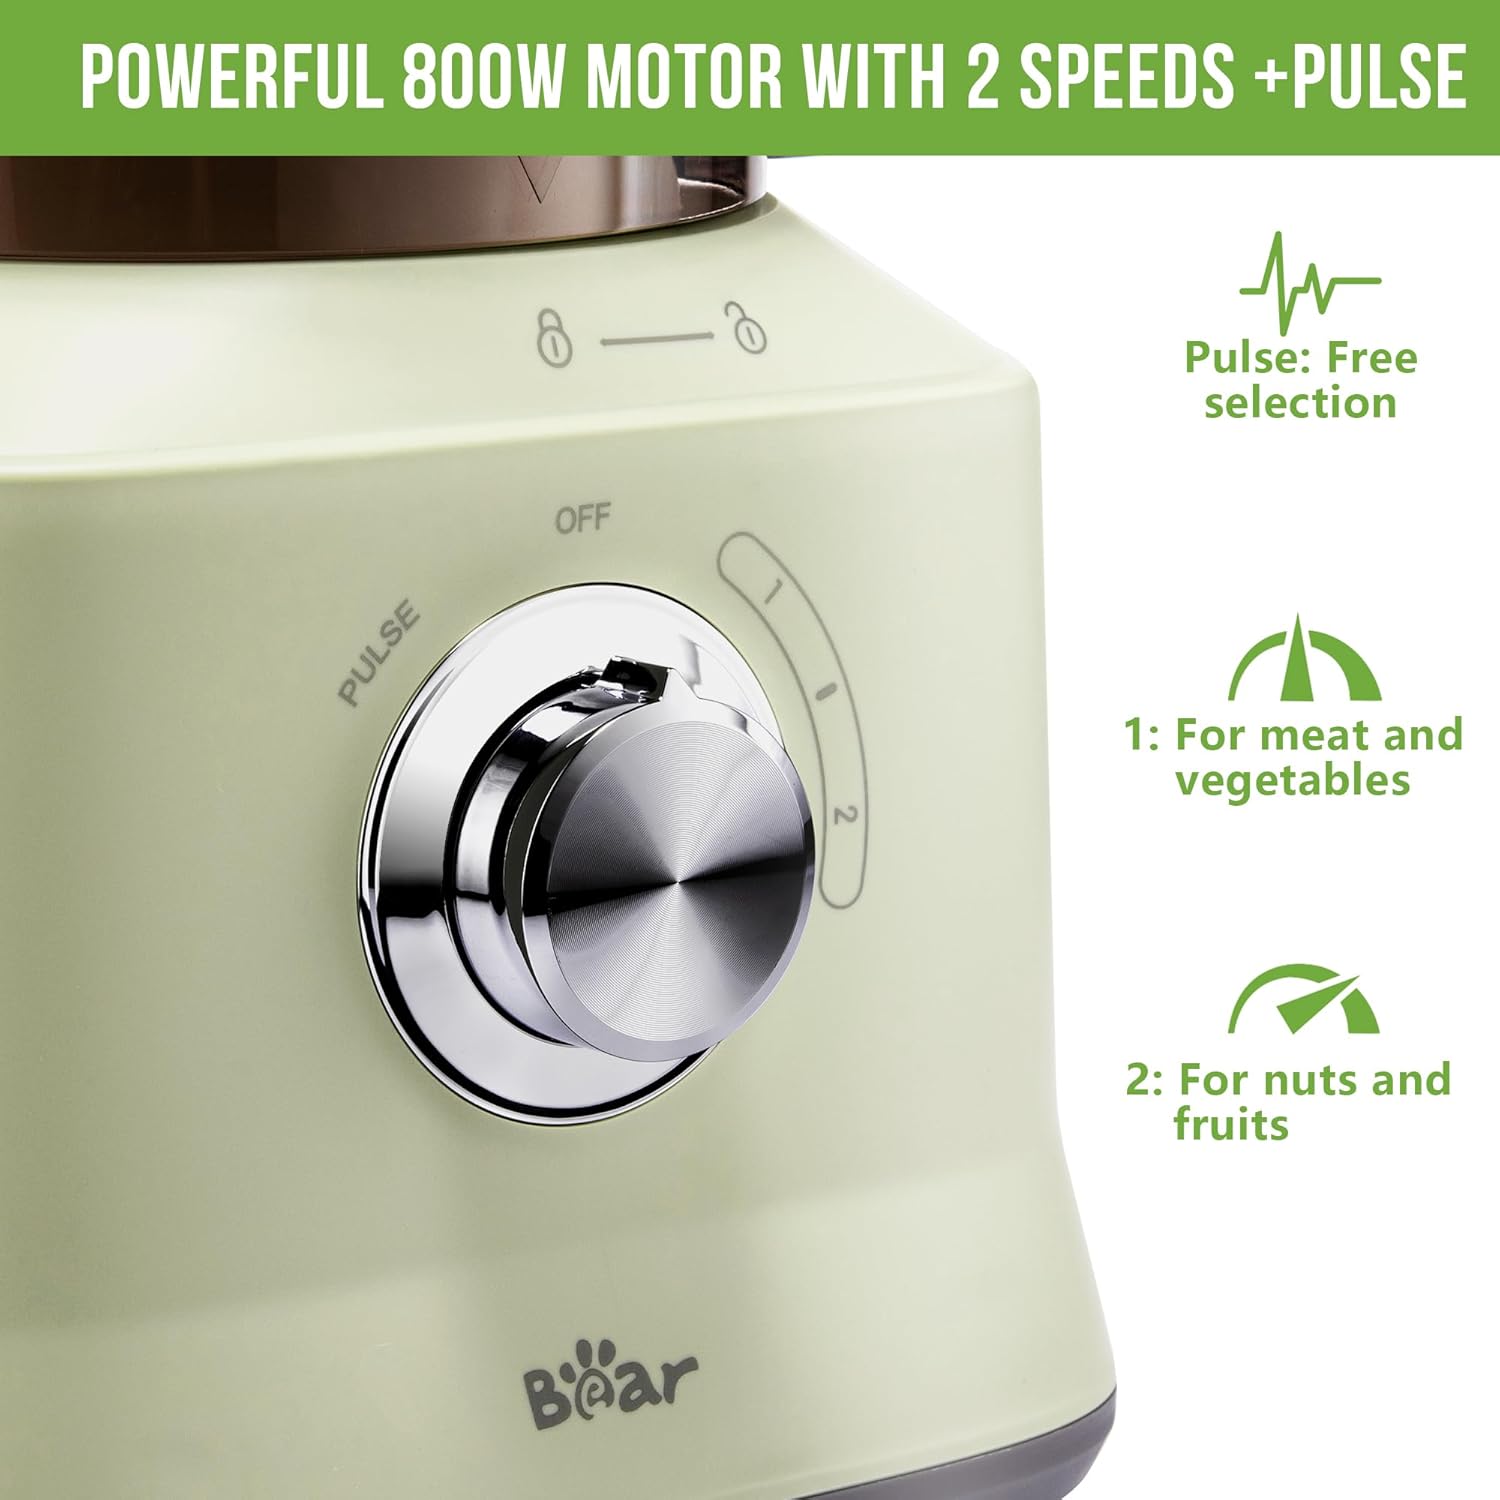
Figure 5.1 : Close-up of the Bar Food Processor's control dial, showing the 'OFF', 'PULSE', '1', and '2' settings. Speed 1 is recommended for meat and vegetables, while Speed 2 is for nuts and fruits.
- After setup (Section 4.1), ensure the unit is plugged in.
- Paramètres de vitesse :
- Turn the control dial to '1' for lower speed, suitable for processing softer ingredients like vegetables and meat.
- Turn the control dial to '2' for higher speed, ideal for harder ingredients such as nuts and fruits.
- Fonction d'impulsion : Turn the control dial to 'PULSE' and hold for short bursts of power. This is ideal for coarse chopping or when precise control is needed. Release the dial to stop.
- Using the Feed Chute: For continuous processing (e.g., slicing or shredding), add ingredients through the feed chute in the lid. Always use the food pusher to guide ingredients down, never your fingers.
- Fonctions: The food processor supports various tasks depending on the attachment used:

Figure 5.2 : Visual guide to the Bar Food Processor's capabilities: Kneading with the BPA-free dough blade, Chopping with the stainless steel S-blade, Shredding with the stainless steel reversible shred disc, and Slicing with the stainless steel reversible slice disc.
- Pétrissage: Use the BPA-free dough blade for preparing dough.
- Hacher : Use the stainless steel S-blade for chopping vegetables, meat, and other ingredients.
- Déchiquetage : Use the stainless steel reversible shred disc for shredding ingredients like carrots or cheese.
- Tranchage : Use the stainless steel reversible slice disc for uniform slicing of vegetables.
- When finished, turn the dial to 'OFF' and unplug the appliance. Wait for blades to stop completely before removing the lid and bowl.
5.2 Small Rice Cooker Operation
The rice cooker offers 6 cooking functions and precise temperature control for optimal results.

Figure 5.3 : The digital control panel of the Bar Small Rice Cooker, displaying various menu options including Brown Rice, White Rice, Porridge, Soup, Cake, and Keep Warm, along with Delay Start, Time, Menu, and Start/Cancel buttons.
- Mesurer les ingrédients : Use the provided measuring cup to measure rice. Rinse rice thoroughly if desired. Add rice to the inner pot.
- Ajoutez de l'eau: Ajoutez la quantité d'eau appropriée en fonction du type de riz et de la consistance souhaitée. Reportez-vous aux repères de niveau d'eau à l'intérieur de la cuve.
- Sélectionnez la fonction : Press the 'Menu' button repeatedly to cycle through the available cooking functions: 'Brown Rice', 'White Rice', 'Porridge', 'Soup', 'Cake', and 'Reheat'. The selected function will be highlighted on the display.
- Démarrage différé (optionnel) : To set a delayed start time, press the 'Delay Start' button after selecting your desired cooking function. Use the 'Time' button to adjust the delay duration.
- Démarrer la cuisson : Press the 'Start/Cancel' button to begin the cooking process. The display will show a countdown or cooking indicator.
- Rester au chaud : Once cooking is complete, the rice cooker will automatically switch to 'Keep Warm' mode. This function maintains the temperature of the food without overcooking.
- Annuler: To stop the cooking process at any time, press the 'Start/Cancel' button.

Figure 5.4 : Diagram illustrating the precise temperature control of the Bar Small Rice Cooker during the cooking process, including stages like soaking, heating, steaming, and keeping warm to ensure perfectly cooked rice.
6. Entretien et nettoyage
Proper cleaning and maintenance will ensure the longevity and optimal performance of your Bar appliances. Always unplug the appliance from the power outlet before cleaning.
6.1 Food Processor Cleaning
- Base du moteur: Essuyez la base du moteur avec de l'annonceamp chiffon. Ne pas immerger le socle du moteur dans l'eau ou tout autre liquide.
- Processing Bowl, Lid, Blades, and Discs: These parts are recommended for hand washing. Wash them in warm, soapy water immediately after use to prevent food from drying on. Rinse thoroughly and dry completely before storing. Handle blades and discs with extreme care as they are very sharp.
- Pour les résidus alimentaires tenaces, faites tremper les pièces dans de l'eau chaude savonneuse avant de les nettoyer.
6.2 Small Rice Cooker Cleaning
- Unité principale : Essuyez l'extérieur de l'unité principale avec un chiffon doux et sec.amp tissu. Ne plongez pas l’unité principale dans l’eau.
- Pot intérieur : The removable inner pot should be hand washed with warm, soapy water. Use a non-abrasive sponge to avoid scratching the non-stick coating. Rinse thoroughly and dry.
- Couvercle: Wash the lid with warm, soapy water and rinse. Ensure all food particles are removed from the steam vent.
- Measuring Cup and Rice Paddle: Laver à l'eau chaude savonneuse et sécher.
7. Dépannage
If you encounter issues with your Bar Food Processor or Small Rice Cooker, please refer to the following common problems and solutions:
| Problème | Cause possible | Solution |
|---|---|---|
| L'appareil ne s'allume pas. | Not plugged in; Bowl/Lid not locked (Food Processor); Power outage. | Ensure power cord is securely plugged in. For Food Processor, ensure bowl and lid are correctly locked into place. Check household circuit breaker. |
| Food Processor stops during operation. | Overload; Bowl/Lid dislodged. | Reduce the amount of food. Turn off, unplug, and re-secure bowl and lid. Allow motor to cool if it was overloaded. |
| Food Processor blades not spinning. | Blade not properly seated; Bowl/Lid not locked. | Ensure blade is correctly placed on the shaft. Verify bowl and lid are fully locked. |
| Le riz est soit insuffisamment cuit, soit trop cuit. | Incorrect water-to-rice ratio; Wrong cooking function selected. | Adjust water amount according to rice type and desired texture. Ensure the correct cooking function (e.g., 'White Rice', 'Brown Rice') is selected. |
| Rice cooker display shows error. | Inner pot not in place; Sensor issue. | Ensure the inner pot is correctly seated. Unplug the unit for a few minutes and plug it back in to reset. If the error persists, contact customer support. |
If the problem persists after trying these solutions, please contact Bar customer support for assistance.
8. Spécifications
| Fonctionnalité | Détail |
|---|---|
| Marque | Bar |
| Nom du modèle | Small Rice Cooker (part of combo) |
| ASIN | B0CB69PXWR |
| Couleur | Blanc |
| Dossier spécial | Removable Bowl (Rice Cooker) |
| Instructions d'entretien du produit | Lavage à la main |
| Composants inclus | Instruction Manual, Food Processor, Rice Cooker, various blades/discs, inner pot, measuring cup, rice paddle |
| Date de première disponibilité | 5 juillet 2023 |
| Food Processor Motor | 800 W |
| Food Processor Speeds | 2 Speeds + Pulse |
| Capacité du cuiseur à riz | Convient pour 1 à 4 personnes |
| Fonctions du cuiseur à riz | White Rice, Brown Rice, Porridge, Soup, Cake, Reheat |
9. Garantie et assistance
For warranty information, please refer to the documentation included with your purchase or visit the official Bar brand webConsultez le site. Conservez votre preuve d'achat pour toute réclamation au titre de la garantie.
If you require further assistance, have questions about your product, or need to report an issue, please contact Bar customer support through their official channels. You can typically find contact information on the brand's websur le site ou auprès du détaillant où vous avez acheté le produit.
Bar Store Link: Visit the Bar Store on Amazon
Ask a question about this manual
Ask about setup, troubleshooting, compatibility, parts, safety, or missing instructions. Manuals+ will review the question and use this page’s manual context to help answer it.