
1. Introduction
This manual provides detailed instructions for the setup, operation, and maintenance of your Abovsare Digital Wall Clock. Please read this manual thoroughly before using the product to ensure proper function and longevity.
2. Produit terminéview
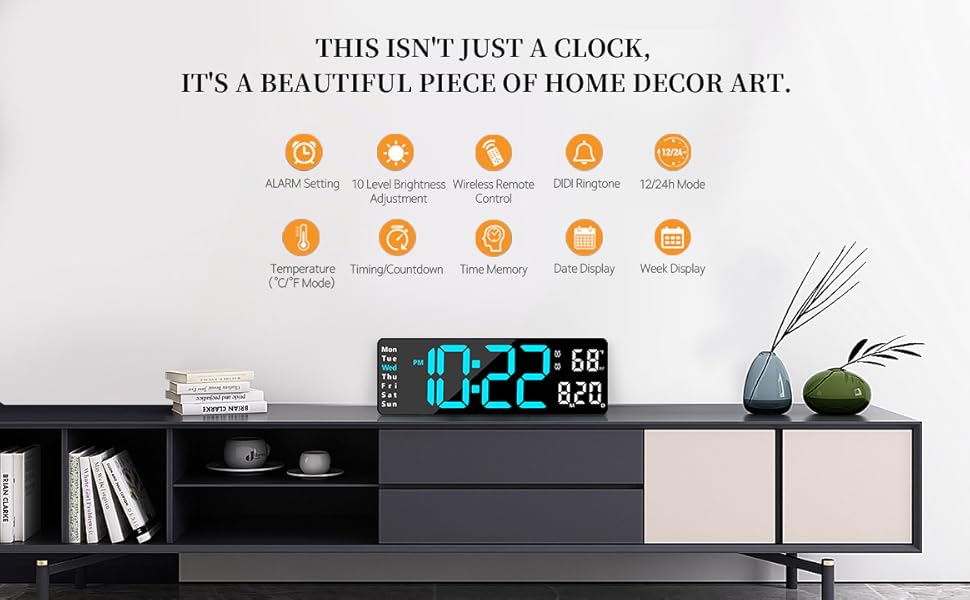
The Abovsare Digital Wall Clock features a 13-inch large LED display with high-contrast digits, making it easily readable from various distances and angles. It displays time, date, day of the week, and temperature. The clock includes a remote control for convenient adjustments and offers automatic brightness dimming. It is designed for both wall-mounted and desktop use.
Caractéristiques principales :
- Grand écran LED de 13 pouces : 3.5-inch high contrast jumbo digits for clear visibility.
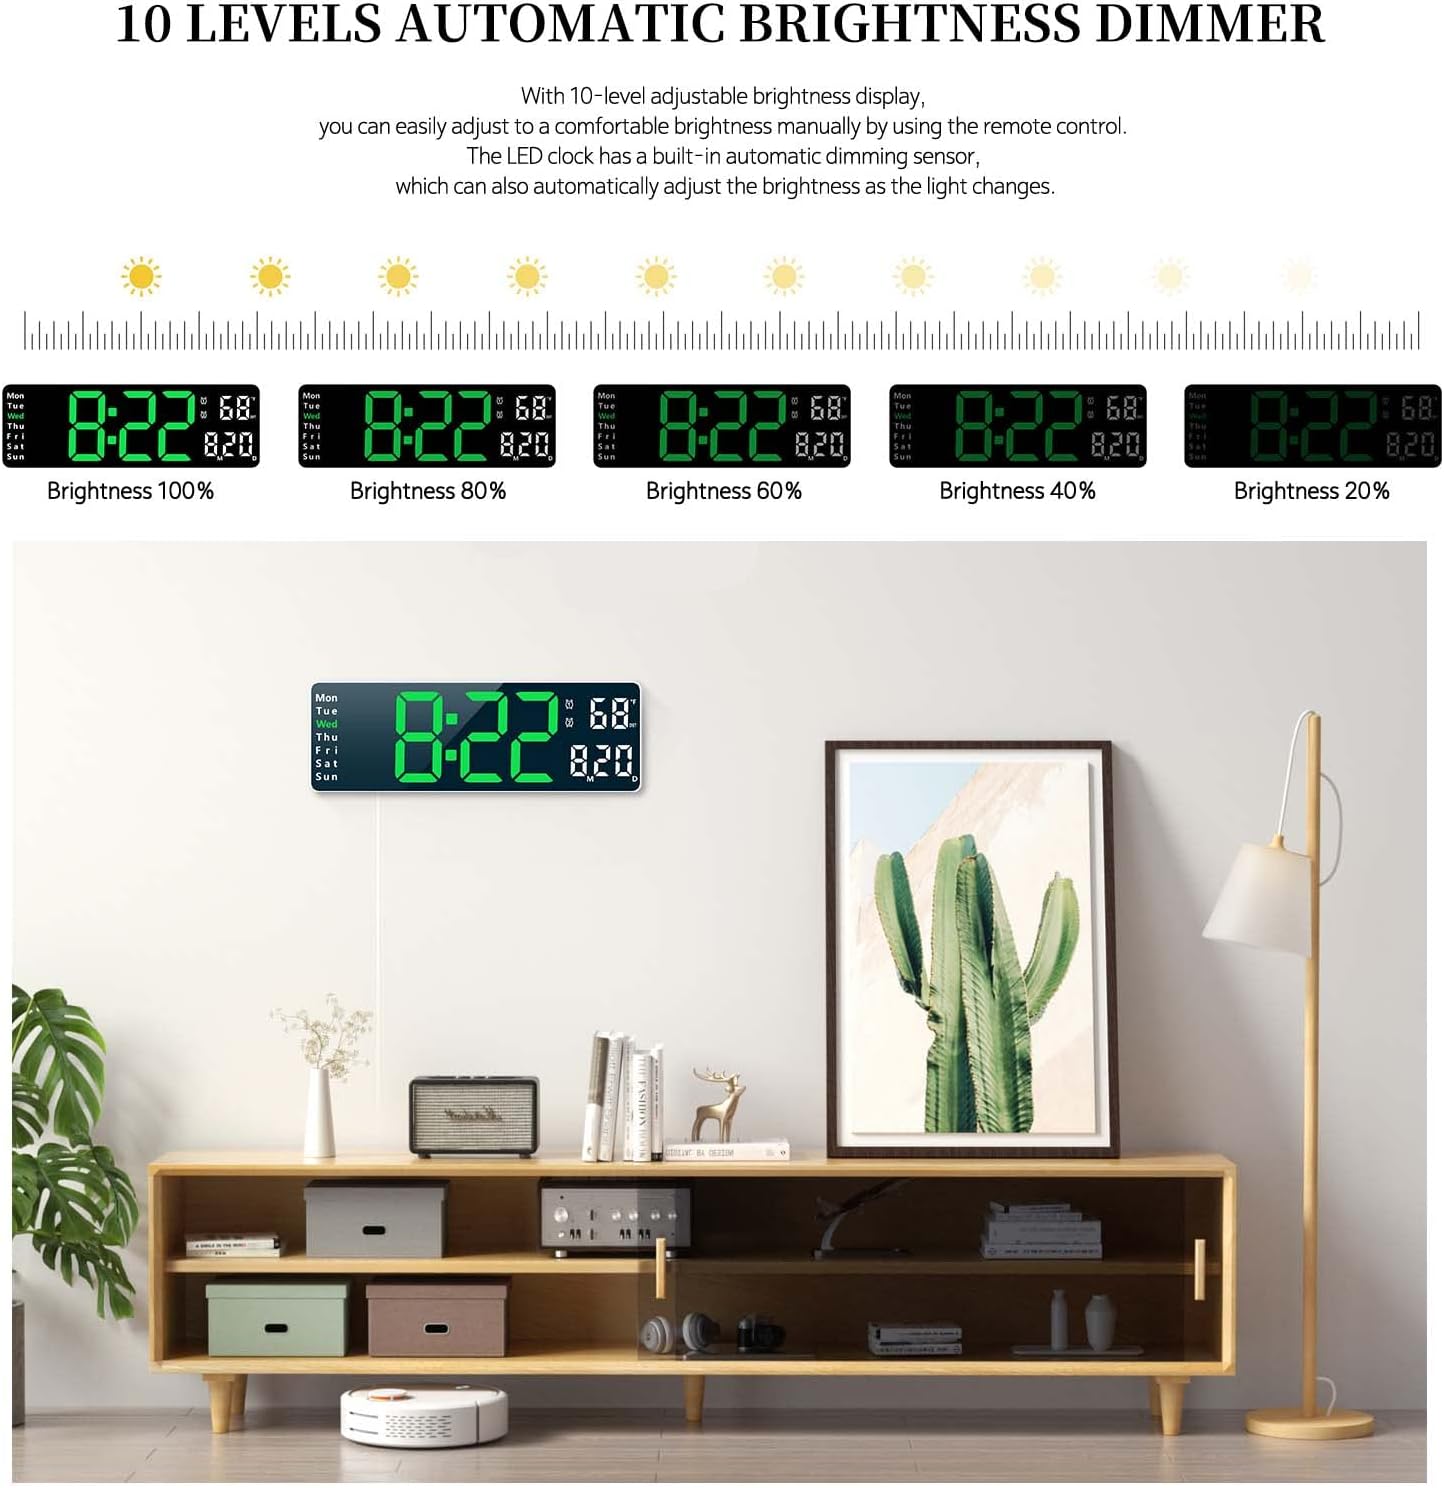
- 10 Levels Automatic Brightness Dimmer: Adjustable brightness manually via remote or automatically based on ambient light.
- Placement polyvalent : Suitable for wall mounting or desktop placement.
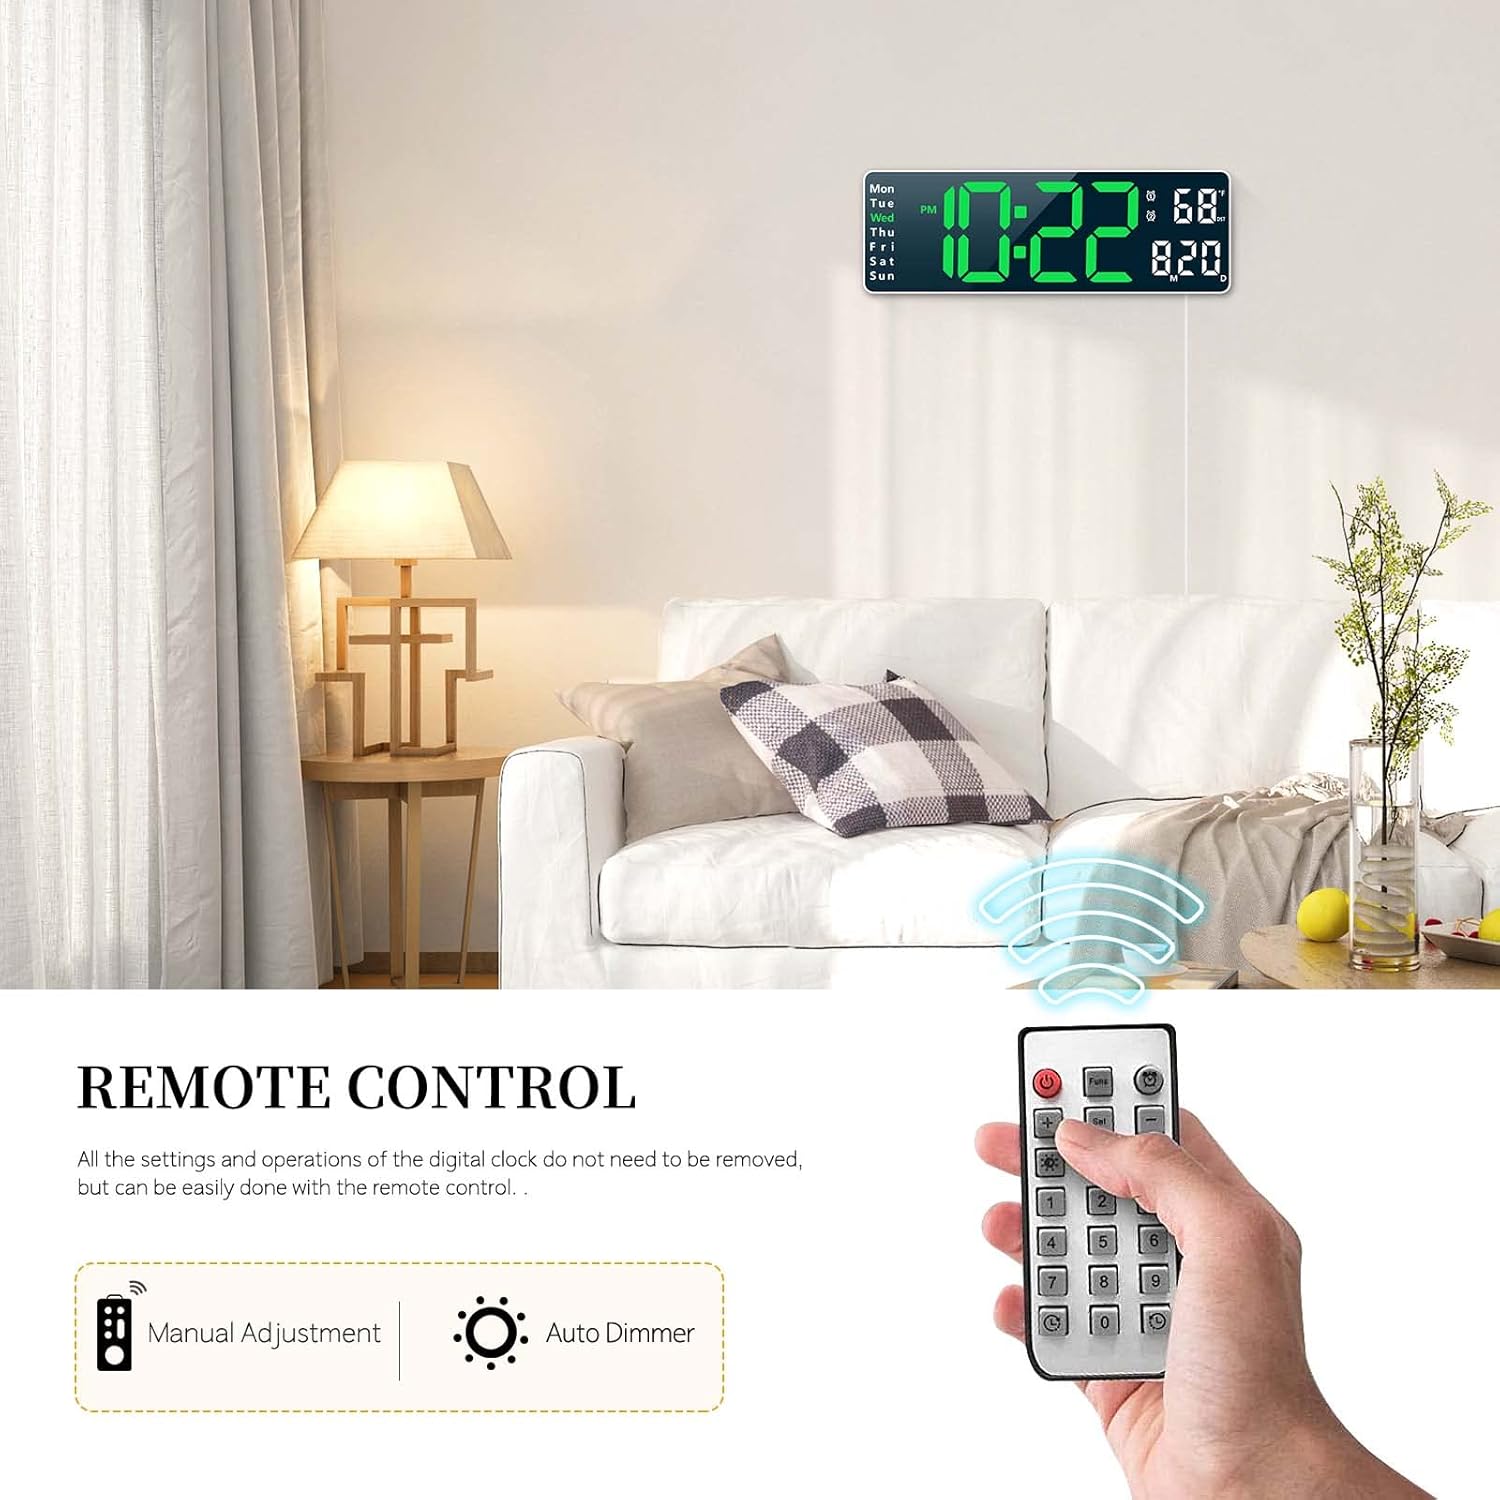
- Télécommande: All settings and operations can be managed conveniently with the included remote.
- Fonction mémoire : Built-in memory retains time data even if power is disconnected.
- Fonction double alarme : Set two separate alarms for different schedules.
- Count-up/Count-down Timer: Supports timing up to 99 minutes and 99 seconds.
- Affiche : Time (12/24H), Date, Week, and Temperature (°C/°F).

3. Contenu du colis
Veuillez vérifier que le colis contient les éléments suivants :
- Abovsare Digital Wall Clock Unit
- Télécommande
- USB Power Cable (Note: Power adapter not included, requires 5V/1A or 5V/2A adapter)
- Manuel d'utilisation
4. Installation
4.1 Connexion d'alimentation
The clock requires continuous power to operate. Connect the provided USB cable to the clock and plug it into a 5V/1A or 5V/2A USB power adapter (not included) or a USB port. The clock is not battery operated for its main function.
4.2 Memory Battery Installation
For the memory function to work during power outages, install 2 AAA batteries (not included) into the battery compartment located on the back of the clock. These batteries only store time data and do not power the main display.

5. Mode d'emploi
All settings and operations can be performed using the included remote control.
5.1 Réglage de l'heure et de la date
- Press the 'SET' button on the remote control.
- Use the arrow keys (Up/Down) to adjust the hour, then press 'SET' to confirm.
- Répétez l'opération pour les minutes, l'année, le mois et le jour.
- Appuyez de nouveau sur « SET » pour quitter le mode de réglage.
- To switch between 12-hour and 24-hour format, press the '12/24H' button on the remote.
5.2 Réglage de l'alarme
The clock supports two separate alarms.
- Press the 'ALARM' button on the remote control.
- Select Alarm 1 or Alarm 2 using the arrow keys.
- Adjust the alarm hour and minutes using the arrow keys, pressing 'SET' after each adjustment.
- To activate/deactivate an alarm, press the 'ON/OFF' button when the alarm is selected. An alarm icon will appear/disappear on the display.
- To snooze, press any button on the remote when the alarm sounds.
5.3 Réglage de la luminosité
The clock offers 10 levels of brightness and an automatic dimming feature.
- Réglage manuel : Press the 'BRIGHTNESS' button on the remote repeatedly to cycle through 10 brightness levels.
- Gradation automatique : The built-in sensor automatically adjusts display brightness according to ambient light conditions. This feature is enabled by default.
5.4 Timer Function (Count-up/Count-down)
The clock can function as a timer for up to 99 minutes and 99 seconds.
- Compte à rebours: Press the 'TIMER' button, then use the number keys on the remote to input the desired time. Press 'START' to begin.
- Compter jusqu'à: Press the 'TIMER' button, then press 'START' without inputting a time to begin counting up from zero.
- Press 'STOP' to pause and 'RESET' to clear the timer.

5.5 Utilisation de la télécommande
The remote control allows for easy adjustment of all clock functions from a distance. Ensure there is a clear line of sight between the remote and the clock's sensor.
6. Options de montage
The Abovsare Digital Wall Clock can be placed on a desktop or mounted on a wall.
6.1 Placement sur le bureau
Simply place the clock on any flat surface such as a desk, shelf, or nightstand. Ensure it is stable and not prone to falling.
6.2 Montage mural
The clock features integrated keyholes on the back for easy wall mounting.
- Measure the distance between the keyholes on the back of the clock.
- Mark two corresponding spots on the wall where you wish to mount the clock.
- Install two screws (not included) into the wall at the marked spots, leaving a small portion of the screw head protruding.
- Alignez les trous de fixation à l'arrière de l'horloge avec les têtes de vis et faites glisser l'horloge vers le bas pour la fixer.


7. Entretien
To ensure the longevity and optimal performance of your digital clock, follow these maintenance guidelines:
- Nettoyage: Utilisez un chiffon doux et sec pour essuyer l'écran et le casing. Évitez les nettoyants abrasifs ou les solvants susceptibles d'endommager la surface.
- Pouvoir: Always use a 5V/1A or 5V/2A USB power adapter. Incorrect power sources may damage the device.
- Environnement: Conservez l'horloge à l'abri de la lumière directe du soleil, des températures extrêmes et d'une forte humidité.
- Remplacement de la batterie : Replace the AAA memory batteries annually or when the memory function appears to fail during power outaget.
8. Dépannage
If you encounter any issues with your Abovsare Digital Wall Clock, please refer to the following common problems and solutions:
| Problème | Cause possible | Solution |
|---|---|---|
| L'affichage de l'horloge est éteint. | Pas d'alimentation ou connexion défectueuse. | Ensure the USB cable is securely connected and the power adapter is working. Use a 5V/1A or 5V/2A adapter. |
| La télécommande ne fonctionne pas. | Batteries in remote are dead or incorrect orientation; obstacle between remote and clock. | Replace remote control batteries. Ensure clear line of sight to the clock's sensor. |
| Time/Date not saving after power off. | Memory batteries are dead or not installed. | Install 2 new AAA batteries in the memory battery compartment. |
| Display too dim or too bright. | Brightness setting needs adjustment or automatic dimming sensor is obstructed. | Manually adjust brightness using the remote. Ensure the light sensor on the clock is not covered. |
9. Spécifications
| Fonctionnalité | Détail |
|---|---|
| Marque | Au-dessus |
| Model (Color) | White Case+green Digit |
| Type d'affichage | LED numérique |
| Dimensions du produit | 1.2"W x 4.1"H (Note: This seems to be a partial dimension, the display is 13-inch diagonal) |
| Source d'énergie | Corded Electric (USB, 5V/1A or 5V/2A adapter required) |
| Batterie mémoire | 2 x AAA (non inclus) |
| Type de montage | Sur table ou mural |
| Matériel | Acrylonitrile butadiène styrène (ABS) |
| Caractéristiques spéciales | Large LED display, automatic brightness dimmer, count-up or count-down function, memory function, remote control, dual alarm, date, week, temperature display. |
10. Garantie et assistance
For warranty information and customer support, please refer to the product packaging or contact Abovsare customer service through the retailer where the product was purchased. Keep your purchase receipt as proof of purchase.