
Andonstar AD246S-P
Manuel d'utilisation du microscope numérique HDMI Andonstar AD246S-P
Modèle : AD246S-P | Marque : Andonstar
1. Introduction
The Andonstar AD246S-P is a versatile HDMI digital microscope designed for detailed observation and recording. Featuring a 7-inch screen, 2160P UHD video recording capabilities, and a multi-lens system, it is suitable for examining various objects including coins, circuit boards, biological slides, and more. This manual provides instructions for proper setup, operation, and maintenance of your device.

Figure 1: Andonstar AD246S-P Digital Microscope Overview
2. Ce qui est inclus
The Andonstar AD246S-P package includes the following components:
- 1x Microscope Host
- 1 support en plastique
- 1x Objectif A (grossissement 18-720x)
- 1 lentille B (grossissement 1560-2040x)
- 1 lentille C (grossissement 2760-4080x)
- 2 projecteurs USB
- 1 carte microSD de 32 Go
- 1x câble USB
- 1 câble de commutation
- 1x câble HDMI
- 1x Télécommande
- 5 diapositives préparées
- 1x Boîte d'observation
- 1x Pince à épiler
- 3 panneaux de fond
- 1x Tournevis
- 1x Manuel d'instructions

Figure 2 : Contenu de l'emballage
3. Installation
3.1 Assemblage du support
Assemble the plastic stand by following the instructions provided in the video below. Ensure all screws are tightened for stability.
Video 1: How to Install the Plastic Bracket for AD246/AD249 (Applicable to AD246S-P)
Video 2: Assemble the Plastic Stand for AD246, 246S, 249, 249S
3.2 Composants de connexion
Connect the microscope host to the stand. Plug in the USB spot lights and the power cable. Insert the provided 32GB Micro SD card into the designated slot on the microscope host.
4. Mode d'emploi
4.1 Mise sous/hors tension
Press and hold the Power On/Off button on the microscope host to turn the device on or off.
4.2 Lens Installation and Usage
The AD246S-P comes with three interchangeable lenses (A, B, and C) to suit different observation needs. Lenses can be exchanged by removing and installing screws.

Figure 3: Multi-Lens System Overview
Video 3: How to use the 3 lenses of AD246/AD249 plastic stand (Applicable to AD246S-P)
4.2.1 Lens A (18-720x)
Use Lens A for observing larger objects such as whole coins, circuit boards, plants, or stones. It provides a magnification range of 18-720x.

Figure 4: Coin and PCB Observation with Lens A
Video 4: Andonstar AD246S-Use lens A to observe coins
Video 5: Andonstar AD246S-Use lens A to observe flowers
Video 6: AD246S HDMI microscope-Use lens A to observe butterfly
4.2.2 Lens B (1560-2040x) & Lens C (2760-4080x)
Lenses B and C are designed for higher magnification, ideal for observing biological slides and microscopic structures. Lens B offers 1560-2040x magnification, while Lens C provides 2760-4080x magnification.

Figure 5: Biological Observation with Lenses B and C
Video 7: Andonstar AD246S-Use lens B to observe prepared slides
4.3 Réglage de la mise au point
Rotate the focusing wheel on the microscope body to adjust the image clarity. Use the bracket knob to fine-tune the object distance for optimal focus.
4.4 Réglage des lumières LED
The two USB spot lights can be adjusted in intensity and direction to provide optimal illumination for your specimen. Use the switch cable to control brightness levels.
4.5 Fonctions de la télécommande
The wireless remote control allows for convenient operation from a distance. Functions include image discoloration, digital zoom, and menu navigation.
4.6 Enregistrement photo et vidéo
With the included 32GB Micro SD card, you can easily capture and store images or videos of your observations. Use the remote control or the buttons on the microscope host to switch between photo and video modes and initiate recording.
4.7 sorties HDMI
Connect the microscope to a larger screen or monitor via the HDMI cable for an expanded view of the microscopic world.
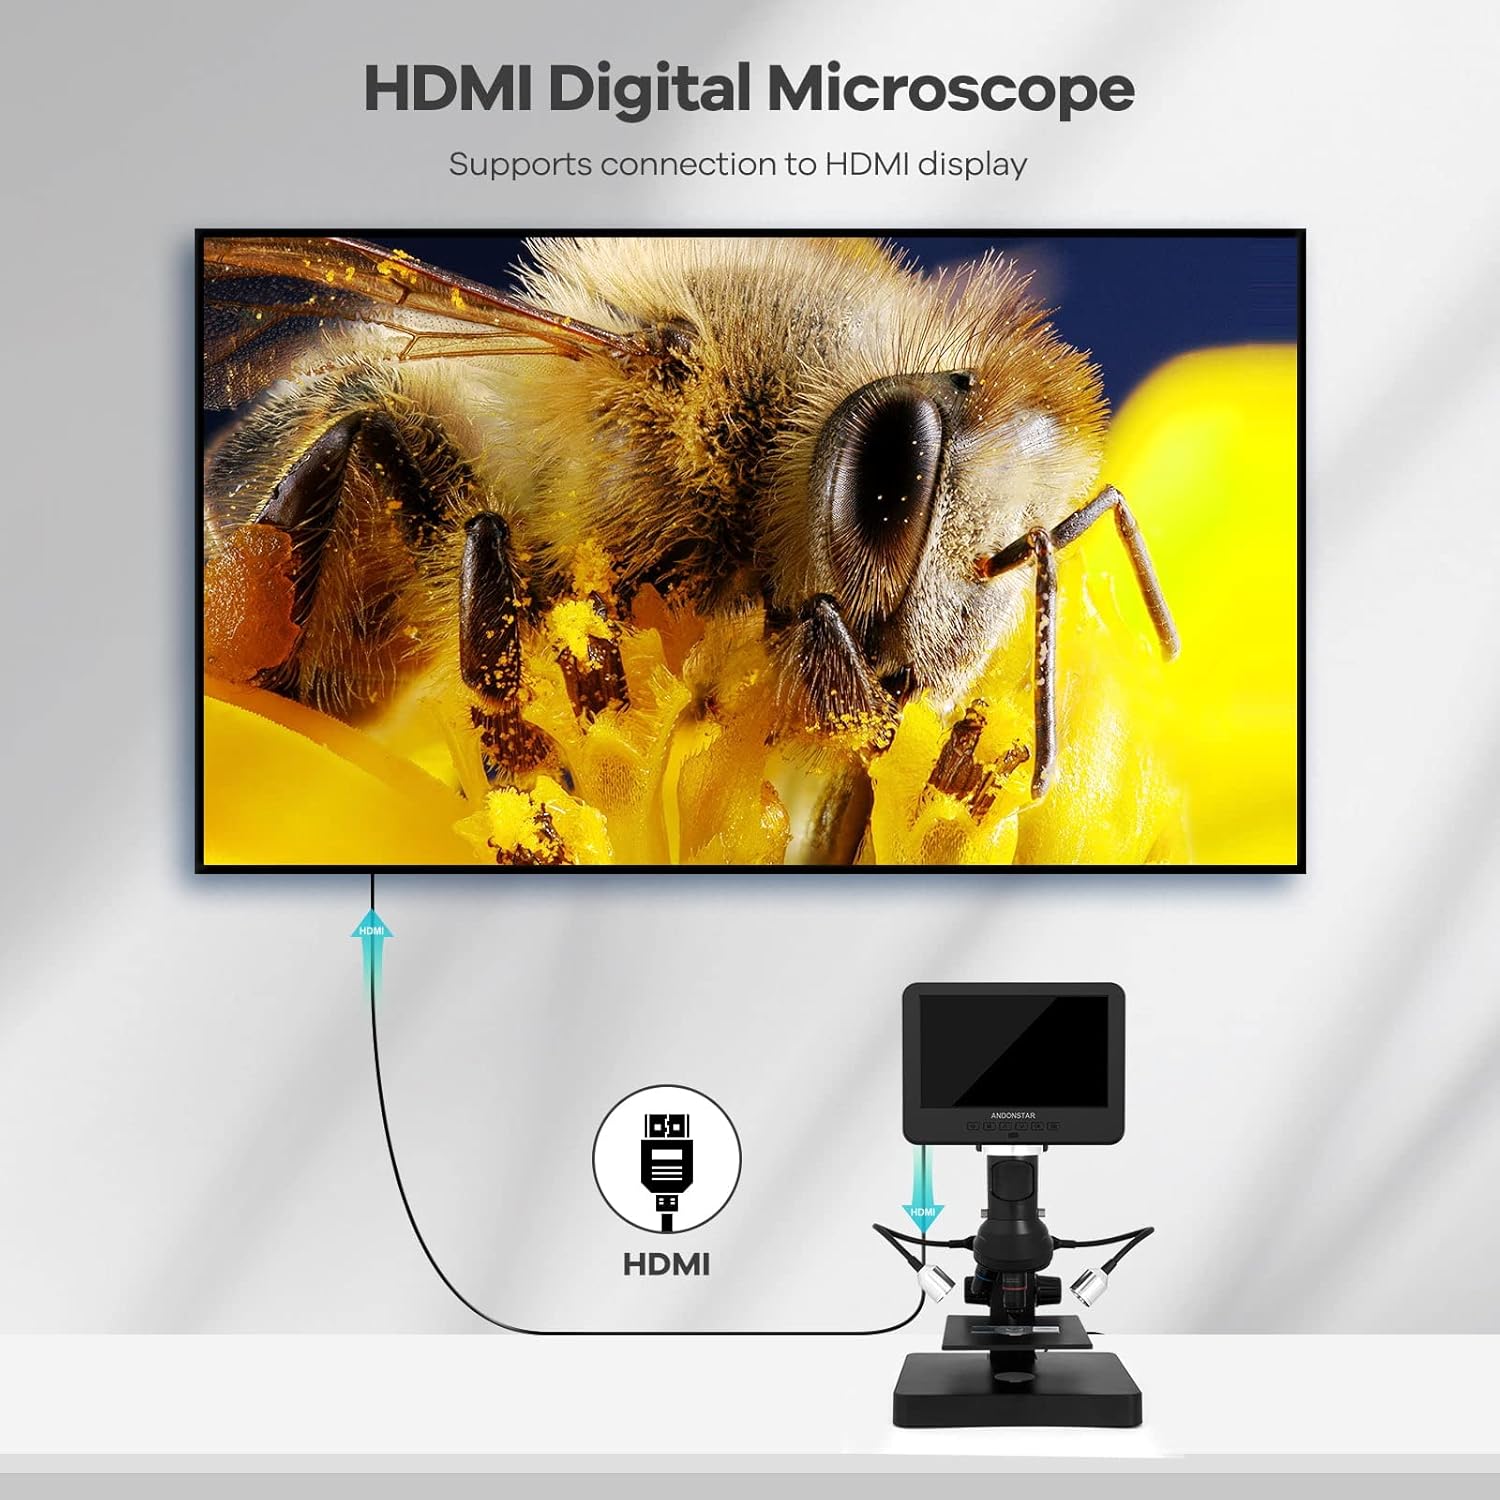
Figure 6: HDMI Output to External Display
4.8 USB Connection to PC
Connect the microscope to a Windows PC using the USB cable to utilize professional measurement software. This software allows for object measurement, area calculation, photo capture, and video recording directly on your computer.

Figure 7: USB Connection to PC for Software Use
5. Spécifications
- Dimensions du produit : 7.87 x 7.48 x 11.81 pouces
- Poids de l'article : 4.13 livres (1.88 kilogramme)
- Numéro de modèle de l'article : AD246S-P
- Fabricant: ShenZhen Andonstar Technology Co., Ltd
- Type de source lumineuse : DIRIGÉ
- Matériel: Plastique
- Couleur: Noir, Argent
- Angle réel de View: 178 degrés
- Grossissement maximum : 4080.00x
- Voltage: 240 volts
6. Entretien
To ensure the longevity and optimal performance of your Andonstar AD246S-P microscope, follow these maintenance guidelines:
- Nettoyez les lentilles avec un chiffon doux non pelucheux. Évitez les matériaux abrasifs.
- Rangez le microscope dans un endroit sec et exempt de poussière lorsqu'il n'est pas utilisé.
- Évitez d'exposer l'appareil à des températures extrêmes ou à la lumière directe du soleil.
- Manipulez le microscope et ses composants avec précaution pour éviter tout dommage.
7. Dépannage
If you encounter issues with your microscope, refer to the following common troubleshooting tips:
- Pas d'alimentation : Ensure all cables are securely connected and the power adapter is functioning correctly.
- Image floue : Adjust the focusing wheel and the bracket knob to achieve clear focus. Ensure the correct lens is installed for the desired magnification.
- Aucune image à l'écran : Check cable connections (power, HDMI, USB). Ensure the device is powered on.
- Erreur de carte SD : Ensure the SD card is inserted correctly. Try reformatting the SD card (this will erase all data).
- Problèmes de connexion PC : Verify USB cable connection. Ensure the correct measurement software drivers are installed on your Windows PC.
8. Garantie et assistance
Andonstar Technology Co., Ltd provides professional after-sales service. For any issues or inquiries, please contact our support team. We offer 24-hour professional after-sales service to assist you.
Ask a question about this manual
Ask about setup, troubleshooting, compatibility, parts, safety, or missing instructions. Manuals+ will review the question and use this page’s manual context to help answer it.