
1. Produit terminéview
The iTOMA CKS209 is a versatile alarm clock radio designed to enhance your bedside experience. It features dual wireless charging capabilities for your smartphone and earbuds, along with two additional USB ports for other devices. Enjoy your favorite music via Bluetooth 5.1 technology or tune into digital FM radio. The clock includes dual alarms with customizable wake-up modes, a large 1.4-inch orange LED display with auto and manual dimmer control, and a 2-level orange night light.
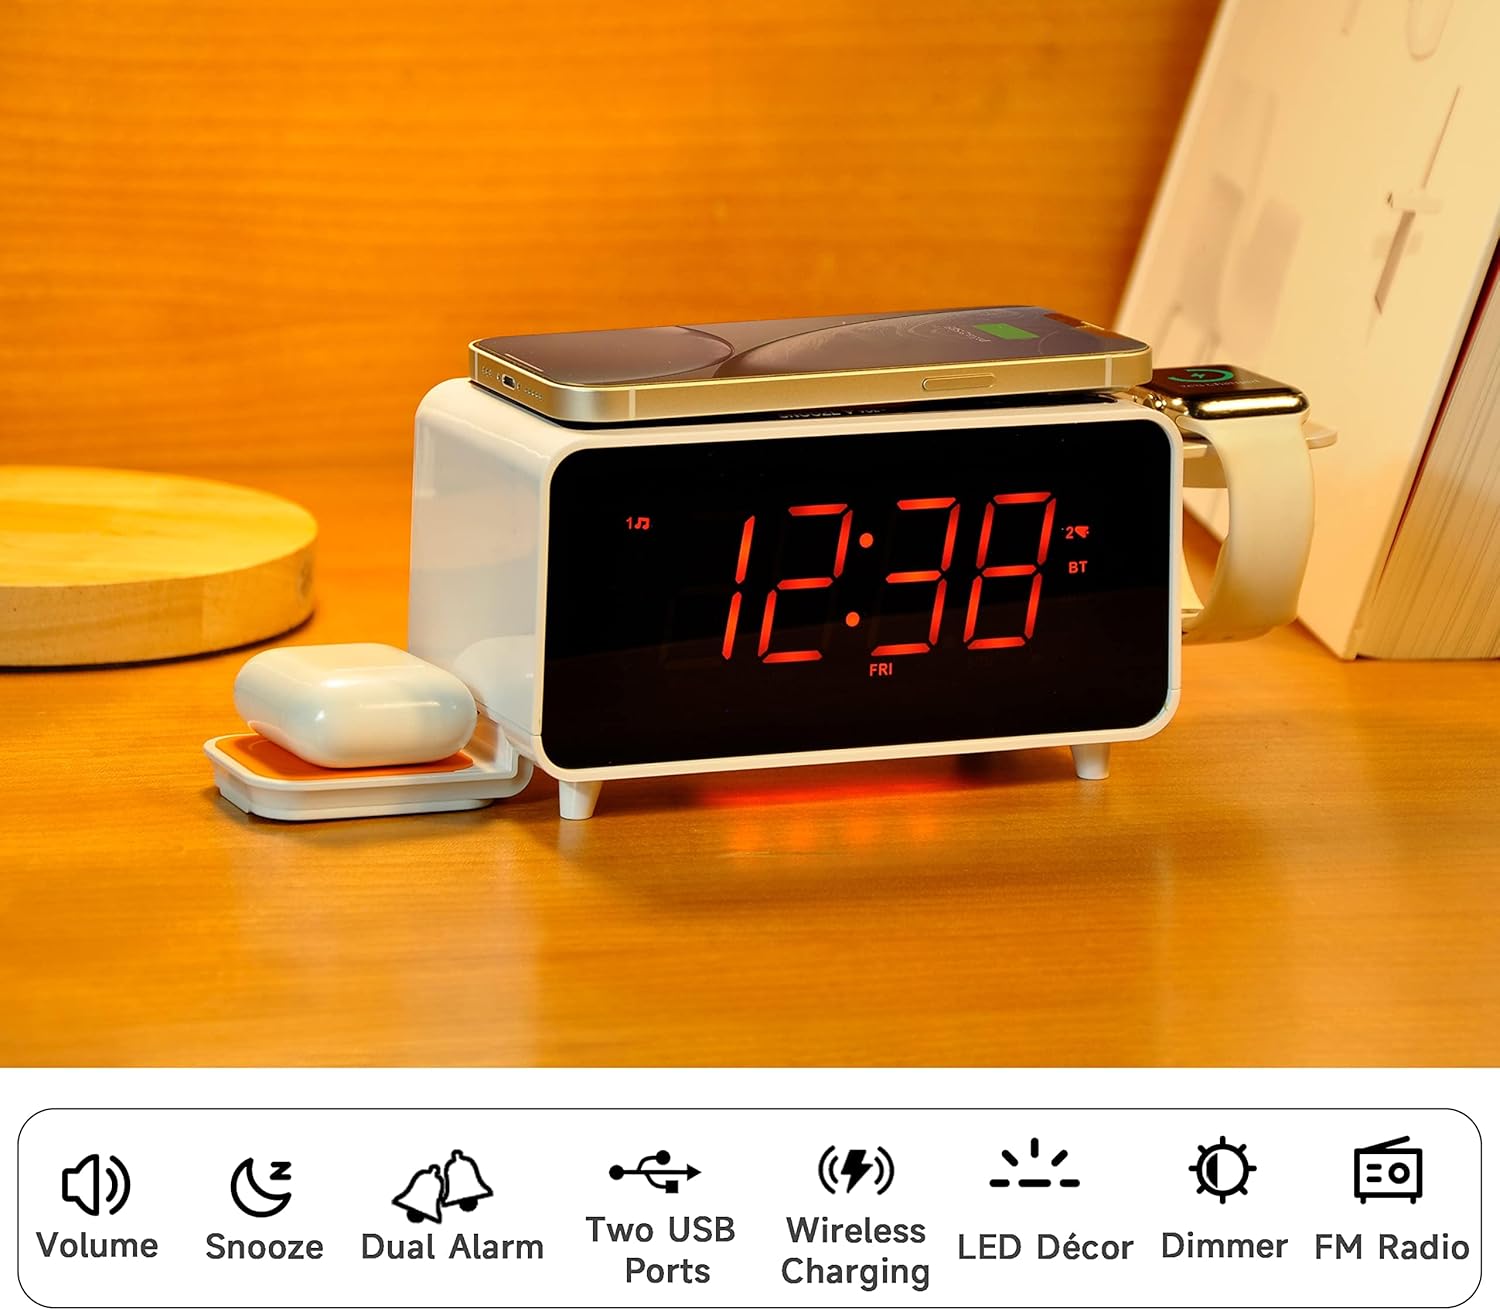
Image: The iTOMA CKS209 alarm clock radio displaying the time, with a smartphone wirelessly charging on top, earbuds on a side wireless charging pad, and a smartwatch on its holder.
Caractéristiques principales :
- Chargement sans fil : 15W ultra-fast wireless charger for smartphones and 3W foldable earphone wireless charger. Includes a watch wireless charging support holder (charging cable not included).
- Bluetooth 5.1: Seamless audio streaming from your Bluetooth-enabled devices.
- Deux ports USB: One USB-A and one USB-C port (5V 2.1A) for additional device charging.
- Smart Dual Alarm: Set two independent alarms with options to wake to radio or buzzer. Features snooze, crescendo wake-up, 15-level volume control, and 4 alarm week modes (Every day, single day, weekdays, weekends).
- 1.4" Orange LED Display: Clear 12/24-hour format display with 3-level dimmer brightness and auto-dimmer function.
- Veilleuse: 2-level orange night light for ambient illumination.
- Radio FM numérique : 20 programmable preset stations with external wire antenna for enhanced reception.
- Batterie de secours : Maintains time and alarm settings during power interruptions.
2. Installation
2.1 Connexion d'alimentation
- Unpack the iTOMA CKS209 unit and all accessories.
- Connect the provided AC adapter to the DC IN jack on the back of the unit.
- Plug the AC adapter into a standard wall outlet. The display will light up, and the clock will automatically set the time.
2.2 Initial Time Setting (Manual)
While the clock features auto-time setting, you can manually adjust the time, date, and year if needed.
- Appuyez et maintenez enfoncé le RÉGLAGE DE L'HORLOGE button located on the top panel until the year flashes on the display.
- Utilisez le RÉGLER +/- buttons (or rotate the SNOOZE/VOL dial) to adjust the year.
- Presse RÉGLAGE DE L'HORLOGE again to confirm and move to the month setting. Repeat the process for month, day, hour, and minute.
- Presse RÉGLAGE DE L'HORLOGE one last time to save your settings.
2.3 Time Zone and Daylight Saving Time (DST)
- Appuyez et maintenez enfoncé le SOMMEIL/FUSEAU HORAIRE button to enter time zone setting.
- Utilisez le RÉGLER +/- buttons (or rotate the SNOOZE/VOL dial) to select your desired time zone.
- Presse SOMMEIL/FUSEAU HORAIRE again to toggle DST ON or OFF.
- Presse SOMMEIL/FUSEAU HORAIRE une dernière fois pour confirmer et quitter.
Video: This video demonstrates the time setting and Bluetooth operation for a similar iTOMA CKS207 model, which shares similar functionalities with the CKS209.
3. Mode d'emploi
3.1 Recharge sans fil
The iTOMA CKS209 features multiple wireless charging options:
- Smartphone Wireless Charging: Place your Qi-compatible smartphone on the top charging pad. The charging indicator on the display will illuminate to confirm charging.
- Earbud Wireless Charging: Place your Qi-compatible earbuds on the foldable 3W wireless charging pad located on the side.
- Smartwatch Holder: Utilize the integrated holder for your smartwatch. Note: A separate smartwatch charging cable (not included) is required and connects to one of the USB ports.
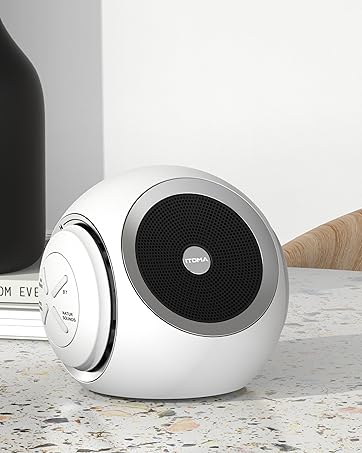
Image: A smartphone is placed on the top surface of the iTOMA CKS209, indicating wireless charging in progress.
Image: A close-up of the side of the iTOMA CKS209 showing the integrated holder designed for a smartwatch.
3.2 ports de chargement USB
In addition to wireless charging, the unit provides two USB ports (one Type-A and one Type-C) on the back for wired charging of other devices.
- Connect your device's USB charging cable to either the USB-A or USB-C port on the back of the alarm clock.
- Ensure your device is properly connected and charging.
Image: A smartphone is connected via a USB cable to one of the charging ports on the back of the iTOMA CKS209.
3.3 Bluetooth Speaker
Diffusez du contenu audio sans fil depuis vos appareils compatibles Bluetooth.
- Appuyez sur le MARCHE/ARRÊT bouton pour allumer l'appareil.
- Appuyez sur le MODE button repeatedly until 'BT' appears on the display and starts flashing, indicating pairing mode.
- On your mobile device, enable Bluetooth and search for 'iTOMA CKS209' (or similar model name).
- Select the device to pair. Once connected, 'BT' will stop flashing and remain solid.
- You can now play audio from your device through the alarm clock speaker. Adjust volume using the VOL +/- buttons or your mobile device.

Image: A smartphone displaying music playback is positioned near the iTOMA CKS209, indicating a Bluetooth connection.
3.4 Radio FM
Écoutez vos stations de radio FM préférées.
- Appuyez sur le MARCHE/ARRÊT bouton pour allumer l'appareil.
- Appuyez sur le MODE button repeatedly until the FM frequency appears on the display.
- Pour la recherche automatique des stations, appuyez longuement sur RÉGLER +/- buttons. The radio will scan and save available stations.
- For manual tuning, short press the RÉGLER +/- boutons pour régler la fréquence étape par étape.
- Réglez le volume à l'aide de la VOL +/- boutons.
3.5 Double réveil
Configurez jusqu'à deux alarmes indépendantes.
- Appuyez sur le AL1 or AL2 button to select the desired alarm. The alarm time will flash on the display.
- Utilisez le RÉGLER +/- buttons (or rotate the SNOOZE/VOL dial) to set the desired alarm hour and minute.
- Presse AL1 or AL2 again to select the wake-up source (Buzzer or FM Radio).
- Presse AL1 or AL2 again to select the alarm week mode (Every day, single day, weekdays, or weekends).
- Presse AL1 or AL2 one last time to confirm and activate the alarm. The alarm indicator will appear on the display.
- Pour désactiver une alarme, appuyez sur le bouton correspondant. AL1 or AL2 Appuyez sur le bouton jusqu'à ce que le voyant d'alarme disparaisse de l'écran.
- Fonction de répétition: Lorsque l'alarme sonne, appuyez sur la ROUPILLON button to temporarily silence the alarm for 9 minutes.

Image: The iTOMA CKS209 alarm clock radio displaying the time on a bedside table, ready for use.
3.6 Display & Dimmer Control
Adjust the brightness of the 1.4-inch orange LED display.
- Appuyez brièvement sur le VARIATEUR button to cycle through 3 brightness levels (High, Medium, Low).
- The unit also features an auto-dimmer function that adjusts display brightness based on ambient light conditions.
Image: A visual representation of the iTOMA CKS209 display at different brightness levels, from bright to invisible, and the auto-dimmer setting.
3.7 Veilleuse
Activate the ambient orange night light.
- Appuyez sur le DIRIGÉ button to turn the night light ON.
- Appuyez sur le DIRIGÉ button again to cycle through 2 brightness levels.
- Appuyez sur le DIRIGÉ button a third time to turn the night light OFF.
4. Entretien
Pour garantir la longévité et les performances optimales de votre iTOMA CKS209, suivez ces consignes d'entretien :
- Nettoyage: Use a soft, dry cloth to clean the exterior of the unit. Do not use liquid cleaners or abrasive materials, as they may damage the finish.
- Ventilation: Veillez à placer l'appareil dans un endroit bien ventilé afin d'éviter toute surchauffe. Ne bloquez aucune ouverture de ventilation.
- Cordon d'alimentation : Inspectez régulièrement le cordon d'alimentation pour détecter tout dommage. En cas de dommage, cessez de l'utiliser et contactez le service client.
- Stockage: Si vous devez entreposer l'appareil pendant une période prolongée, débranchez-le de la prise de courant et rangez-le dans un endroit frais et sec.
5. Dépannage
If you encounter any issues with your iTOMA CKS209, please refer to the following common troubleshooting steps:
- Pas d'alimentation/Écran éteint :
- Ensure the AC adapter is securely plugged into both the unit and a working wall outlet.
- Vérifiez si la prise de courant fonctionne en y branchant un autre appareil.
- Le chargement sans fil ne fonctionne pas :
- Vérifiez que votre appareil est compatible Qi.
- Ensure your device is centered correctly on the charging pad.
- Retirez toute coque de téléphone épaisse ou tout objet métallique susceptible d'interférer avec la charge.
- Confirm the unit is powered on.
- Problèmes de couplage Bluetooth :
- Ensure the alarm clock is in Bluetooth pairing mode ('BT' flashing).
- Assurez-vous que Bluetooth est activé sur votre appareil mobile.
- Move your mobile device closer to the alarm clock.
- Si l'appareil a déjà été jumelé, essayez de le dissocier puis de le jumeler à nouveau.
- FM Radio Static/Poor Reception:
- Extend the external wire antenna fully for better reception.
- Reposition the antenna or the unit to find a location with better signal strength.
- L'alarme ne sonne pas :
- Ensure the alarm (AL1 or AL2) is activated and its indicator is visible on the display.
- Vérifiez le réglage du volume de l'alarme.
- Verify the alarm time and day settings are correct.
6. Spécifications
| Fonctionnalité | Détail |
|---|---|
| Marque | iTOMA |
| Numéro de modèle | CKS209-CA |
| Couleur | Orange Led Display |
| Dimensions du produit | 16.8 x 3.81 x 9.1 cm |
| Poids de l'article | 820 g |
| Matériel | Plastique |
| Type d'affichage | DIRIGÉ |
| Caractéristiques spéciales | Auto Dimmable, Charging Port, Charging Station, Foldable, Multiple Time Zone |
| Chargement sans fil | 15W (Phone), 3W (Earbuds) |
| Chargement USB | USB-A, USB-C (5V 2.1A) |
| Version Bluetooth | 5.1 |
| Fréquence FM | 87.5-108 MHz |
7. Garantie et assistance
For warranty information, technical support, or any inquiries regarding your iTOMA CKS209, please refer to the documentation included in your product packaging or visit the official iTOMA webVous pouvez également contacter directement le vendeur pour obtenir de l'aide.