1. Introduction
This manual provides detailed instructions for the installation, operation, and maintenance of your Cestovet Android 10 Car Radio. Please read this manual thoroughly before using the product to ensure proper functionality and safety. This unit is specifically designed for Honda CRV models manufactured between 2012 and 2016.

Image 1.1: Cestovet Android 10 Car Radio Main Unit
Vidéo 1.1 : Présentation du produitview for Honda CRV 2012-2016 Car Radio. This video provides a general visual overview of the car radio's features and compatibility.
2. Consignes de sécurité
- Utilisez toujours l'appareil de manière responsable et conformément au code de la route local.
- N’essayez pas d’installer ou de réparer l’appareil si vous n’êtes pas qualifié. Faites appel à un installateur professionnel.
- Évitez toute exposition prolongée à la lumière directe du soleil ou aux températures extrêmes.
- Gardez l'écran propre et dégagé de tout obstacle.
3. Contenu du colis
Veuillez vérifier que tous les articles listés ci-dessous sont inclus dans votre colis. Si un article est manquant ou endommagé, veuillez contacter le service client.

Image 3.1: Package Contents. This image displays the main unit, various cables, and installation tools included with the product.
- Unité principale (écran de 10 pouces)
- Faisceau de câbles d'alimentation
- Câbles USB (x2)
- Antenne GPS
- Câble RCA
- Décodeur CanBus
- Microphone externe
- Tournevis
- Plastic Removal Tool (Crowbar)
- Manuel de l'utilisateur (ce document)
4. Configuration et installation
L'installation par un professionnel est recommandée. Assurez-vous que la batterie du véhicule est débranchée avant de commencer l'installation.
4.1 Vérifications avant l'installation
- Vérifier la compatibilité avec le véhicule (Honda CRV 2012-2016).
- Inspect all components for damage.
- Familiarisez-vous avec la procédure de démontage du tableau de bord de votre véhicule.
4.2 Connexions de câblage
Connect the provided wiring harness to the car radio and then to the vehicle's factory wiring. Ensure all connections are secure. The CanBus decoder should be connected as per the wiring diagram to ensure proper communication with the vehicle's systems, including steering wheel controls.
4.3 Installation physique
- Carefully remove the factory radio and dashboard trim.
- Mount the new Cestovet unit into the dashboard opening.
- Secure the unit using appropriate screws or clips.
- Reconnect the vehicle's battery and test the unit before reassembling the dashboard trim.
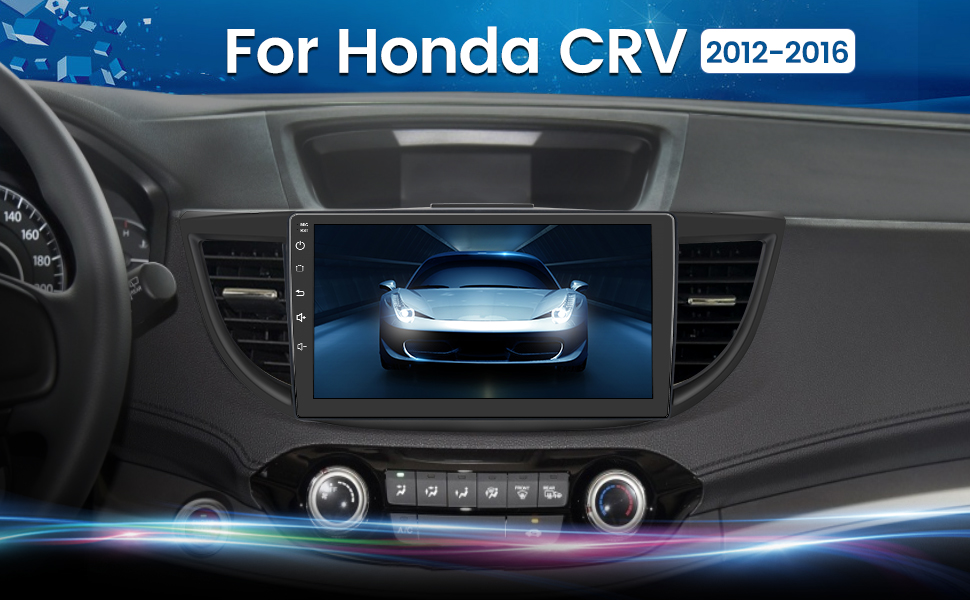
Image 4.1: Installed Car Radio. This image shows the Cestovet Android 10 Car Radio seamlessly integrated into a Honda CRV dashboard.
5. Mode d'emploi
5.1 Fonctions de base
- Marche/Arrêt : Press and hold the power button on the unit's side panel.
- Contrôle du volume : Utilisez les boutons de volume situés sur le panneau latéral ou les commandes au volant.
- Bouton d'accueil: Retour à l'écran d'accueil principal d'Android.
- Bouton Retour : Permet de revenir à l'écran ou au menu précédent.
5.2 CarPlay et Android Auto
Connect your iPhone or Android phone via a USB cable to enable Carplay or Android Auto functionality. This allows for seamless integration of navigation, music, calls, and messages directly on the car radio's display.
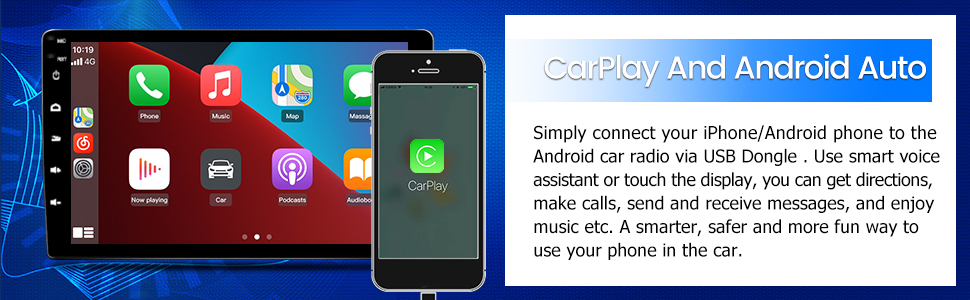
Image 5.1: Carplay and Android Auto. This image illustrates the user interface for Carplay and Android Auto on the car radio's display.
5.3 Connectivité Bluetooth
Pair your mobile device via Bluetooth for hands-free calling and audio streaming. Navigate to the Bluetooth settings on the car radio, enable Bluetooth, and search for your device. Select your device from the list to pair.
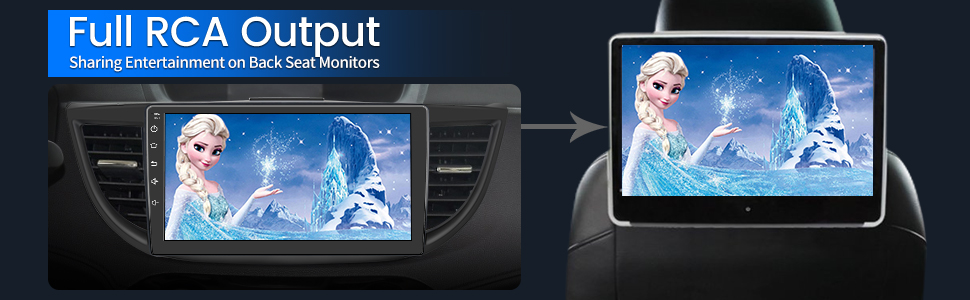
Image 5.2: Bluetooth Music. This image shows the Bluetooth music interface, allowing for wireless audio playback from a paired device.
5.4 Connexion Wi-Fi
Connect the car radio to a WiFi hotspot (e.g., from your smartphone) to access online features, download apps, and browse the internet. Go to Settings > Network & Internet > Wi-Fi, then select your desired network and enter the password.

Image 5.3: WiFi Connection. This image displays the car radio's screen with various app icons, indicating internet access via WiFi.
5.5 Navigation GPS
The unit supports both online and offline navigation. Ensure the GPS antenna is properly installed for optimal signal reception. Pre-installed maps or downloadable map applications can be used for guidance.
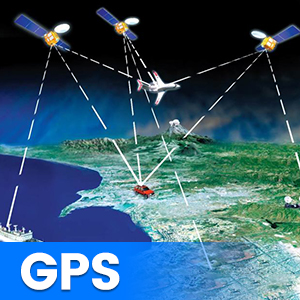
Image 5.4: GPS Functionality. This graphic illustrates the global positioning system (GPS) satellites providing navigation data to the car radio.
5.6 Commandes au volant (SWC)
The unit supports integration with your vehicle's existing steering wheel controls. After installation, you may need to configure the SWC settings in the unit's menu to map the buttons correctly.
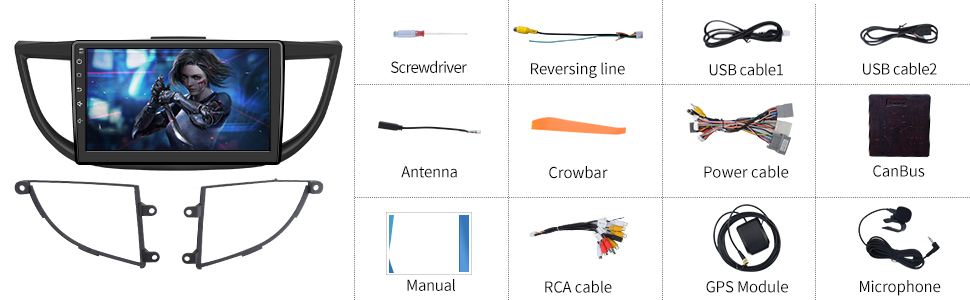
Image 5.5: Steering Wheel Controls. This image shows the on-screen interface for configuring steering wheel controls.
5.7 Arrière View Prise en charge de la caméra
L'autoradio supporte un arrièreview camera (sold separately). When a compatible camera is connected and the vehicle is shifted into reverse, the screen will automatically display the camera feed, assisting with parking maneuvers.

Image 5.6 : Arrière View Support. This graphic demonstrates how the car radio supports a rearview camera, displaying parking guidelines.
Sortie RCA complète 5.8
The unit features full RCA output, allowing you to connect external monitors, such as backseat displays, to share entertainment with passengers.

Image 5.7: Full RCA Output. This image shows video content from the car radio being displayed on a backseat monitor.
6. Entretien
- Nettoyage de l'écran : Utilisez un chiffon doux non pelucheux pour essuyer délicatement l'écran. Évitez les nettoyants abrasifs et les solvants.
- Mises à jour logicielles : Vérifiez régulièrement la disponibilité des mises à jour logicielles via le menu des paramètres de l'appareil ou le site web du fabricant. website pour garantir des performances optimales et l'accès aux nouvelles fonctionnalités.
- Soins généraux: Gardez l'appareil exempt de poussière et d'humidité.
7. Dépannage
En cas de problème, veuillez consulter la liste des problèmes courants et leurs solutions ci-dessous :
| Problème | Solution possible |
|---|---|
| Pas de courant | Vérifiez les connexions du câble d'alimentation et la boîte à fusibles du véhicule. Assurez-vous que le contact est mis. |
| Pas de son | Vérifiez les connexions des haut-parleurs. Contrôlez les niveaux de volume et les paramètres de sortie audio. Assurez-vous que amplifier (if external) is powered. |
| Signal GPS perdu | Assurez-vous que l'antenne GPS est correctement connectée et que le signal est clair. view du ciel. Déplacez le véhicule vers une zone dégagée. |
| Échec du jumelage Bluetooth | Vérifiez que le Bluetooth est activé sur les deux appareils. Supprimez les appairages précédents et réessayez. Redémarrez les deux appareils. |
| L'écran tactile ne répond pas | Perform a soft reset using the 'RST' button (if available) or power cycle the unit. |
8. Spécifications
Key technical specifications of the Cestovet Android 10 Car Radio:
- Système opérateur: Android 10
- Taille de l'écran : 10 pouces
- Résolution: 720 x 1280
- BÉLIER: 2 Go
- Mémoire interne (ROM) : 32 Go
- Connectivité : Wi-Fi, Bluetooth
- Caractéristiques spéciales : Carplay, Android Auto, GPS Navigation, Touchscreen, Steering Wheel Control Support, Rear View Camera Support, DSP (Digital Sound Processor)
- Mode de sortie audio : Haut-parleur stéréo
- Poids de l'article : Environ 4.93 livres
- Dimensions du colis : Environ 17.87 x 10.12 x 7.56 pouces
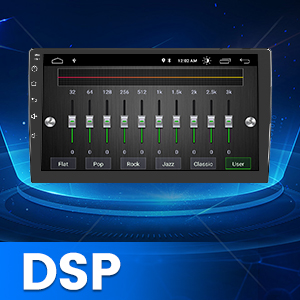
Image 8.1: DSP Functionality. This graphic illustrates the Digital Sound Processor (DSP) for enhanced audio customization.
9. Garantie et assistance
For warranty information, technical support, or any inquiries regarding your Cestovet Android 10 Car Radio, please refer to the contact information provided at the point of purchase or visit the official Cestovet webConsultez le site. Conservez votre reçu d'achat comme preuve d'achat pour toute réclamation au titre de la garantie.