
1. Introduction
This manual provides detailed instructions for the setup, operation, maintenance, and troubleshooting of your UF-TOOLS 7-Inch LCD Digital Microscope. Please read this manual thoroughly before using the device to ensure proper functionality and to maximize its lifespan.
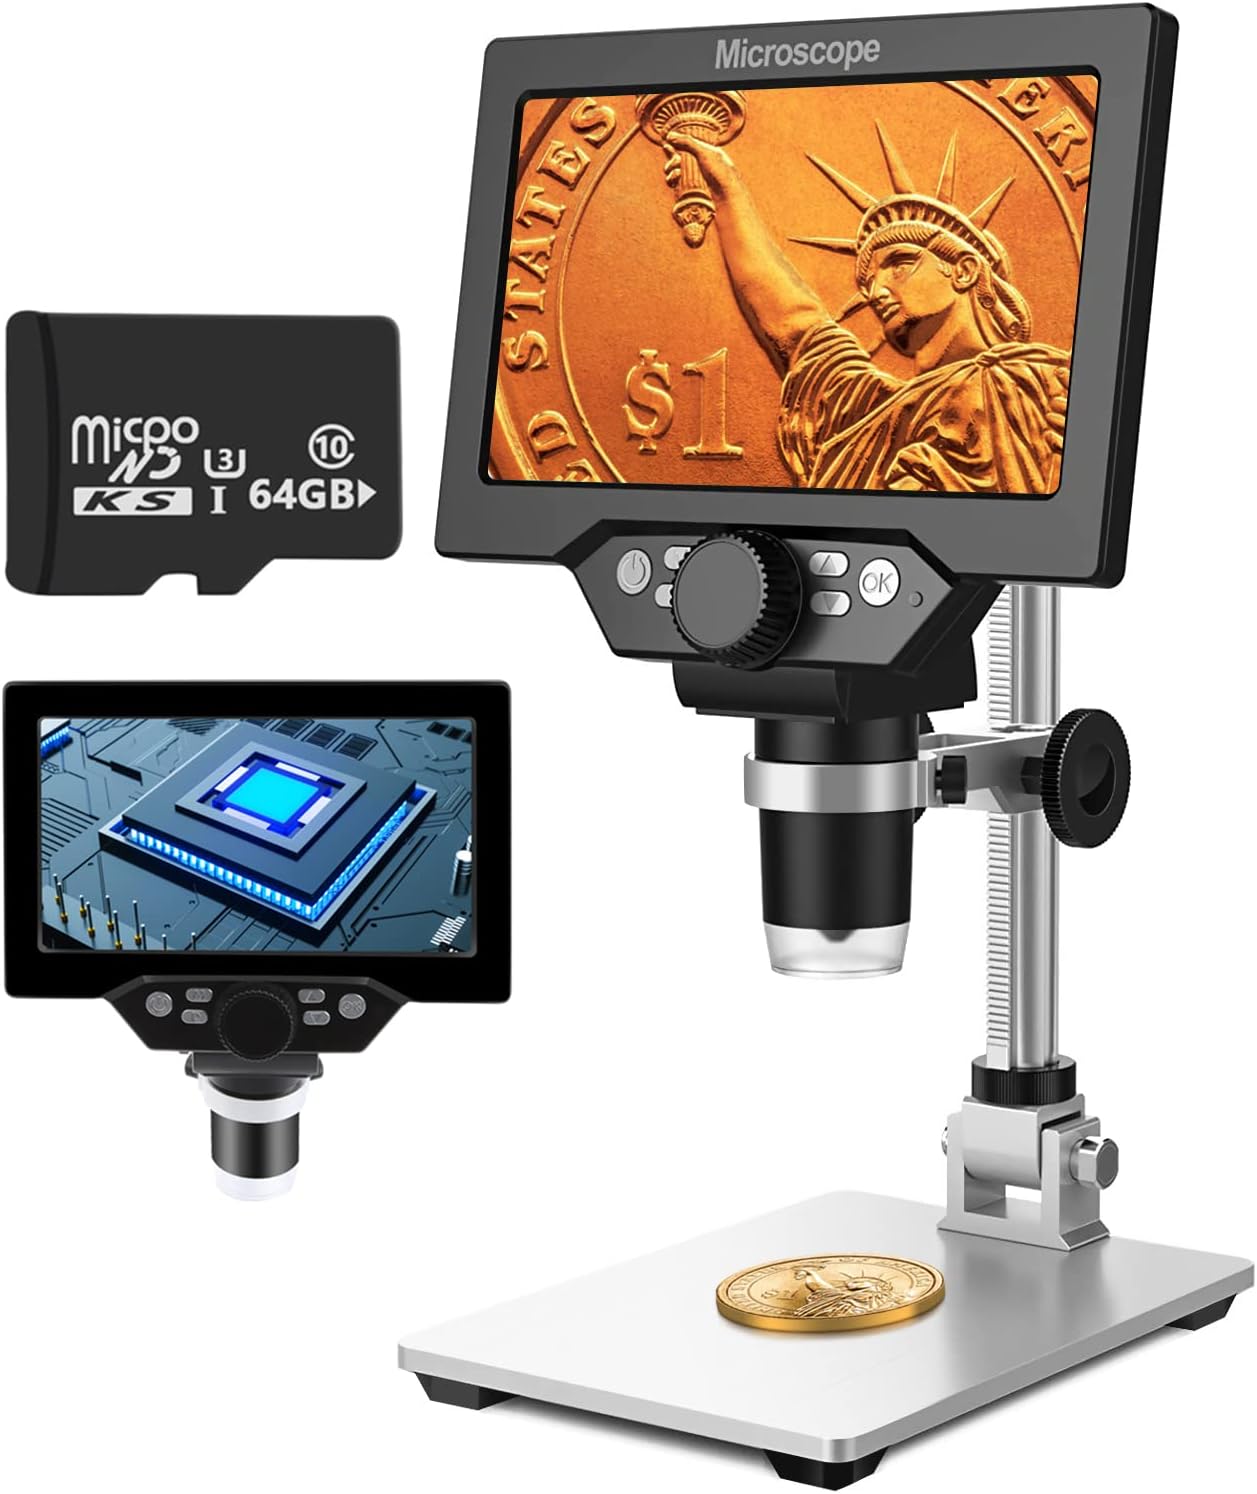
Image 1.1: UF-TOOLS 7-Inch LCD Digital Microscope with included 64GB TF card, showing the main unit and stand.
1.1 Principales caractéristiques
- Écran LCD de 7 pouces : Provides a clear, high-definition display for direct viewing without a computer.
- Grossissement de 10X à 1200X : Continuous zoom capability for observing various objects.
- Caméra 12MP: Captures high-resolution images and 1080P video.
- Carte TF 64 Go : Included for direct storage of photos and videos. Supports up to 128GB.
- 8 lumières LED réglables : Ensures optimal illumination for detailed observation.
- Flexible Aluminum Alloy Stand: Allows for 90° angle adjustment and 2-10cm focus distance adjustment.
- Batterie intégrée de 3000 mAh : Offers portability with up to 6 hours of operation on a full charge.
- Connectivité PC : Compatible with Windows 7/8/10 for larger display and data transfer.
2. Contenu du colis
Vérifiez que tous les éléments énumérés ci-dessous sont présents dans votre colis :
- UF-TOOLS 7-Inch LCD Digital Microscope Unit
- Adjustable Aluminum Alloy Stand
- Carte 64GB TF
- Câble USB
- Adaptateur secteur (si inclus)
- Manuel de l'utilisateur (ce document)

Image 2.1: The microscope package includes a 64GB TF card for storage.
3. Guide de configuration
3.1 Assembling the Microscope
- Déballez soigneusement tous les composants de la boîte.
- Attach the microscope unit to the adjustable aluminum alloy stand. Ensure it is securely fastened using the provided screws or locking mechanisms.
- Insert the 64GB TF card into the designated slot on the microscope unit.
- Placez le microscope assemblé sur une surface stable et plane.

Image 3.1: Product dimensions and adjustable stand features, including 270° rotation and height adjustment.
3.2 Chargement de la batterie
The microscope has a built-in 3000mAh rechargeable battery. Before first use, fully charge the device.
- Connect the USB cable to the microscope's charge port and the other end to a power adapter or a computer's USB port.
- Le voyant de charge indiquera l'état de charge.
- A full charge typically provides up to 6 hours of continuous use.

Image 3.2: The microscope features a long-lasting rechargeable battery, charged via USB.
4. Mode d'emploi
4.1 Appareil terminéview et contrôles

Image 4.1 : Terminéview of the microscope's controls and ports, including charge port, MicroSD slot, light regulation, fixed knob, lifting adjusting bracket knob, and various function buttons.
- Marche/Arrêt : Appuyez sur le bouton d'alimentation et maintenez-le enfoncé pour allumer ou éteindre l'appareil.
- Video/Camera Playback: Use dedicated buttons to switch between video recording, photo capture, and playback modes.
- System Key Programming: Access menu settings for various configurations.
- Object Distance Adjustment: Ajustez la distance entre l'objectif et l'objet.
- Page précédente/suivante : Navigate through menus or captured media.
- Confirm Key/Camera Button: Select options or capture photos/videos.
- Light Regulation: Réglez la luminosité des 8 LED.
- Bouton fixe : Secures the microscope unit to the stand.
- Lifting Adjusting Bracket Knob: Adjusts the height of the microscope unit on the stand.
4.2 Réglage du grossissement et de la mise au point
- Placez l'objet que vous souhaitez observer sur la plaque de base.
- Adjust the height of the microscope unit using the Lifting Adjusting Bracket Knob to get a rough focus.
- Use the focus wheel on the microscope lens to fine-tune the focus until the image on the 7-inch LCD screen is clear.
- The magnification range is 10X to 1200X. Adjust the distance between the lens and the object, along with the focus wheel, to achieve the desired magnification.

Image 4.2: The microscope features an adjustable screen, free length adjustment, and precise focus control.

Image 4.3: Digital magnification from 10X to 1200X, demonstrating the zoom capability on small objects.
4.3 Utilisation des lumières LED
The microscope is equipped with 8 adjustable LED lights to illuminate your subject. Use the Light Regulation control to increase or decrease brightness as needed for optimal viewing.

Image 4.4: The 8 LED lights provide adequate illumination for observing objects in various lighting conditions.
4.4 Capture de photos et de vidéos
With the included 64GB TF card, you can directly save images and videos.
- In photo mode, press the Confirm/Camera button to capture an image.
- In video mode, press the Confirm/Camera button to start recording, and press again to stop.
- Captured media can be reviewed using the playback function.
4.5 Connectivité PC
À view observations on a larger screen or transfer files, connect the microscope to a Windows PC (Windows 7/8/10) using the provided USB cable.
- Connect the microscope to your PC via the USB cable.
- Le microscope doit être considéré comme un dispositif de stockage ou un webcam, depending on the mode selected on the microscope.
- You can then access the stored images/videos or use the microscope as a live camera feed.

Image 4.5: Connect the microscope to a PC for a larger viewing experience and data management.
5. Entretien
5.1 Nettoyage
- Lentille: Utilisez un chiffon doux non pelucheux spécialement conçu pour les lentilles optiques. Pour les traces tenaces, vous pouvez appliquer une petite quantité de solution nettoyante pour lentilles sur le chiffon, et non directement sur la lentille.
- Écran: Wipe the LCD screen gently with a microfiber cloth. Avoid harsh chemicals.
- Corps: Clean the microscope body and stand with a soft, dry cloth. Do not use abrasive cleaners or solvents.
5.2 Stockage
- Rangez le microscope dans un endroit frais et sec, à l'abri de la lumière directe du soleil et des températures extrêmes.
- En cas de stockage prolongé, assurez-vous que la batterie est partiellement chargée (environ 50 %) afin de prolonger sa durée de vie.
- Keep the lens covered to prevent dust accumulation.
5.3 Entretien de la batterie
- Évitez de décharger complètement la batterie fréquemment.
- Rechargez régulièrement la batterie, même si elle n'est pas utilisée, afin de préserver sa durée de vie.
- N'exposez pas la batterie à des températures élevées.
6. Dépannage
- Pas d'alimentation :
- Ensure the battery is charged. Connect the microscope to a power source and try again.
- Vérifiez la connexion du câble d'alimentation.
- Image floue :
- Réglez soigneusement la molette de mise au point.
- Ajustez la hauteur du bloc microscope sur son support.
- Veillez à ce que l'objet soit correctement éclairé en ajustant les lumières LED.
- Clean the lens if smudges or dust are present.
- Impossible de prendre des photos/vidéos :
- Ensure a TF card is inserted and properly formatted.
- Check if the TF card has sufficient storage space.
- Verify the device is in the correct photo or video capture mode.
- L'ordinateur ne reconnaît pas le périphérique :
- Ensure the USB cable is securely connected to both the microscope and the PC.
- Essayez un autre port USB sur votre ordinateur.
- Restart both the microscope and the PC.
- Ensure your PC is running Windows 7/8/10.
7. Spécifications
| Fonctionnalité | Détail |
|---|---|
| Nom du modèle | SUGON-Digital Microscope |
| Taille de l'écran | Écran LCD 7 pouces |
| Grossissement | 10X-1200X |
| Résolution de la caméra | 12 MP |
| Résolution vidéo | 1080P |
| Stockage | 64GB TF Card (Max 128GB supported) |
| Éclairage | 8 lumières LED |
| Capacité de la batterie | Polymère de lithium 3000mAh |
| Autonomie de la batterie | Jusqu'à 6 heures (environ) |
| Compatibilité PC | Windows 7/8/10 |
| Matériel | Métal, plastique |
| Poids de l'article | 2.44 livres (1.11 kg) |
| Dimensions du colis | 9.8 x 8.19 x 3.35 pouces |
8. Garantie et assistance
UF-TOOLS provides the following warranty and support for this product:
- Période de renvois: 45 days limited product return period.
- Politique d'échange : 18 months exchange for product defects.
For technical support or warranty claims, please contact UF-TOOLS customer service through the retailer where the product was purchased or visit the official UF-TOOLS website pour les coordonnées.
Note: Warranty terms may vary based on region and retailer. Please retain your proof of purchase.