1. Introduction
This manual provides detailed instructions for the setup, operation, and maintenance of your CHOUBENBEN replacement remote control for Mitsubishi Air Conditioners. Please read this manual thoroughly before use to ensure proper functionality and to maximize the lifespan of your remote control.
2. Produit terminéview
The CHOUBENBEN remote control is designed as a direct replacement for various Mitsubishi Air Conditioner models, offering essential functions for comfortable climate control. It features a clear LCD display and ergonomic button layout.

Figure 2.1 : Face avant view of the remote control, displaying temperature and time.
The remote control is capable of displaying temperature in both Fahrenheit and Celsius, a feature specifically designed for user convenience.

Figure 2.2: Display showing both Fahrenheit and Celsius temperature readings.
3. Installation
3.1 Installation de la batterie
The remote control requires two AAA 1.5V batteries (not included). Follow these steps to install the batteries:
- Retournez la télécommande pour accéder au compartiment des piles situé à l'arrière.
- Faites glisser le couvercle du compartiment à piles vers le bas pour l'ouvrir.
- Insérez deux piles AAA en veillant à ce que les bornes positive (+) et négative (-) soient correctement alignées avec les marquages à l'intérieur du compartiment.
- Remettez le couvercle du compartiment à piles en place jusqu'à ce qu'il s'enclenche correctement.
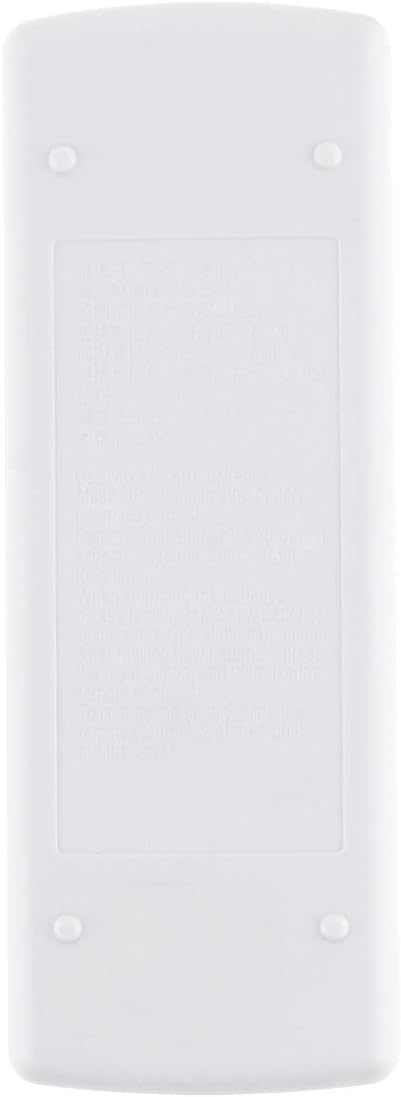
Figure 3.1 : Arrière view de la télécommande, indiquant le compartiment des piles.
Note: Remove batteries if the remote control will not be used for an extended period to prevent leakage and damage.
4. Mode d'emploi
Cette section décrit en détail les fonctions des boutons de votre télécommande.

Figure 4.1: Remote control with sliding cover open, showing all function buttons.
4.1 Fonctions de base
- Bouton marche/arrêt (Red Circle Button): Press to turn the air conditioner on or off.
- Boutons de réglage de la température (Up/Down Triangles): Press the Up bouton pour augmenter la température et la Vers le bas bouton pour le diminuer.
- TOO WARM / TOO COOL Buttons: These buttons are typically used for quick temperature adjustments or comfort settings.
4.2 Fonctions avancées (sous le couvercle coulissant)
- Bouton MODE (Bouton rouge): Press repeatedly to cycle through available operating modes (e.g., Cool, Heat, Fan, Dry, Auto). The current mode will be displayed on the LCD.
- Bouton FAN: Adjusts the fan speed (e.g., Low, Medium, High, Auto). Press repeatedly to cycle through options.
- VANE Button: Controls the direction of the air swing/louvers. Press to adjust the airflow direction.
- TIMER START Button: Used to set a timer for the air conditioner to turn on automatically. Refer to your air conditioner's main manual for specific timer setting procedures.
- TIMER STOP Button: Used to set a timer for the air conditioner to turn off automatically. Refer to your air conditioner's main manual for specific timer setting procedures.
4.3 Conversion des unités de température
This remote control supports both Fahrenheit (°F) and Celsius (°C) display. To switch between units, locate the small button or combination of buttons (often a recessed button requiring a pointed object, or a combination like pressing Up and Down simultaneously) that controls this function. Refer to the specific instructions provided with your air conditioner unit or experiment with the buttons if not immediately apparent. The display will change accordingly.
5. Entretien
- NettoyageEssuyez la télécommande avec un chiffon doux et sec. N’utilisez pas de nettoyants liquides ni de produits abrasifs.
- Remplacement de la batterie: Replace batteries when the display becomes dim or the remote control becomes unresponsive. Always replace both batteries at the same time with new AAA 1.5V batteries.
- StockageRangez la télécommande dans un endroit frais et sec, à l'abri de la lumière directe du soleil et des températures extrêmes.
6. Dépannage
- La télécommande ne répond pas: Check if the batteries are inserted correctly and have sufficient charge. Replace batteries if necessary. Ensure there are no obstructions between the remote and the air conditioner's receiver.
- L’affichage est sombre ou videCela indique généralement une batterie faible. Remplacez les piles.
- Air conditioner not responding to commands: Verify that the remote control is pointed directly at the air conditioner's receiver. Ensure the air conditioner is powered on. If the issue persists, try resetting the air conditioner (refer to its main manual).
7. Spécifications
| Fonctionnalité | Description |
|---|---|
| Marque | CHOUBENBEN |
| Numéro de modèle | AA320201017-565 |
| Modèles compatibles | Mitsubishi MSD-13GC, MD-17GC, MSH-17DC, MSH-17LV |
| Type de batterie | 2 x AAA 1.5V (non inclus) |
| Afficher | LCD with Fahrenheit/Celsius option |
| Type de contrôleur | Contrôle des boutons |
| Dossier spécial | Conception ergonomique |
8. Garantie et assistance
This product is covered by a standard manufacturer's warranty. For specific warranty details or technical support, please refer to the documentation provided at the time of purchase or contact your retailer. Keep your purchase receipt as proof of purchase.