1. Introduction
This manual provides detailed instructions for the installation, operation, maintenance, and troubleshooting of the Akozon MPT-7210A MPPT Solar Controller. This device is designed to efficiently charge lithium batteries using solar panels, featuring advanced Maximum Power Point Tracking (MPPT) technology.
2. Consignes de sécurité
Veuillez lire attentivement toutes les consignes de sécurité avant l'installation et l'utilisation. Le non-respect de ces consignes peut entraîner un choc électrique, un incendie ou des blessures graves.
- Vérifiez que toutes les connexions sont bien fixées et correctes avant de mettre l'alimentation sous tension.
- Ne démontez pas et n'essayez pas de réparer vous-même la manette. Contactez un technicien qualifié pour toute intervention.
- Installez le contrôleur dans un endroit bien ventilé, à l'écart des matériaux inflammables et de l'humidité.
- Wear appropriate personal protective equipment (PPE) during installation, including insulated gloves and eye protection.
- Vérifier le vol de la batterietagVérifiez la polarité avant de connecter le contrôleur.
3. Produit terminéview
The Akozon MPT-7210A is a high-performance MPPT solar charge controller designed for various battery types, including lithium batteries. It features an LCD display for real-time monitoring and user-friendly controls.
Caractéristiques principales :
- Technologie MPPT : Innovative Maximum Power Point Tracking for improved energy generation efficiency.
- Large compatibilité : Supports 24V, 36V, 48V, 60V, and 72V battery pack systems.
- Sortie réglable : Volume de sortietage (DC15-90V) and current (0-10A) are adjustable.
- Écran LCD : 160*128 TFT color LCD displays current, voltage, power, and charging time.
- Deux modes de fonctionnement : Selectable MPPT for photovoltaic panels and DC-DC for boost power supply.
- Fonctions de protection : Overload protection and MOS reverse connection protection for both input and output.
- Refroidissement efficace : Advanced fan temperature control and aluminum alloy casing pour une excellente dissipation de la chaleur.
- Stockage des données : Built-in 20 groups of data for user settings and storage.
Composants du produit:
The controller unit includes the main body, an LCD display, control buttons, input/output terminals, and a cooling fan.
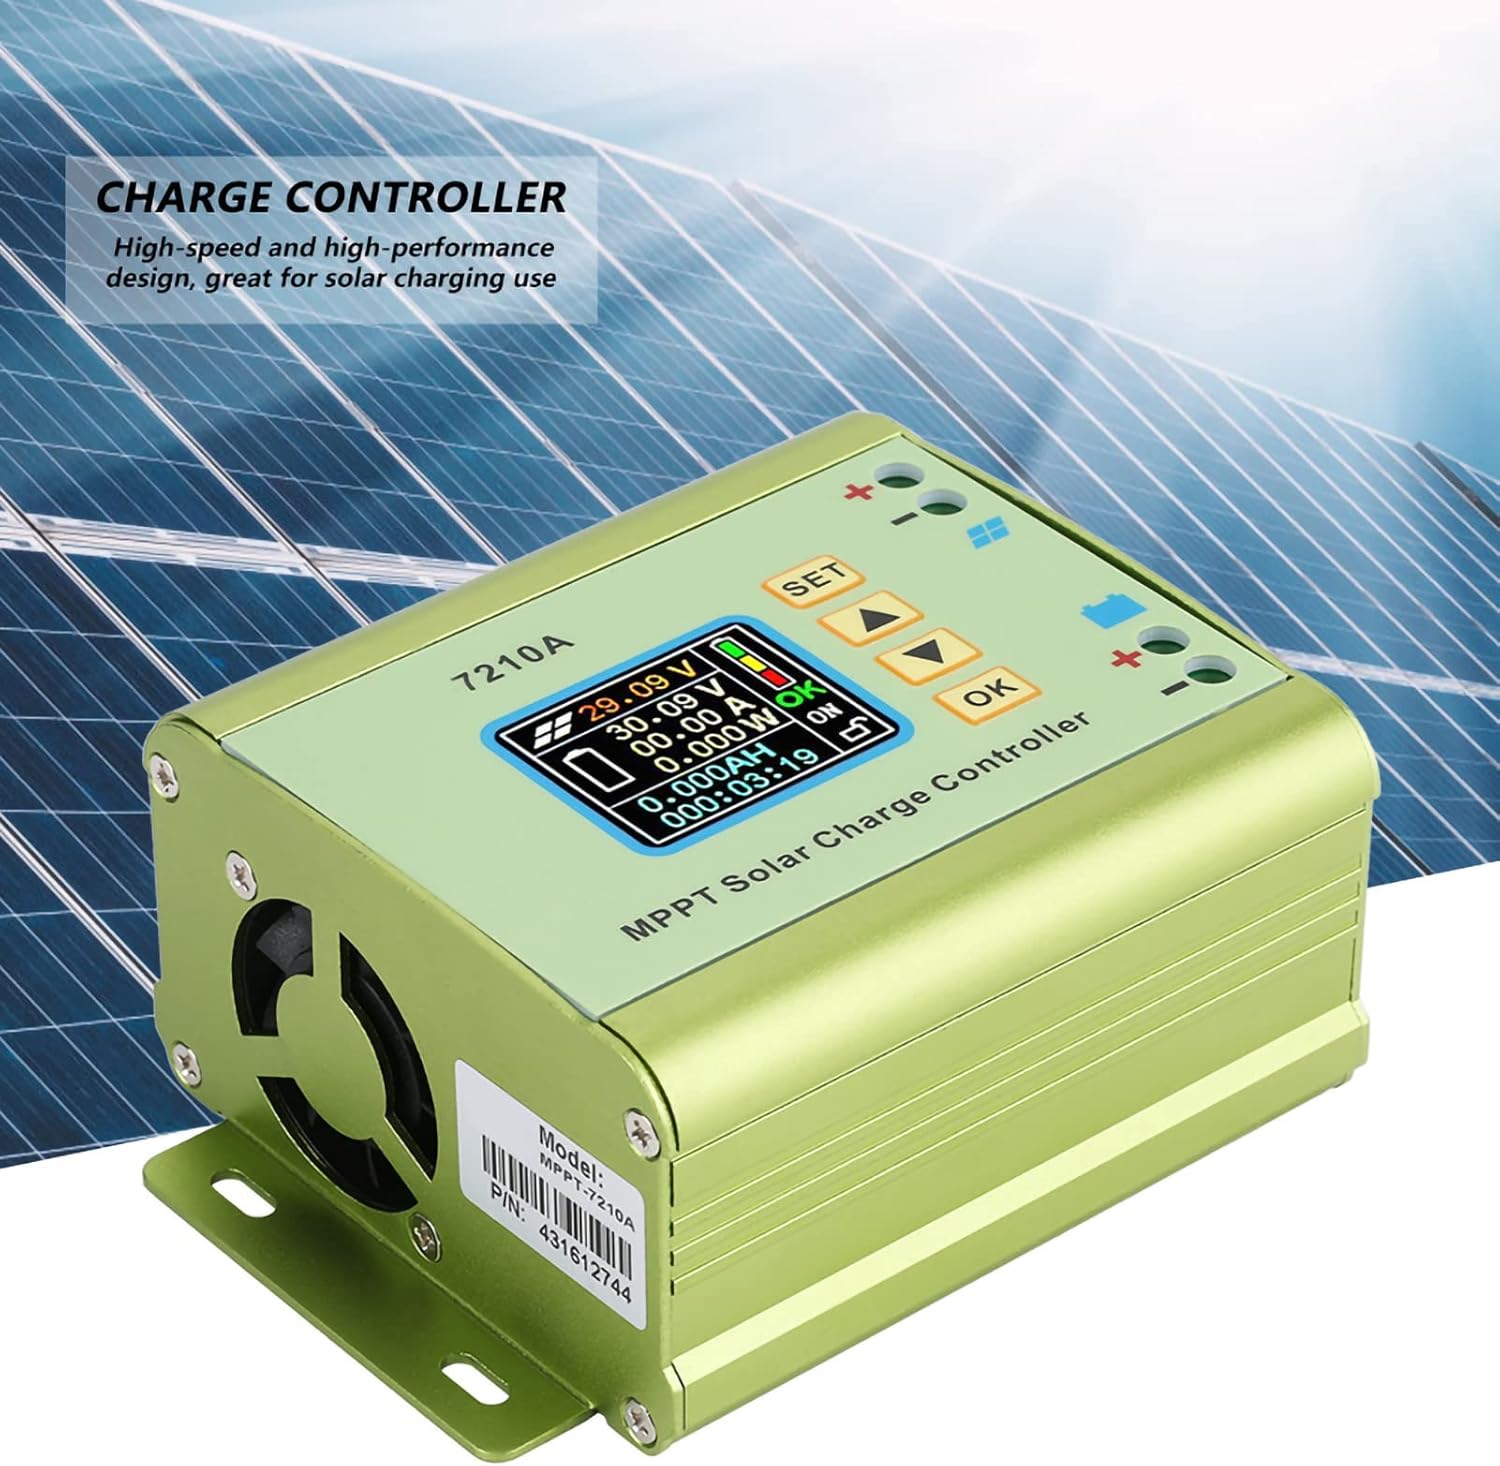
Figure 1 : Face avant view of the Akozon MPT-7210A Solar Controller, showing the LCD display and control interface.
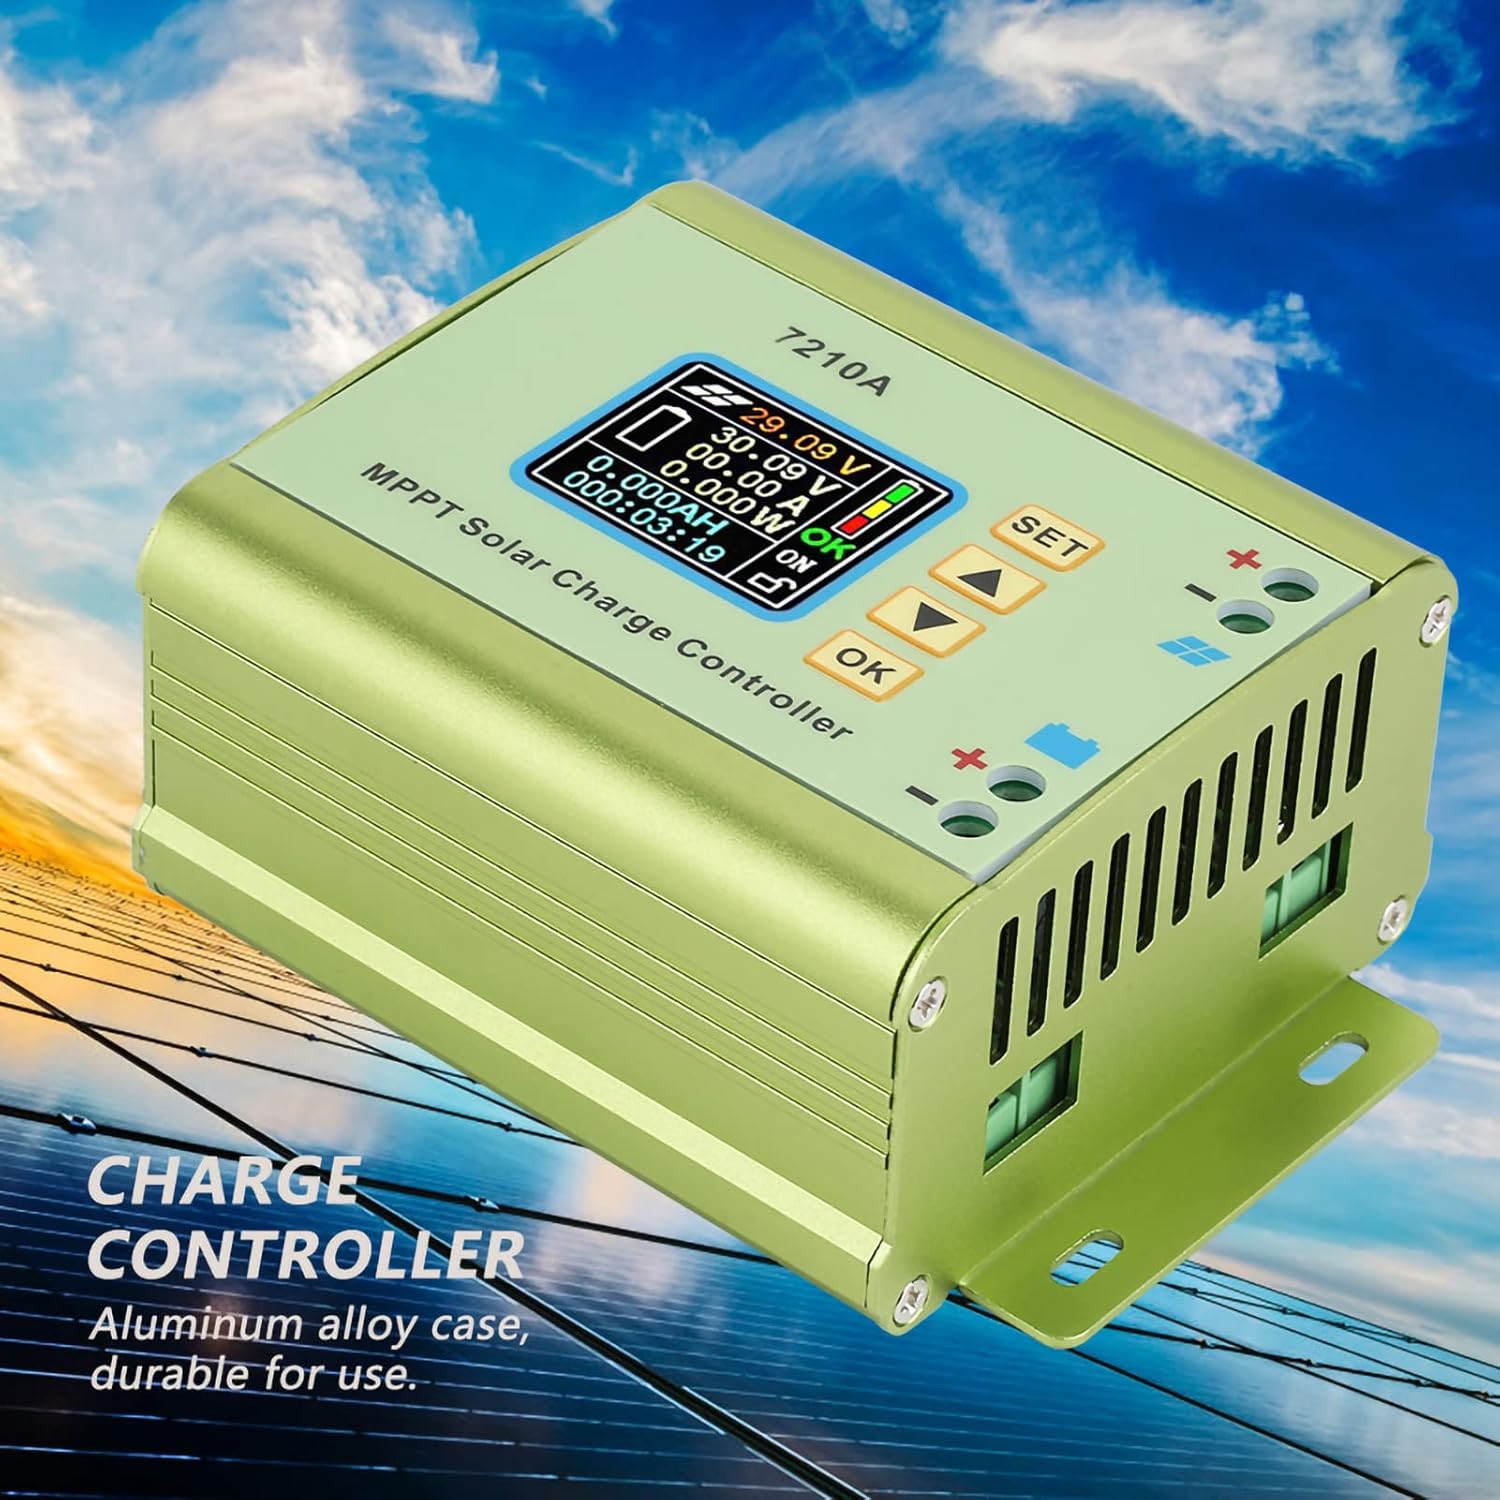
Figure 2 : Côté view of the Akozon MPT-7210A Solar Controller, emphasizing its durable aluminum alloy casing and heat dissipation design.

Figure 3: Physical dimensions of the Akozon MPT-7210A Solar Controller, measuring approximately 13.1cm x 9.6cm x 5.5cm.
4. Spécifications
| Paramètre | Valeur |
|---|---|
| Modèle | MPT-7210A |
| Matériel | Alliage d'aluminium |
| Afficher | 160*128 TFT Color LCD |
| Vol d'entréetage | DC 12-60V |
| Courant de sortie | 0-10A (Réglable) |
| Puissance de sortie | 20-600W |
| Mode de fonctionnement | MPPT, DC-DC |
| Volume de sortietage | DC 15-90V (Adjustable for 24V/36V/48V/60V/72V battery systems) |
| Dimensions (L x l x H) | 131*96*55mm (5.2*3.8*2.2in) |
| Poids | Environ. 440 g (15.5 onces) |
5. Configuration et installation
Follow these steps for proper installation of your Akozon MPT-7210A Solar Controller.
- Montage: Choose a suitable location for mounting the controller. Ensure it is dry, well-ventilated, and protected from direct sunlight and extreme temperatures. The controller has mounting brackets for secure installation.
- Connexion de la batterie :
- Connect the positive (+) terminal of the battery to the positive (+) battery terminal on the controller.
- Connect the negative (-) terminal of the battery to the negative (-) battery terminal on the controller.
- Ensure correct polarity. Reverse connection protection is built-in, but proper connection is always recommended.
- Connexion du panneau solaire :
- Connect the positive (+) terminal of the solar panel to the positive (+) solar input terminal on the controller.
- Connect the negative (-) terminal of the solar panel to the negative (-) solar input terminal on the controller.
- Ensure correct polarity. The controller supports solar panels with an output power of 100W to 600W.

Figure 4: Wiring diagram for connecting the solar panel and battery to the MPT-7210A controller. Connect battery first, then solar panel.
Important: Always connect the battery to the controller first, and disconnect the solar panel before disconnecting the battery.
6. Mode d'emploi
The MPT-7210A features an intuitive LCD display and control buttons for easy operation.
6.1. Écran LCDview
The 160*128 TFT color LCD displays real-time operational data, including input voltage, volume de sortietage, current, power, and charging time. The display also indicates the selected working mode and battery status.
Figure 5 : Détaillé view of the LCD display on the MPT-7210A, showing various operational parameters.
6.2. Boutons de commande
The controller features several buttons for navigation and setting adjustments:
- SET: Accède au menu des paramètres ou confirme une sélection.
- Flèches HAUT/BAS : Permet de naviguer dans les options du menu ou d'ajuster les valeurs des paramètres.
- OK: Confirme un réglage ou quitte un menu.
6.3. Réglage du volume de sortietage et courant
The controller allows you to set the desired output voltage and current to match your battery pack requirements.
- Appuyez sur le ENSEMBLE button to enter the main settings menu.
- Utilisez le HAUT/BAS arrows to navigate to the "Output Voltage" or "Output Current" setting.
- Presse OK pour sélectionner le paramètre.
- Utilisez le HAUT/BAS arrows to adjust the value.
- Presse OK pour confirmer la nouvelle valeur.
- Presse ENSEMBLE à nouveau pour quitter le menu des paramètres.
The controller supports output voltages adjustable from DC15-90V, suitable for 24V, 36V, 48V, 60V, and 72V battery systems. Output current is adjustable from 0-10A.
6.4. Selecting Working Mode
The MPT-7210A offers two working modes:
- Mode MPPT : Optimized for photovoltaic panel applications to maximize power extraction.
- DC-DC Mode: Functions as a boost power supply.
To change the working mode:
- Appuyez sur le ENSEMBLE button to enter the main settings menu.
- Navigate to the "Working Mode" option using the HAUT/BAS flèches.
- Presse OK pour sélectionner.
- Utilisez le HAUT/BAS arrows to toggle between MPPT and DC-DC modes.
- Presse OK pour confirmer votre sélection.
- Presse ENSEMBLE à nouveau pour quitter le menu des paramètres.
6.5. Stockage des données
The controller can store up to 20 groups of user-defined settings. Refer to the on-screen menu for instructions on saving and recalling these settings.
7. Entretien
Regular maintenance ensures optimal performance and longevity of your solar controller.
- Nettoyage: Periodically clean the exterior of the controller with a dry, soft cloth. Do not use harsh chemicals or abrasive cleaners.
- Ventilation: Veillez à ce que le ventilateur de refroidissement et les ouvertures de ventilation soient exempts de poussière et de débris afin de maintenir une bonne dissipation de la chaleur.
- Relations: Regularly check all wiring connections for tightness and corrosion. Loose connections can lead to power loss or overheating.
- Environnement: Verify that the installation environment remains dry and within the recommended temperature range.
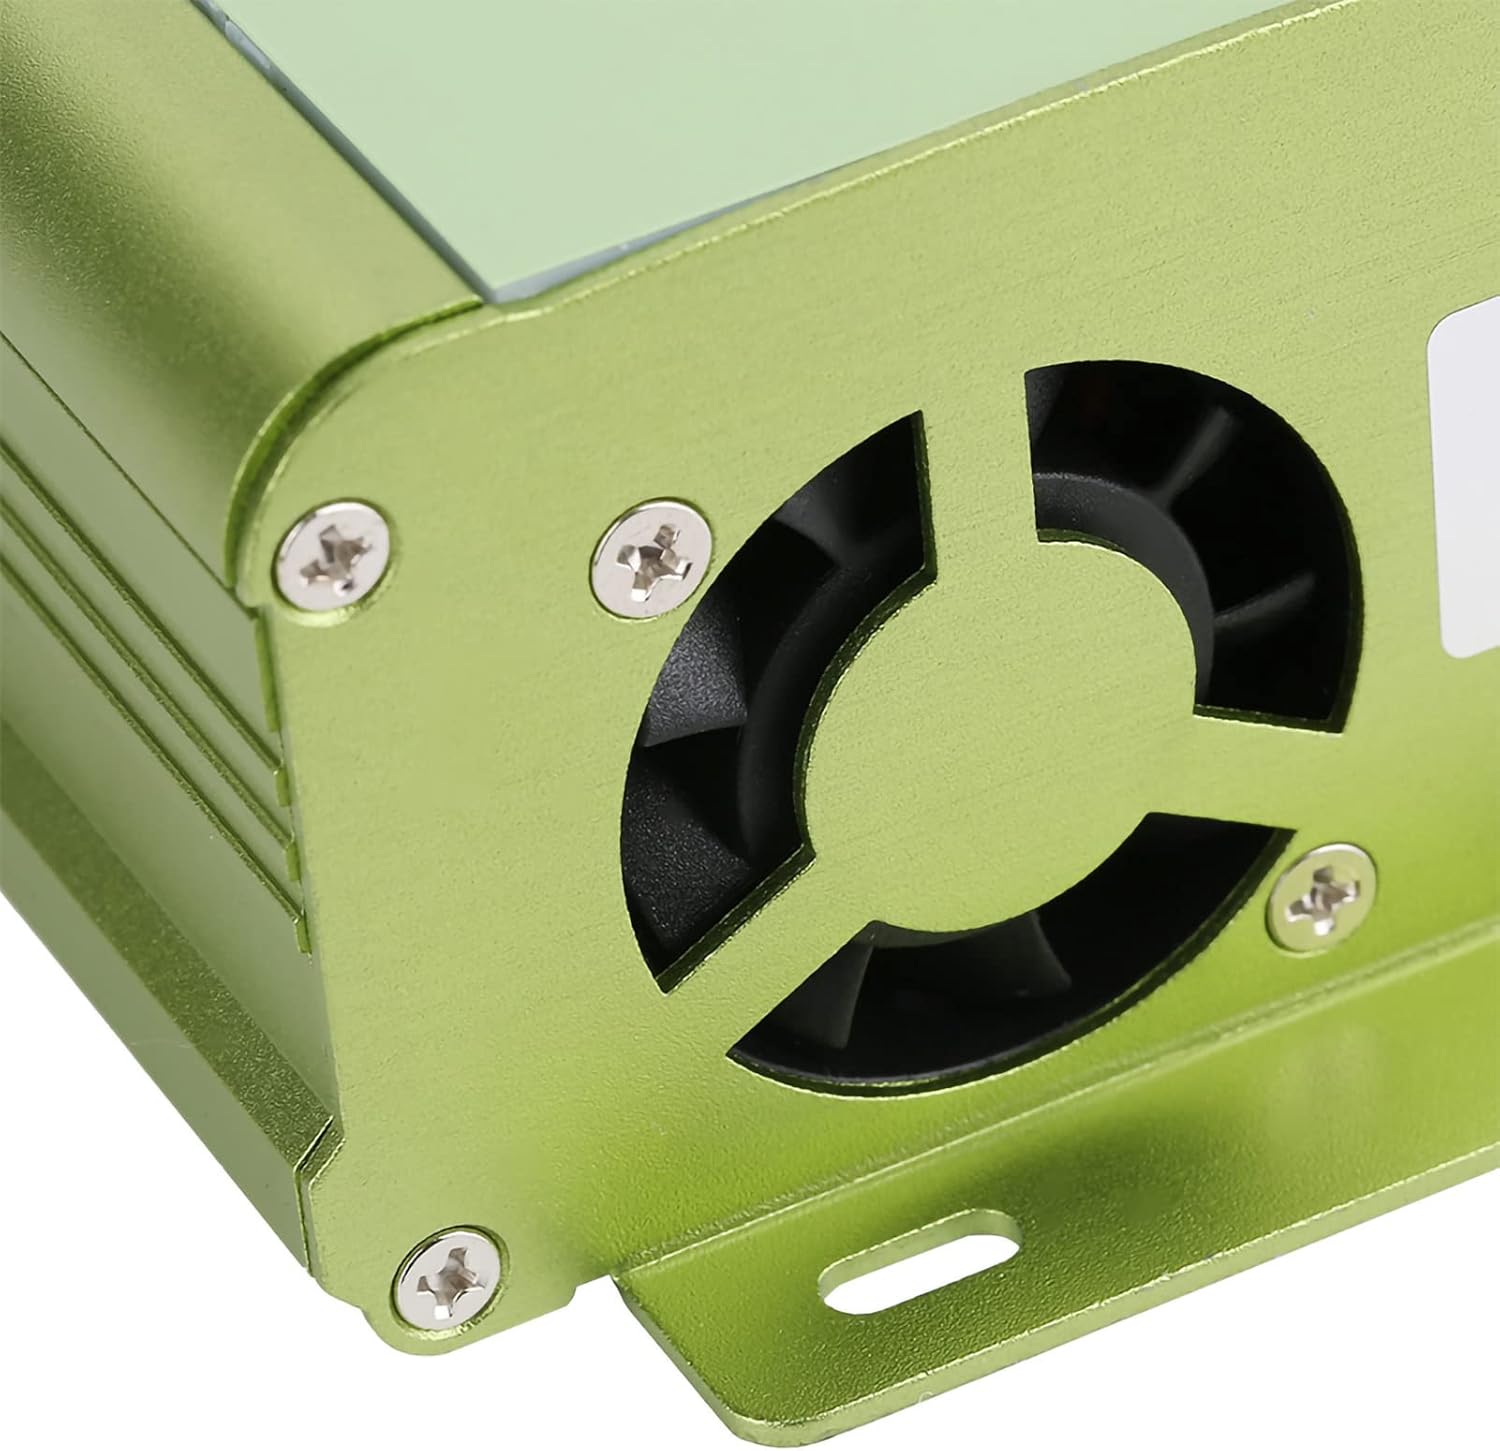
Figure 6 : View of the cooling fan on the MPT-7210A, essential for maintaining optimal operating temperature.

Figure 7 : Bas view of the MPT-7210A, illustrating the heat sink fins that aid in passive heat dissipation.
8. Dépannage
This section addresses common issues you might encounter with your solar controller.
| Problème | Cause possible | Solution |
|---|---|---|
| L'affichage du contrôleur est éteint. | Aucune alimentation provenant de la batterie ou du panneau solaire ; câblage incorrect. | Check battery and solar panel connections. Ensure battery is charged sufficiently to power the display. Verify polarity. |
| La batterie ne charge pas. | Solar panel not connected or insufficient sunlight; incorrect output settings; faulty wiring. | Ensure solar panel is connected and receiving adequate sunlight. Check output voltage and current settings to match battery requirements. Inspect all wiring for damage or loose connections. |
| Protection contre les surcharges activée. | Output current exceeds the controller's maximum limit (10A). | Reduce the load connected to the battery or adjust the output current setting if applicable. The controller will automatically cut off if overloaded. |
| Vol incorrecttaglectures actuelles. | Sensor issue; calibration needed (unlikely for user); external interference. | Ensure connections are clean and secure. If problem persists, contact customer support. |
9. Garantie et assistance
For warranty information and technical support, please refer to the seller's policy or contact Akozon customer service directly. Keep your purchase receipt for warranty claims.
Fabricant: Akozon
Modèle: MPT-7210A
ASIN: B087C24Z2P
Pour obtenir de l'aide supplémentaire, vous pouvez consulter le Akozon Store on Amazon.