Introduction
This manual provides detailed instructions for the installation, operation, and maintenance of your Lanzar VIBE432.5 4-Channel Car AmpAmplificateur. Veuillez lire attentivement ce manuel avant toute installation ou utilisation afin de garantir une utilisation correcte et d'éviter d'endommager l'appareil ou le système audio de votre véhicule.
The Lanzar VIBE Series MOSFET amplifiers are designed to deliver high-quality audio performance. These amplifiers provide the necessary power and clarity for an enhanced car audio experience, focusing on rich bass production and overall sound quality.
Caractéristiques du produit
- Technologie avancée : Incorporates DC to DC switching power supplies for dynamic range and peak performance.
- Design intelligent: Features Power and Protection LED indicators, soft turn-on/off circuitry, and advanced protection mechanisms.
- Sound Specialization: Equipped with silver RCA connectors and speaker screw-down terminals for secure, distortion-free audio connections.
- RCA Line-Out Jacks: Allows for building multi-amplifier systems by distributing the signal without external splitter cords.
- Audio Evolution: Regulated MOSFET Pulse Width Modulated (PWM) power supply maintains rated power across varying battery voltages, ensuring excellent frequency response.
- Matériel: Constructed with durable Aluminum.
Qu'y a-t-il dans la boîte
Lors du déballage, veuillez vérifier que tous les articles énumérés ci-dessous sont présents et en bon état.

Image: Contents of the Lanzar VIBE432.5 package, including the amplifier, remote subwoofer level control, and connection cable.
- Lanzar VIBE432.5 4-Channel Car Amplifier
- Contrôle du niveau du caisson de basses à distance
- Connection Cable for Remote Control
- Matériel de montage (vis, etc.)
Configuration et installation
Proper installation is critical for optimal performance and safety. If you are unsure about any part of the installation process, it is recommended to seek professional assistance.
1. Emplacement de montage
Choose a mounting location that is dry, well-ventilated, and away from direct sunlight or heat sources. Ensure sufficient space around the amplifier for proper air circulation. Avoid mounting on carpet or other materials that could obstruct airflow.
2. Connexions d'alimentation
Avant d'effectuer tout branchement, débranchez la borne négative de la batterie du véhicule afin d'éviter les courts-circuits électriques.
- +12V (Alimentation) : Connect a heavy-gauge wire (e.g., 8-gauge or larger, depending on power requirements) directly from the positive terminal of the car battery to the +12V terminal on the amplifier. Install an in-line fuse holder with an appropriate fuse (e.g., 30A x 2, as indicated by the amplifier's fuses) within 18 inches of the battery.
- GND (Masse): Connectez un fil de forte section à la borne GND sur le ampRaccordez le connecteur à une surface métallique propre et non peinte du châssis du véhicule. Assurez-vous d'une connexion solide et à faible résistance.
- REM (Activation à distance) : Connectez un fil de plus petit calibre à partir de la borne REM sur le amplifier to the remote turn-on output of your car stereo or head unit. This wire signals the amplifier to turn on when the stereo is activated.
3. Connexions d'entrée audio
Connect the RCA output cables from your car stereo system to the "Line Input" RCA jacks on the amplifier. The VIBE432.5 is a 4-channel amplifier, allowing for front and rear speaker inputs.

Image: Diagram showing RCA Line Input and Line Out connections, Level controls, Bass Boost, Mode switches, and Remote Subwoofer Control port on the ampPanneau avant de l'amplificateur.
4. Connexions de sortie des haut-parleurs
Connectez vos enceintes au amplifier's speaker terminals. Observe correct polarity (+ to + and - to -) for each speaker. The VIBE432.5 supports 4-channel operation or can be bridged for 2-channel operation (e.g., for subwoofers).

Image: Diagram illustrating the speaker output terminals (CH1, CH2, CH3, CH4), bridged mode connections, and power/ground/remote terminals on the ampPanneau arrière de l'amplificateur.
- Mode 4 canaux : Connectez un haut-parleur à chaque canal (CH1, CH2, CH3, CH4).
- Mode ponté : For higher power output to fewer speakers (e.g., subwoofers), connect speakers across designated bridged terminals (e.g., CH1+CH2 for one speaker, CH3+CH4 for another). Refer to the diagram for specific bridged connections.
5. Remote Subwoofer Bass Control
Connect the provided remote subwoofer level control to the "Remote" port on the amplifier using the supplied cable. Mount the control in an accessible location for easy adjustment of subwoofer bass levels.

Image : Gros plan view of the remote subwoofer level control unit, showing the level knob and the RJ-style connector port.
6. Contrôles finaux
Once all connections are made, double-check all wiring for correct polarity, secure connections, and proper insulation to prevent shorts. Reconnect the vehicle's negative battery terminal.
Mode d'emploi
After successful installation, follow these steps to operate your amplifier :
- Mise sous tension : Turn on your car stereo. The amplifier's "PWR" (Power) LED indicator should illuminate, indicating it is receiving power and is operational. If the "PROT" (Protection) LED illuminates, refer to the Troubleshooting section.
- Level Control (Gain): Adjust the "Level" (gain) control for each channel (CH1/CH2 and CH3/CH4) to match the output voltage of your car stereo. Start with the level at minimum and slowly increase it until you achieve a clear, undistorted sound at your desired maximum volume from the stereo. Avoid setting the gain too high, as this can introduce distortion.
- Mode Switch (Crossover):
- Complet: Sortie audio à gamme complète.
- Passe-haut : Allows frequencies above the set crossover point (40Hz-3kHz) to pass, typically used for full-range speakers or tweeters.
- Passe-bas: Allows frequencies below the set crossover point (40Hz-3kHz) to pass, typically used for subwoofers.
- Renforcement des basses: Use the "Bass Boost" switch to apply a low-frequency boost if desired. Use this feature sparingly to avoid distortion or damage to speakers.
- Remote Subwoofer Bass Control: If connected, use the remote control knob to adjust the subwoofer's bass level conveniently from the driver's seat.
Entretien
To ensure the longevity and optimal performance of your Lanzar VIBE432.5 ampAmplificateur, suivez ces consignes d'entretien simples :
- Nettoyage: Essuyez périodiquement le ampNettoyez l'extérieur de l'appareil avec un chiffon doux et sec. N'utilisez pas de produits chimiques agressifs ni de nettoyants abrasifs.
- Ventilation: Assurez-vous que le amplifier's cooling fins are free from dust and debris. Good airflow is essential to prevent overheating.
- Relations: Occasionally check all power, ground, remote, RCA, and speaker connections to ensure they are secure and free from corrosion. Loose connections can lead to poor performance or damage.
- Fusibles: Le amplifier is equipped with replaceable fuses (30A x 2). If a fuse blows, replace it only with a fuse of the same type and rating. Never use a higher-rated fuse, as this can cause severe damage to the amplifier or vehicle's electrical system.
Dépannage
Si vous rencontrez des problèmes avec votre ampAvant de contacter l'assistance, veuillez consulter le guide de dépannage suivant.
Pas d'alimentation / Voyant d'alimentation éteint
- Check the +12V power wire connection at the battery and amplifier.
- Verify the in-line fuse near the battery and the fuses on the amplifier. Replace if blown.
- Ensure the ground wire connection is secure and making good contact with the chassis.
- Check the remote turn-on (REM) wire connection at both the stereo and amplifier. Ensure the stereo is turned on.
Protection LED On (PROT)
- Surchauffe: Le amplifier may be overheating. Ensure adequate ventilation around the amplifier. Allow it to cool down.
- Speaker Short Circuit: Check speaker wiring for any shorts (e.g., bare wires touching each other or the vehicle chassis). Ensure speaker impedance matches the ampspécifications du lificateur.
- Vol faibletage: Vérifiez le volume de la batterie du véhiculetage.
Pas de sortie audio
- Confirmer le amplifier is powered on (Power LED illuminated).
- Check RCA input cables from the stereo to the amplifier.
- Verify speaker wire connections at both the amplificateur et haut-parleurs.
- Ensure the stereo's volume is up and not muted.
- Ajustez le amplifier's "Level" (gain) controls.
Son déformé
- Réduire le amplifier's "Level" (gain) control.
- Check for proper crossover settings (High Pass/Low Pass).
- Vérifiez que l'impédance des haut-parleurs est compatible.
- Check for damaged speakers or wiring.
Caractéristiques
The following are the technical specifications for the Lanzar VIBE432.5 4-Channel Car Amplifier :
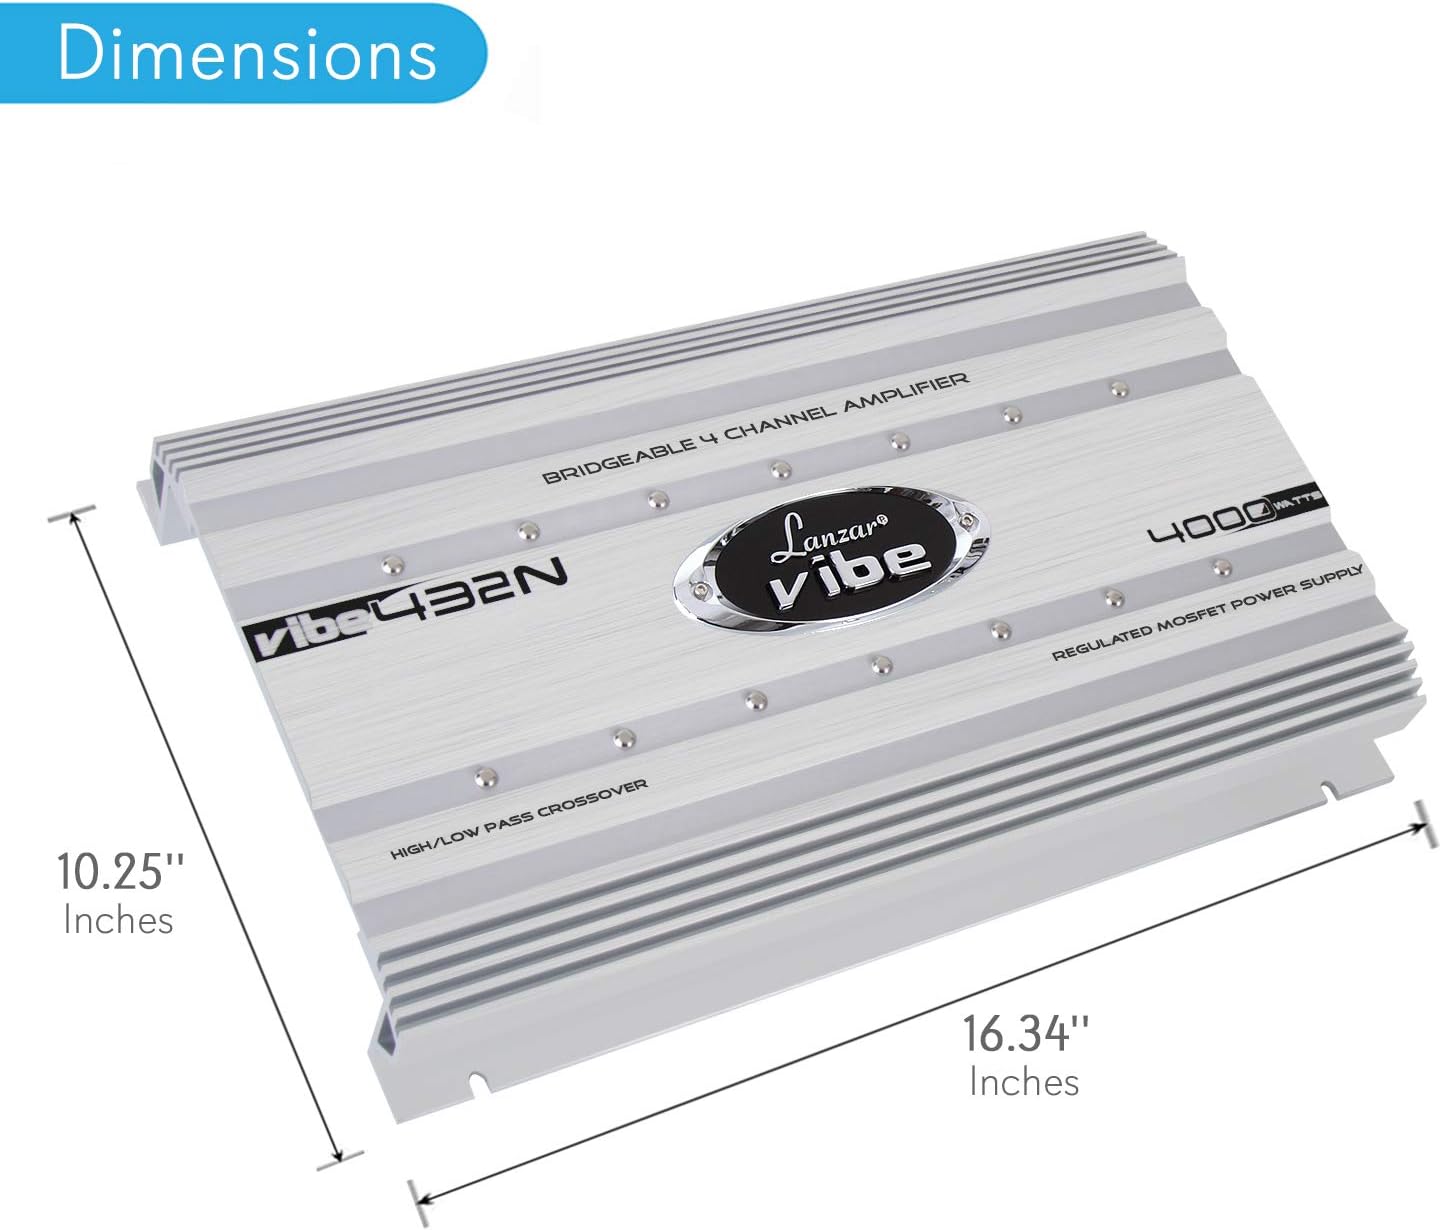
Image: Dimensions of the Lanzar VIBE432.5 amplifier, showing a length of 16.34 inches and a width of 10.25 inches.
| Fonctionnalité | Spécification |
|---|---|
| Modèle | VIBE432.5 |
| Nombre de canaux | 4 |
| Puissance de sortie | 500 Watts (Note: Product title mentions 4000-Watt, but specifications list 500 Watts. Refer to product packaging for exact RMS/Peak power ratings.) |
| Voltage | 16 volts (Volume de fonctionnement)tage Gamme) |
| Type de matériau | Aluminium |
| Type de montage | Montage en surface |
| Spécification satisfaite | Less Than 1% THD, 95 dB S/N Ratio, >75 dB Crosstalk |
| Frequency Response (Remote Bass Control) | 10 Hz - 40 kHz |
| Dimensions (approximatives) | 16.34 pouces (longueur) x 10.25 pouces (largeur) |
Remarque : Les spécifications peuvent être modifiées sans préavis. Veuillez consulter l’emballage du produit pour obtenir les informations les plus précises et à jour.
Garantie et assistance
Lanzar products are designed for reliability and performance. For warranty information, technical support, or service inquiries, please refer to the warranty card included with your product or visit the official Lanzar webConsultez le site. Conservez votre reçu d'achat comme preuve d'achat pour toute réclamation au titre de la garantie.
For further assistance, please contact Lanzar customer support.