Introduction
This manual provides detailed instructions for the installation, operation, and maintenance of your Geeni Smart Window & Door Sensors. These sensors are designed to enhance your home security by providing real-time alerts when windows or doors are opened or closed. Please read this manual thoroughly before using the product to ensure proper function and safety.
Ce qui est inclus
- 2 x Geeni Smart Window & Door Sensors (Main Unit and Magnet)
- Batteries (CR2)
- Adhésif de montage
- Vis de montage
- Manuel d'utilisation
Produit terminéview
The Geeni Smart Window & Door Sensors consist of two parts: a main sensor unit and a smaller magnetic contact. When these two parts are separated (e.g., when a door or window opens), the sensor triggers an alert. The sensors connect to your home Wi-Fi network, allowing you to monitor their status remotely via the Geeni app.
Caractéristiques principales :
- Windows & Doors: Detects opening and closing of windows and doors.
- Notifications push : Sends instant alerts to your smartphone.
- Partager l'accès : Allows sharing control with family members.
- Automatisation intelligente : Integrates with other Geeni smart devices for automated actions.
- Sécurité à domicile : Provides a layer of security monitoring for your home.
- Installation facile : Simple installation process with adhesive or screws.
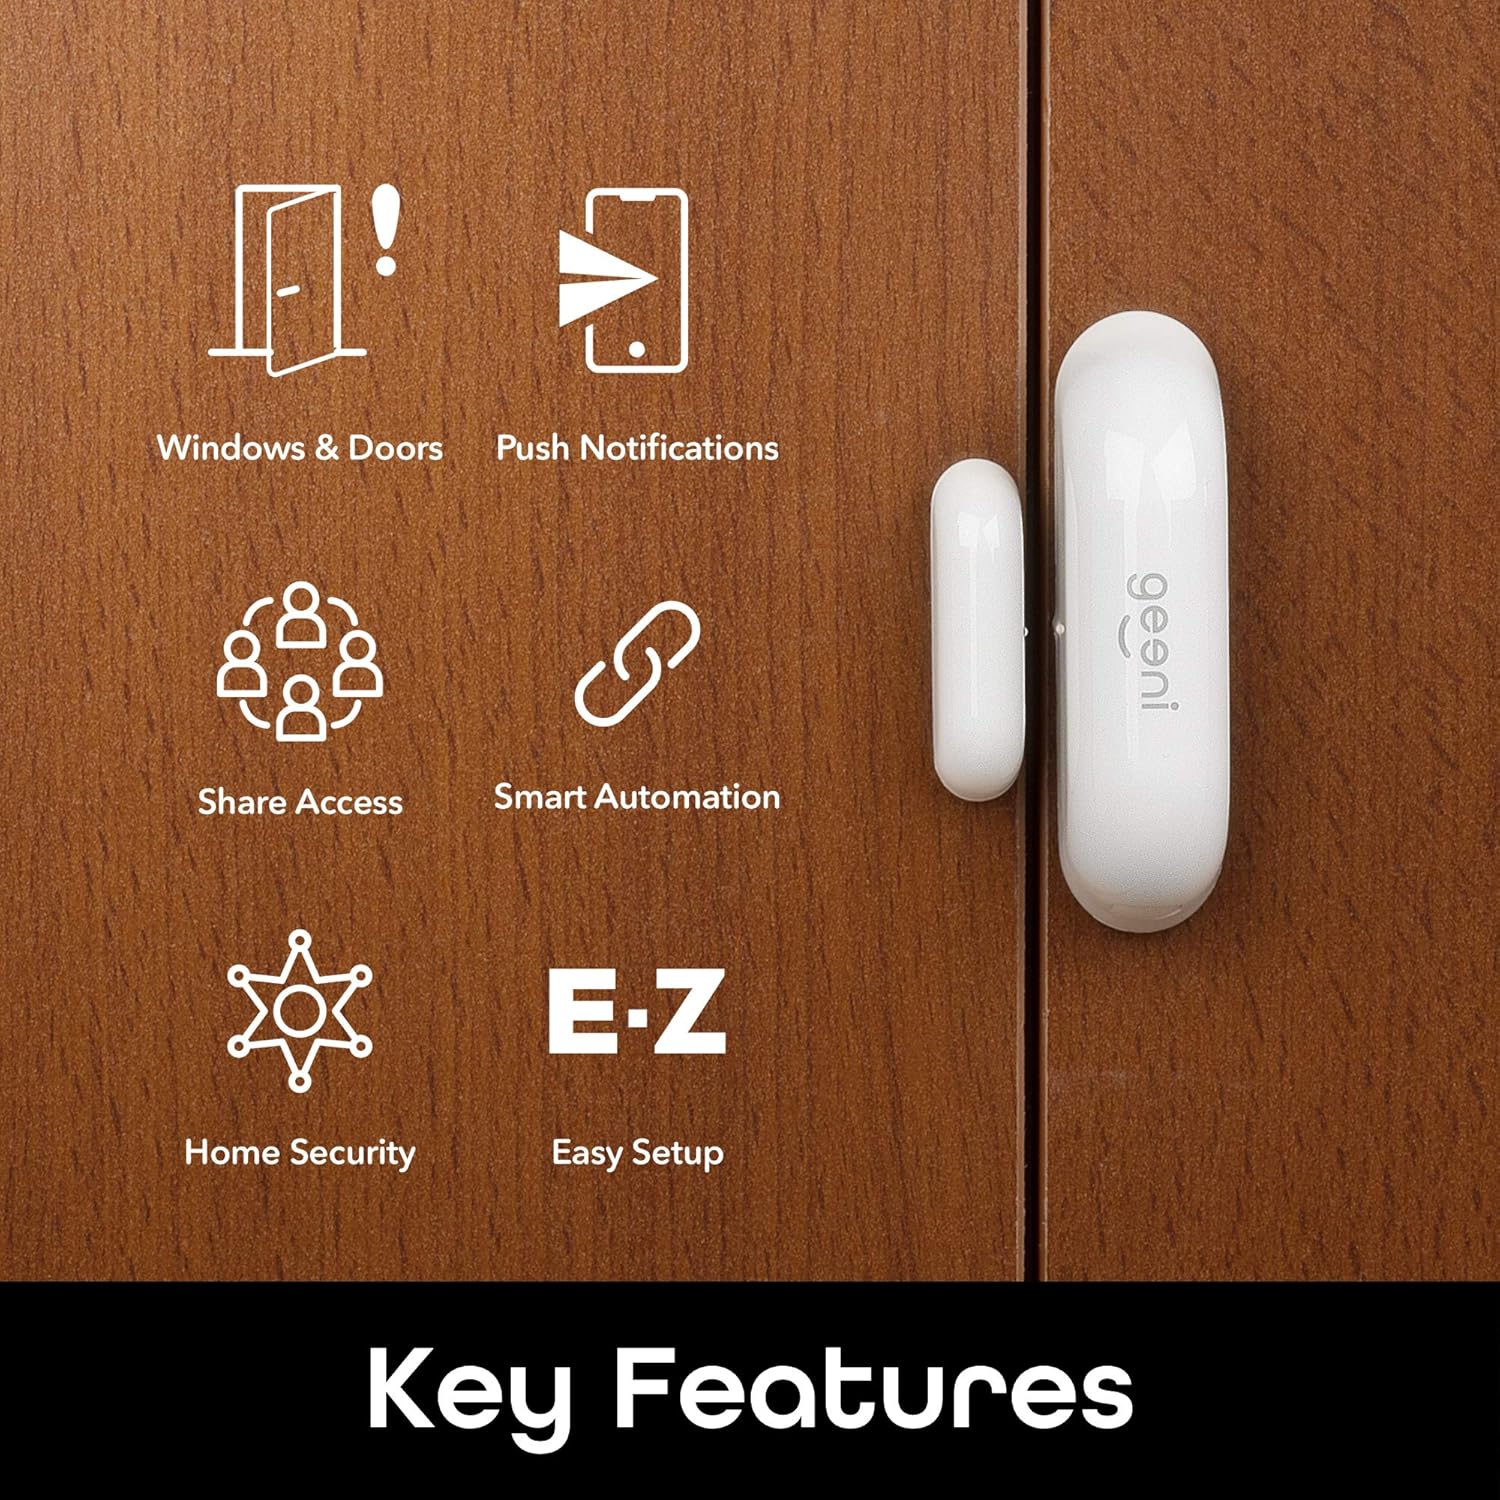
Image : Terminéview of the Geeni Smart Window & Door Sensor's key features, including detection for windows and doors, push notifications, shared access, smart automation, home security, and easy setup.
Guide d'installation
1. Téléchargez l'application Geeni
Before beginning installation, download the Geeni app from the App Store (for iOS devices) or Google Play Store (for Android devices). Register for an account or log in if you already have one.

Image: A diagram illustrating the simple setup process: 1. Download App, 2. Battery On, 3. Notification.
2. Installation de la batterie
The sensors require CR2 batteries. To install or replace batteries:
- Gently slide open the cover of the main sensor unit.
- Insert the CR2 battery, ensuring correct polarity (+ and -).
- Fermez bien le couvercle.

Image : Un gros plan view of the Geeni Smart Sensor main unit with its cover removed, showing the battery compartment and a CR2 battery being inserted. This illustrates the easy battery replacement process.
3. Mounting the Sensors
The sensors can be mounted using either the included adhesive backing or screws.
- Choisissez un emplacement : Select a clean, dry surface on your door or window frame. The main unit and magnet must be mounted within 1 cm (0.4 inches) of each other when the door/window is closed.
- Montage adhésif : Peel off the protective film from the adhesive pads on the back of both the main unit and the magnet. Press firmly onto the desired surface for at least 30 seconds.
- Montage à vis : For a more permanent installation, use the provided screws to secure the mounting brackets to the door/window frame, then attach the sensor units to the brackets.

Image: A hand applying the adhesive backing to the Geeni Smart Sensor, demonstrating the tool-free installation method.

Image: A Geeni Smart Window & Door Sensor mounted on a white window frame, showing the main unit and magnet aligned.
4. Pairing with the Geeni App
Follow the in-app instructions to pair your sensors with your Wi-Fi network. This typically involves:
- Opening the Geeni app and selecting 'Add Device'.
- Choosing the correct device type (Door/Window Sensor).
- Following the on-screen prompts to connect the sensor to your 2.4GHz Wi-Fi network.

Image: A smartphone displaying the Geeni app interface, showing various connected smart home devices, including a door sensor notification.
Mode d'emploi
Alertes en temps réel
Once successfully paired, your Geeni Smart Window & Door Sensors will send instant notifications to your smartphone whenever a monitored window or door is opened or closed. You can customize alert settings within the Geeni app.

Image: A smartphone screen showing an instant notification from the Geeni app indicating that a door sensor has been opened.
Smart Automations
Integrate your sensors with other Geeni smart devices to create automated routines. For example, you can set Geeni smart bulbs to turn on automatically when a door is opened, providing convenience and an added layer of security.

Image: A Geeni Smart Sensor and a Geeni smart bulb, illustrating how Geeni bulbs can turn on automatically when a door is opened, as part of smart automations.
Utilisation polyvalente
These versatile sensors can be used on various entry points and access points within your home, including:
- Doors (front, back, garage, interior)
- Fenêtres
- Cabinets (e.g., for child safety or securing valuables)

Image: A collage showing various applications of the Geeni Smart Sensor, including monitoring a child near a door, a cat near a door, and a child near a cabinet, highlighting its multipurpose use for safety and security.
Entretien
Remplacement de la batterie
The Geeni Smart Window & Door Sensors are powered by CR2 batteries. The Geeni app will notify you when the battery level is low. To replace the battery, follow the steps outlined in the 'Battery Installation' section of this manual.
Nettoyage
To maintain optimal performance, periodically clean the sensor units with a soft, dry cloth. Avoid using abrasive cleaners or solvents, as these can damage the device.
Dépannage
- Capteur ne se connectant pas au Wi-Fi :
- Ensure your Wi-Fi network is 2.4GHz. Check that the sensor is within range of your Wi-Fi router. Restart your router and try pairing again. Confirm your Wi-Fi password is entered correctly in the app.
- Aucune alerte reçue :
- Verify that push notifications are enabled for the Geeni app in your smartphone's settings. Check the sensor's battery level in the app. Ensure the sensor is online and connected to Wi-Fi.
- False open/close notifications:
- Ensure the main sensor unit and magnet are properly aligned and within the recommended 1 cm (0.4 inches) distance when the door/window is closed. Check for any loose mounting or movement of the sensor components.
- Autonomie courte de la batterie :
- Ensure you are using fresh, high-quality CR2 batteries. Frequent opening and closing of the monitored entry point can lead to increased battery consumption. If issues persist, contact customer support.
Spécifications du produit
| Marque | Geeni |
| Numéro de modèle | GN-SS000-PARENT |
| Type de montage | Support mural |
| Techniques de détection | Capteur de contact |
| Compatibilité avec la maison intelligente | Smart Home Compatible (Works with Geeni App, Google Assistant, Amazon Alexa) |
| Source d'énergie | Alimenté par pile (CR2) |
| Méthode de contrôle | Application |
| Poids de l'article | 3.87 onces |
| Dimensions du colis | 5.43 x 3.58 x 2.05 pouces |
| Méthode d'installation | Screw In, Self Adhesive |
| Couleur | Blanc |
Garantie et support client
Geeni products typically come with a standard manufacturer's warranty. For specific warranty details, product support, or technical assistance, please refer to the Geeni webou contactez directement leur service client. Conservez votre reçu d'achat pour toute réclamation sous garantie.
Écosystème de maison intelligente Geeniview
The Geeni Smart Window & Door Sensors are part of a larger ecosystem of smart home devices designed to simplify your life. Watch this video for a general overview of how Geeni products can work together to create a connected home experience.
Vidéo : Un overview of the Geeni Smart Home Product line, showcasing various devices like security cameras, smart doorbells, smart lighting, smart plugs, and smart sensors working together.