BESDER BES-MH03
Manuel d'utilisation de la caméra IP de sécurité domestique BESDER
Model: BES-MH03
1. Introduction
Thank you for choosing the BESDER Home Security IP Camera. This wireless smart WiFi camera is designed to provide reliable surveillance, audio recording, and baby monitoring capabilities with high-definition video. This manual will guide you through the setup, operation, and maintenance of your new device to ensure optimal performance and security.
2. Consignes de sécurité
- Assurez-vous que la caméra est alimentée par la tension correcte.tage (DC 5V) as specified.
- Do not expose the camera to water or moisture. It is designed for indoor use only.
- Évitez de placer l'appareil photo en plein soleil ou à proximité de sources de chaleur.
- N’essayez pas de démonter ou de réparer l’appareil photo vous-même. Contactez un technicien qualifié pour toute intervention.
- Gardez l'appareil photo et ses accessoires hors de portée des enfants.
- Use only the provided power adapter and cable to prevent damage.
3. Contenu du colis
Veuillez vérifier le colis pour vous assurer que tous les articles sont présents et en bon état :
- BESDER Home Security IP Camera
- Câble d'alimentation USB
- Adaptateur secteur (CC 5V)
- Vis de fixation et chevilles
- Manuel de l'utilisateur (ce document)

Image showing the BESDER IP Camera along with its accessories: a USB power cable, a power adapter, and a packet of mounting screws.
4. Produit terminéview
Familiarize yourself with the main components of your BESDER IP Camera:
- Objectif de l'appareil photo : Capture une vidéotage.
- LED infrarouges : Pour la vision nocturne.
- Microphone: Pour l'entrée audio.
- Conférencier: Pour une communication audio bidirectionnelle.
- Emplacement pour carte SD : Pour le stockage vidéo local (prend en charge jusqu'à 64 Go).
- Power Interface (DC 5V): Se connecte à l'adaptateur secteur.
- Bouton de réinitialisation : Utilisé pour restaurer les paramètres d'usine.

Diagram illustrating the side view of the BESDER IP Camera, highlighting the SD Card slot, Power interface (DC 5V), and Reset button.
5. Installation
5.1. Mise sous tension
- Connect the USB power cable to the camera's power interface.
- Branchez l'adaptateur secteur sur une prise électrique standard.
- L'appareil photo s'allumera et son voyant lumineux commencera à clignoter, indiquant qu'il est prêt à être configuré.
5.2. App Installation (iCSee)
The BESDER IP Camera uses the iCSee application for remote monitoring and control.
- Download the iCSee app from your mobile device's app store (App Store for iOS or Google Play Store for Android).
Télécharger pour iOS | Télécharger pour Android - Créez un nouveau compte ou connectez-vous si vous en avez déjà un.
5.3. Connexion Wifi
Follow these steps to connect your camera to your home Wi-Fi network:
- Ouvrez l'application iCSee et appuyez sur l'icône « + » pour ajouter un nouvel appareil.
- Select "Add My Device" or "Add Camera".
- Choose the "Wi-Fi Camera" option.
- Follow the on-screen prompts to enter your Wi-Fi network name (SSID) and password. Ensure your phone is connected to a 2.4GHz Wi-Fi network, as the camera may not support 5GHz.
- L'application générera un code QR. Placez l'écran de votre téléphone devant l'objectif de la caméra (à environ 15-20 cm de distance) jusqu'à entendre un son de confirmation.
- Once connected, the camera's indicator light will turn solid blue. You can now name your camera and start monitoring.
5.4. Montage
La caméra peut être placée sur une surface plane ou fixée à un mur ou au plafond.
- Choisissez un emplacement approprié avec une vue dégagée. view et à portée du Wi-Fi.
- If mounting, use the provided mounting screws and wall plugs to secure the camera base.
- Adjust the camera's angle as needed within the app after mounting.
6. Fonctionnement
6.1. Vivre View
Access real-time video feed from your camera through the iCSee app.
- Ouvrez l'application iCSee et sélectionnez votre caméra dans la liste des appareils.
- The live video feed will appear. You can pan and tilt the camera remotely using the controls in the app.

Screenshot of a multi-camera monitoring interface, likely from the iCSee application, displaying live feeds from multiple cameras and recording controls.
6.2. Enregistrement et stockage
The camera supports local storage via a MicroSD card.
- Insert a MicroSD card (up to 64GB, Class 10 recommended) into the SD card slot.
- In the iCSee app settings, navigate to "Storage Settings" to format the SD card and configure recording modes (e.g., continuous, motion-triggered).
- Foo enregistrétage peut être viewed and downloaded directly from the app.
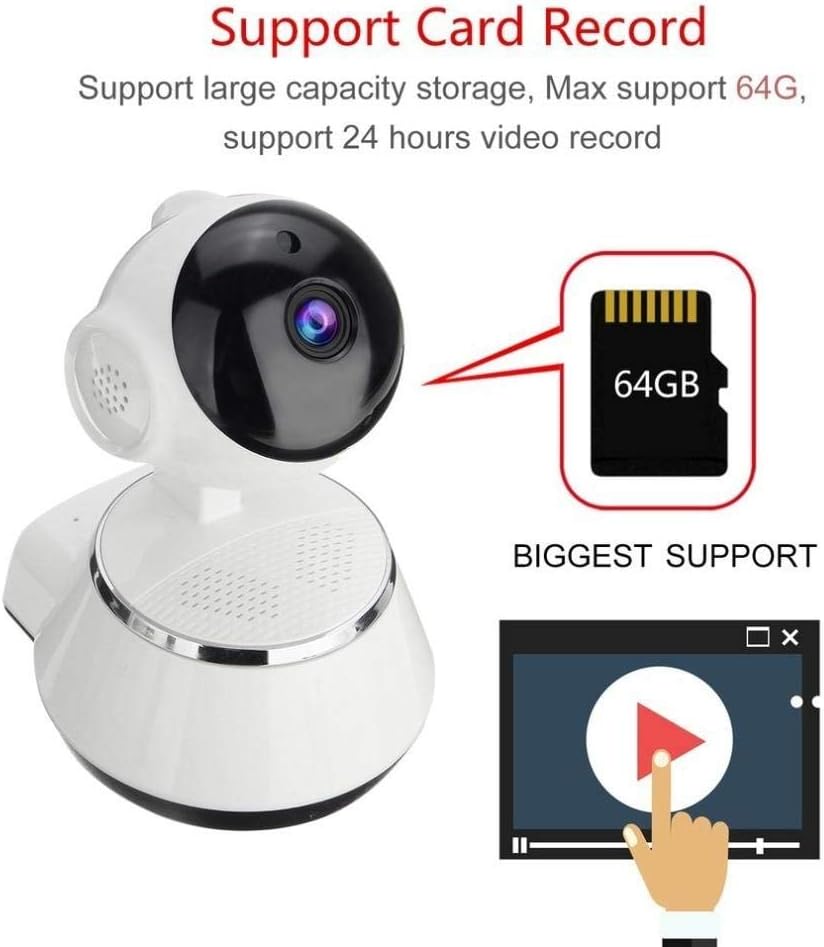
Image demonstrating the camera's support for large capacity storage, specifically showing a 64GB MicroSD card, indicating support for 24-hour video recording.
6.3. Détection de mouvement
Receive alerts when motion is detected in the camera's field of view.
- Enable "Motion Detection" in the camera settings within the iCSee app.
- Adjust sensitivity levels and set up notification preferences (e.g., push notifications, email alerts).
6.4. Vision nocturne
La caméra passe automatiquement en mode vision nocturne en conditions de faible luminosité.
- Infrared LEDs provide clear black-and-white video up to 10 meters in complete darkness.
- No manual intervention is required for night vision activation.

Comparison image displayed on a smartphone screen, showing the difference between daytime and nighttime monitoring views, highlighting the infrared night vision capability.
6.5. Audio bidirectionnel
Communiquez via la caméra grâce au microphone et au haut-parleur intégrés.
- En direct view, tap the microphone icon in the iCSee app to speak through the camera.
- Appuyez sur l'icône du haut-parleur pour écouter les sons provenant de l'environnement de la caméra.
6.6. Accès à distance
Monitor your property from anywhere with an internet connection.
- Tant que votre appareil photo est connecté au Wi-Fi et que votre téléphone a accès à Internet, vous pouvez view live feeds and manage settings remotely via the iCSee app.
7. Entretien
- Nettoyage: Utilisez un chiffon doux et sec pour nettoyer l'objectif et le boîtier de l'appareil photo. N'utilisez pas de produits nettoyants liquides ni d'aérosols.
- Mises à jour du micrologiciel : Regularly check for firmware updates through the iCSee app to ensure your camera has the latest features and security patches.
- Gestion de la carte SD: Periodically back up important recordings and format the SD card to maintain optimal performance.
- Stockage: Lorsqu'elle n'est pas utilisée pendant une période prolongée, rangez l'appareil photo dans un endroit frais et sec, à l'abri de la lumière directe du soleil.
8. Dépannage
| Problème | Cause/solution possible |
|---|---|
| La caméra ne s'allume pas | Ensure the power adapter is securely connected to both the camera and the power outlet. Try a different outlet. |
| Impossible de se connecter au Wi-Fi | Check if your Wi-Fi network is 2.4GHz. Ensure the Wi-Fi password is correct. Move the camera closer to the router. Reset the camera and try again. |
| En direct view is blurry or dark | Clean the camera lens. Check lighting conditions. Ensure night vision is functioning correctly in low light. |
| La carte SD n'enregistre pas | Ensure the SD card is inserted correctly and formatted in the app. Check if the card is full or corrupted. Try a different SD card. |
| Aucun son ou mauvaise qualité audio | Check microphone and speaker settings in the app. Ensure there are no obstructions blocking the microphone or speaker. |
| La caméra se déconnecte fréquemment | Weak Wi-Fi signal. Move the camera closer to the router or consider a Wi-Fi extender. Reduce network congestion. |
9. Spécifications
| Fonctionnalité | Détail |
|---|---|
| Numéro de modèle | BES-MH03 |
| Technologie de connectivité | Sans fil (Wi-Fi) |
| Utilisation recommandée | Baby Monitoring, Home Security |
| Caractéristiques spéciales | Motion Sensor, Night Vision (Infrared distance 10m) |
| Facteur de forme | Dôme |
| Quoitage | 3 watts |
| Prise en charge du stockage | Carte MicroSD (Max 64 Go) |
| Audio | Two-way audio (Audio Record) |
10. Garantie et assistance
BESDER products are manufactured to high-quality standards. For warranty information, please refer to the terms and conditions provided at the point of purchase or contact your retailer. For technical support or further assistance, please refer to the support section within the iCSee application or visit the official BESDER website (si disponible).
Ask a question about this manual
Ask about setup, troubleshooting, compatibility, parts, safety, or missing instructions. Manuals+ will review the question and use this page’s manual context to help answer it.