1. Introduction et plusview
This manual provides essential information for the safe and efficient operation of your Sharp Microwave Oven with Grill, Model R-77AT. Please read these instructions thoroughly before using the appliance and retain them for future reference. This microwave oven is designed for reheating, cooking quick meals, defrosting frozen items, and grilling food.
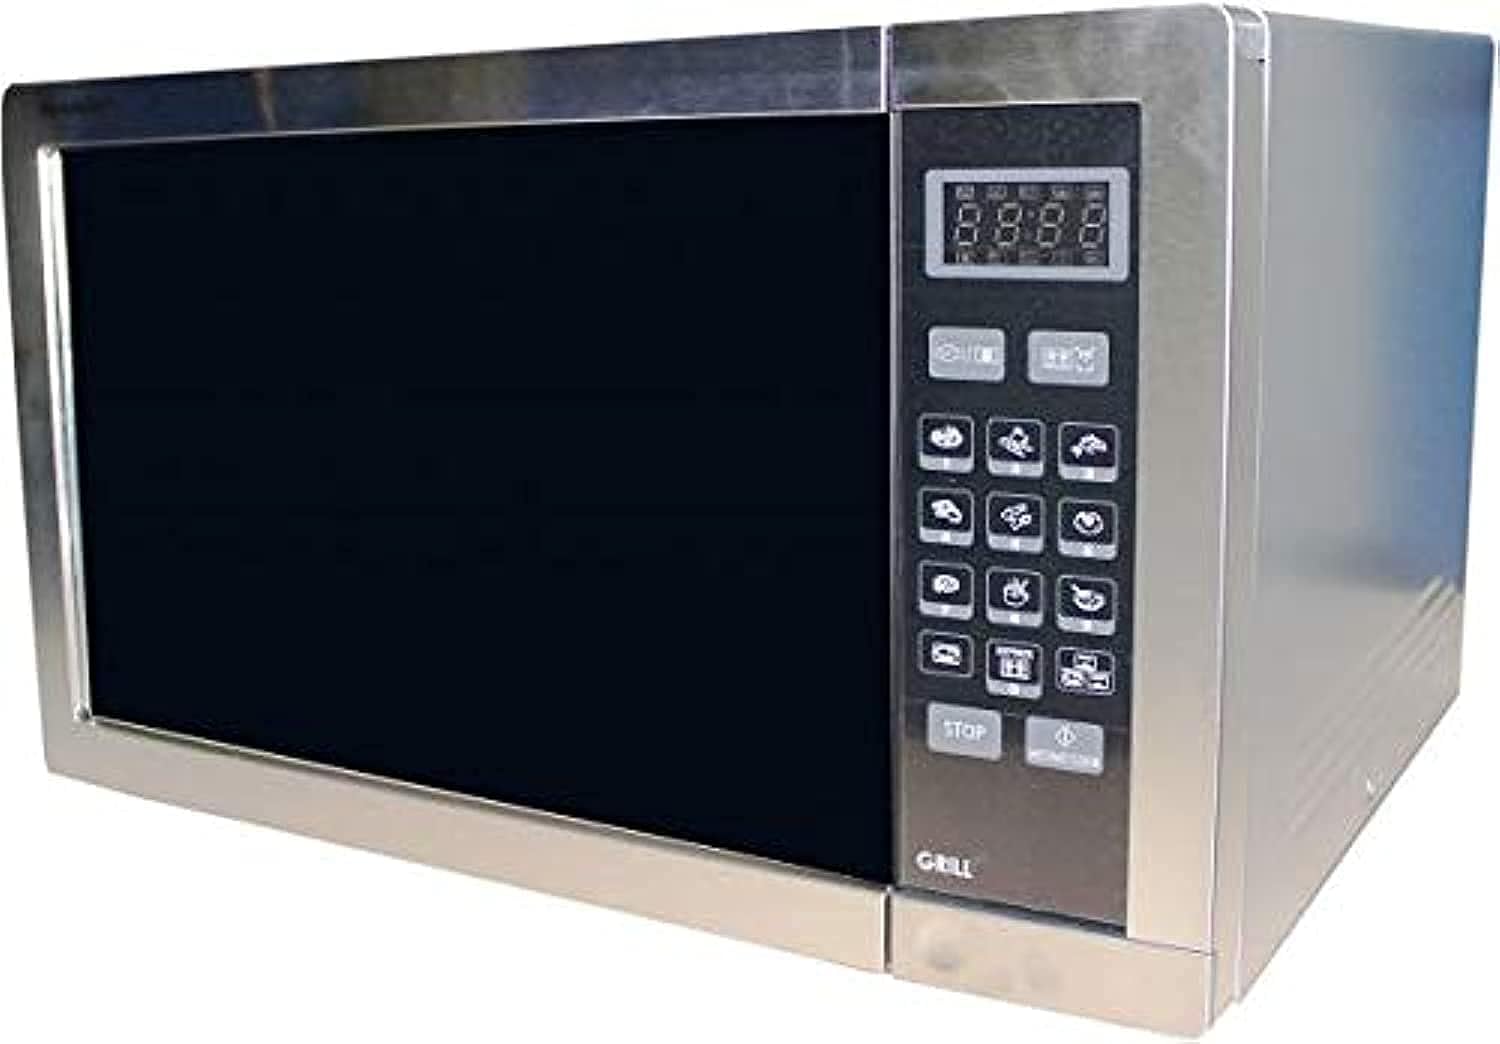
Your Sharp R-77AT microwave oven features:
- 34 Liters Capacity
- 1000 Watts Microwave Output Power
- 1100 Watts Grill Power
- 5 niveaux de puissance
- 9 programmes de cuisson automatiques
- Fonction de minuterie
- Extérieur en acier inoxydable
- Fonction de verrouillage de sécurité
2. Consignes de sécurité importantes
Lors de l'utilisation d'appareils électriques, des précautions de sécurité de base doivent être respectées, notamment les suivantes :
- Lisez toutes les instructions avant d’utiliser l’appareil.
- Do not operate the oven if the door or door seals are damaged. Contact qualified service personnel.
- Ne chauffez pas de liquides ou d'autres aliments dans des récipients scellés car ils risquent d'exploser.
- Utilisez uniquement des ustensiles adaptés aux fours à micro-ondes.
- N'utilisez pas de produits chimiques ou de vapeurs corrosifs dans cet appareil.
- Cet appareil est destiné à un usage domestique uniquement.
- Surveillez toujours les enfants lorsqu'ils se trouvent à proximité de l'appareil.
- Assurez-vous que l'appareil est correctement mis à la terre.
- Do not immerse the cord, plug, or oven in water or other liquid.
- N’utilisez pas d’appareil dont le cordon ou la fiche est endommagé, ou après un dysfonctionnement de l’appareil ou après qu’il a été endommagé de quelque manière que ce soit.
3. Composants du produit
Familiarisez-vous avec les principales parties de votre four à micro-ondes.
- Cavité du four : L'espace intérieur où sont placés les aliments.
- Turntable: Un plateau tournant en verre qui assure une cuisson uniforme.
- Prise en charge du plateau tournant : Supporte la platine.
- Panneau de contrôle: Features a digital display, touch buttons for settings, and a timer.
- Door with Safety Lock: Prevents microwave operation when open.
- Grille de gril : Included for use with the grill function.
4. Installation
Suivez ces étapes pour configurer votre four à micro-ondes :
- Déballage: Remove all packaging materials and accessories. Check the oven for any damage, such as dents or a broken door. Do not install if damaged.
- Placement: Place the oven on a flat, stable surface that can support its weight and the heaviest food likely to be cooked in it. Ensure there is adequate ventilation space: at least 20 cm (8 inches) above the oven, 10 cm (4 inches) at the rear, and 5 cm (2 inches) on each side.
- Connexion électrique : Branchez le cordon d'alimentation dans une prise électrique standard mise à la terre. Assurez-vous que le volumetagLa tension et la fréquence correspondent aux spécifications figurant sur l'étiquette signalétique du four.
- Installation de la platine : Place the turntable support ring in the center of the oven cavity. Position the glass turntable plate securely on top of the support.
5. Mode d'emploi
Your Sharp R-77AT microwave oven offers various cooking functions.
5.1. Cuisson de base au micro-ondes
- Placez les aliments dans un récipient allant au micro-ondes sur le plateau tournant.
- Fermez bien la porte du four.
- Press the 'Microwave' button to select the desired power level (1-5).
- Use the number buttons or dial to set the cooking time.
- Appuyez sur « Démarrer » pour commencer la cuisson.
5.2. Fonction grill
La fonction grill est idéale pour dorer et croustiller les aliments.
- Déposez les aliments sur la grille du barbecue (si elle est fournie) ou dans un plat résistant à la chaleur.
- Appuyez sur le bouton « Grill ».
- Set the desired grilling time using the number buttons or dial.
- Appuyez sur « Démarrer » pour commencer la cuisson.
- Note: The grill element will heat up and cool down periodically to maintain the set temperature.
5.3. Programmes automatiques
The oven has 9 pre-set auto programs for common foods.
- Press the 'Auto Menu' button repeatedly or use the dial to select the desired program (e.g., Popcorn, Potato, Pizza).
- Confirm the weight or quantity if prompted.
- Appuyez sur « Démarrer » pour lancer le programme automatique.
5.4. Fonction de dégivrage
The automatic defrost function allows for quick and even thawing.
- Placez les aliments congelés dans un plat allant au micro-ondes.
- Appuyez sur le bouton « Dégivrage ».
- Enter the weight of the food using the number buttons or dial.
- Press 'Start'. The oven will automatically calculate the defrosting time and may prompt you to turn the food over during the cycle.
5.5. Fonction de minuterie
Use the timer for general kitchen timing, independent of cooking functions.
- Appuyez sur le bouton « Minuteur ».
- Set the desired time using the number buttons or dial.
- Press 'Start'. The timer will count down without activating the microwave or grill.
6. Entretien et nettoyage
Regular cleaning and maintenance ensure optimal performance and longevity of your microwave oven.
- Extérieur: Essuyez l'extérieur avec de la publicitéamp chiffon et un détergent doux. Évitez les nettoyants abrasifs.
- Intérieur: Nettoyez la cavité du four après chaque utilisation. Essuyez avec un chiffon doux.amp cloth. For stubborn food splatters, place a bowl of water with lemon slices inside and microwave for 2-3 minutes to loosen residue, then wipe clean. The interior material is enamel.
- Platine et support : The glass turntable and its support can be washed in warm soapy water or in a dishwasher.
- Joints de porte : Veillez à ce que les joints de porte soient propres pour assurer une fermeture correcte et un fonctionnement sûr.
- Grille de gril : Wash the grill rack with warm soapy water after use.
- Cordon d'alimentation : Vérifiez régulièrement que le cordon d’alimentation n’est pas endommagé.
Débranchez toujours le four à micro-ondes avant de le nettoyer.
7. Dépannage
Si vous rencontrez des problèmes avec votre four à micro-ondes, consultez les problèmes et solutions courants suivants :
| Problème | Cause possible | Solution |
|---|---|---|
| Le four ne démarre pas | Cordon d'alimentation non branché ; porte mal fermée ; fusible grillé ou disjoncteur déclenché. | Assurez-vous que la prise est bien branchée ; fermez fermement la porte ; vérifiez le fusible/disjoncteur de votre installation électrique. |
| Aliments ne cuisant/ne réchauffant pas | Door not closed properly; Cooking time/power level not set correctly; Utensil not microwave-safe. | Close door firmly; Adjust time/power; Use microwave-safe cookware. |
| Étincelles à l'intérieur du four | Métal ou papier aluminium dans le four ; résidus alimentaires sur les parois de la cavité. | Retirez tout objet métallique ; nettoyez soigneusement l'intérieur du four. |
| Le plateau tournant ne tourne pas | Turntable not positioned correctly; Obstruction under turntable. | Reposition turntable and support; Remove any obstructions. |
Si le problème persiste après avoir essayé ces solutions, veuillez contacter un technicien qualifié.
8. Spécifications
| Fonctionnalité | Spécification |
|---|---|
| Marque | Pointu |
| Numéro de modèle | R-77AT |
| Capacité | 34 litres |
| Puissance de sortie micro-ondes | 1000 watts |
| Puissance du gril | 1100 watts |
| Nombre de niveaux de puissance | 5 |
| Nombre de programmes | 9 (Auto Programs) |
| Type de contrôle | Boutons tactiles |
| Caractéristiques spéciales | Timer Function, Safety Lock |
| Système de dégivrage | Dégivrage automatique |
| Méthode de chauffage | Électrique |
| Matériau (Extérieur) | Acier inoxydable |
| Matériau (Intérieur) | Émail |
| Couleur | Argent |
| Fréquence | 50 Hz |
| Type d'installation | Freestanding |
| Composants inclus | Grille de gril |
9. Garantie et assistance
Pour obtenir des informations sur la garantie et l'assistance clientèle, veuillez consulter la carte de garantie fournie avec votre produit ou visiter le site officiel de Sharp. webConsultez le site. Conservez votre reçu d'achat comme preuve d'achat pour toute réclamation au titre de la garantie.
For technical assistance or service inquiries, please contact Sharp customer service through their official channels.