1. Informations importantes sur la sécurité
Please read this instruction manual carefully before using the appliance and save it for future reference. Incorrect use may result in electric shock, fire, or serious injury.
- Cet appareil est destiné à un usage domestique uniquement. Ne pas utiliser à l'extérieur ni sur des surfaces humides.
- Ne laissez pas les enfants utiliser l'aspirateur. Une surveillance étroite est nécessaire lorsqu'il est utilisé à proximité d'enfants.
- Ne pas aspirer de liquides inflammables ou combustibles, tels que de l'essence, ni les utiliser dans des zones où ils peuvent être présents.
- Ne ramassez rien qui brûle ou qui fume, comme des cigarettes, des allumettes ou des cendres chaudes.
- Ne pas utiliser sans le bac à poussière et/ou les filtres en place.
- Turn off the appliance before connecting or disconnecting the motorized brush, crevice tool, or square brush.
- Utilisez uniquement le chargeur fourni par le fabricant pour recharger.
- Ne manipulez pas le chargeur ou l'appareil avec les mains mouillées.
2. Produit terminéview
The Princess 339490 Rapido Cordless Stick Vacuum Cleaner is designed for efficient cleaning of various surfaces. It features a powerful motor, a removable battery, and multiple attachments for versatile use.
Composants inclus :
- Princess Rapido Cordless Vacuum Unit
- Station de recharge murale
- Outil pour crevasses
- Pinceau carré
- Batterie Li-ion
- Main Brush Head (Motorized)
- Tuyau d'aspirateur
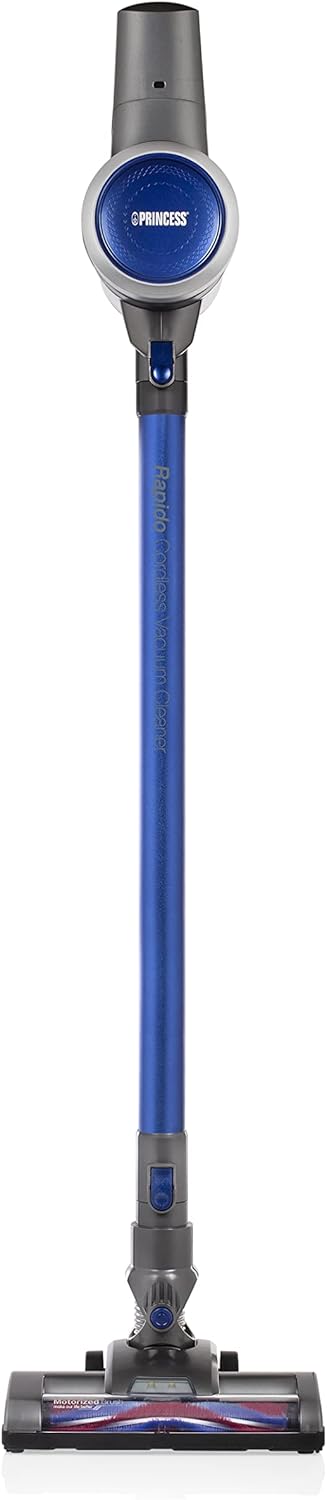
Figure 2.1 : Face avant view of the Princess 339490 Rapido Cordless Stick Vacuum Cleaner.

Figure 2.2 : Angulaire view of the Princess 339490 Rapido Cordless Stick Vacuum Cleaner, showing its sleek design.

Figure 2.3: Close-up of the motorized brush head, designed for effective cleaning on various floor types.

Figure 2.4: The vacuum unit configured as a handheld cleaner with the crevice tool attached, ideal for tight spaces.
3. Installation
3.1 Assemblage
- Attach the Vacuum Tube: Insert the vacuum tube into the main vacuum unit until it clicks securely into place.
- Fixez la tête de brosse principale : Connect the motorized brush head to the other end of the vacuum tube, ensuring it locks firmly.
- Installez la batterie : Slide the Li-ion battery pack into the designated slot on the main vacuum unit until it clicks. Ensure it is fully seated.

Figure 3.1: Proper insertion of the Li-ion battery pack into the main vacuum unit.
3.2 Chargement
Before first use, fully charge the battery for approximately 4 hours.
- Mount the Charging Station: Secure the wall-mounted charging station in a convenient location near a power outlet.
- Place the Vacuum: Hang the assembled vacuum cleaner on the charging station. Ensure the charging contacts align.
- Connexion à l'alimentation : Plug the charging station into a standard electrical outlet.
- Chargement du moniteur : The charging indicator light on the vacuum unit will illuminate during charging. It will change color or turn off when fully charged.
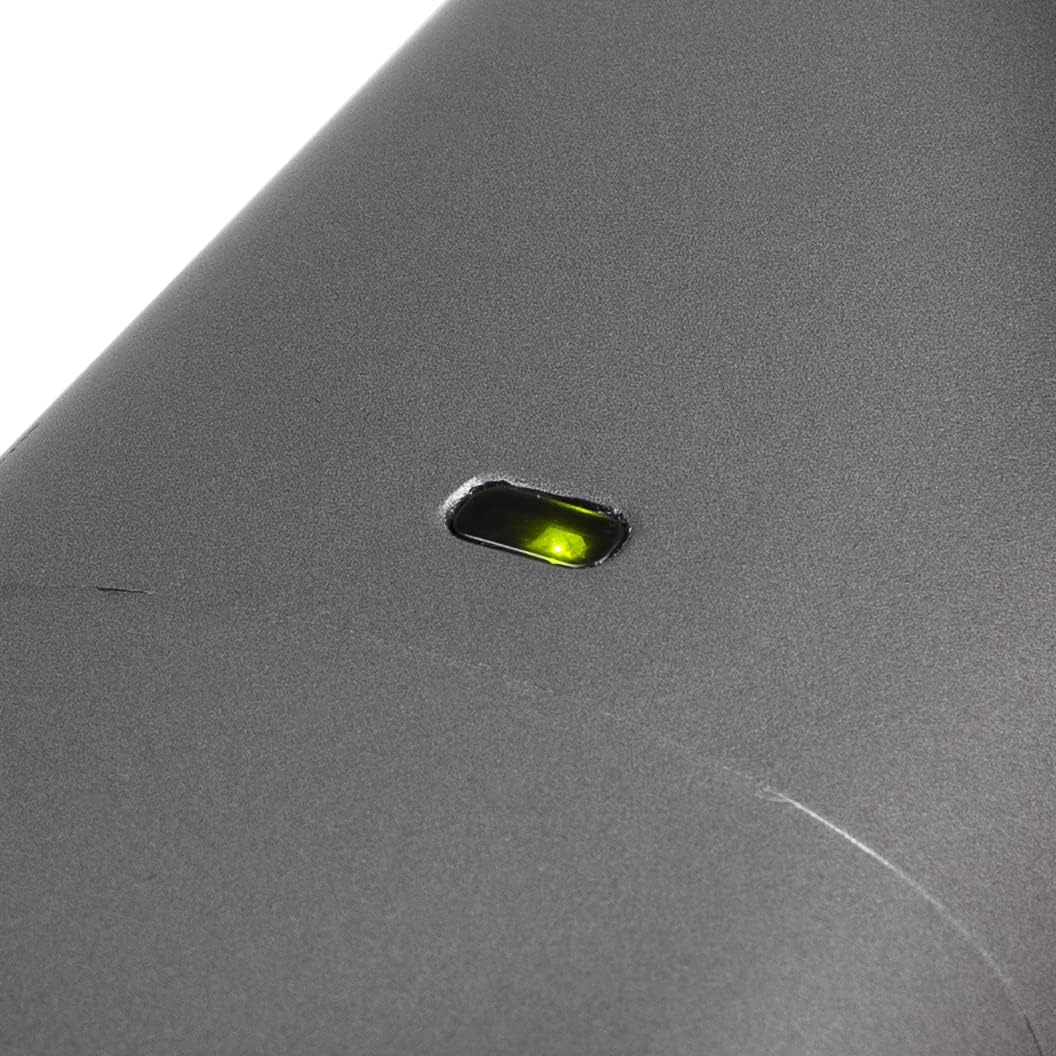
Figure 3.2: The charging indicator light, which shows the charging status of the battery.
4. Mode d'emploi
4.1 Mise sous/hors tension
Pour allumer l'aspirateur, appuyez sur le bouton marche/arrêt situé sur la poignée. Appuyez de nouveau dessus pour éteindre l'appareil.

Figure 4.1: The handle and trigger mechanism for operating the vacuum cleaner.
4.2 Utilisation comme aspirateur balai
With the vacuum tube and main brush head attached, the appliance functions as a stick vacuum, suitable for floors and carpets. The luxury brush head is designed to transition smoothly between hard floors and carpets without needing to change attachments.
4.3 Utilisation comme aspirateur portatif
To convert to a handheld vacuum, detach the vacuum tube and main brush head from the main unit. You can then attach the crevice tool or square brush directly to the main vacuum unit for cleaning stairs, upholstery, or car interiors.
Figure 4.2: The main unit used as a handheld vacuum with the crevice tool for detailed cleaning.
4.4 Autonomie de la batterie
The fully charged Li-ion battery provides approximately 32 minutes of continuous operation, allowing you to clean an entire floor without interruption.
5. Entretien
Un entretien régulier garantit des performances optimales et prolonge la durée de vie de votre aspirateur.
5.1 Vider la poubelle
The dustbin should be emptied regularly, especially when the MAX line is reached.
- Assurez-vous que l'aspirateur est éteint.
- Hold the main unit over a waste bin.
- Appuyez sur le bouton d'ouverture de la poubelle pour ouvrir le couvercle inférieur et vider son contenu.
- Fermez bien le rabat jusqu'à entendre un clic.

Figure 5.1: The transparent dustbin showing the HEPA filter inside, indicating the MAX fill line.
5.2 Nettoyage du filtre HEPA
The removable HEPA filter should be cleaned periodically to maintain suction power.
- Éteignez l'aspirateur et retirez le bac à poussière.
- Retirez soigneusement le filtre HEPA de la poubelle.
- Tapotez doucement le filtre au-dessus d'une poubelle pour enlever la poussière.
- Si nécessaire, rincez le filtre à l'eau froide courante. Assurez-vous qu'il soit parfaitement sec avant de le réinsérer.
- Reassemble the filter and dustbin, then attach to the main unit.
5.3 Nettoyage du rouleau de brosse
Vérifiez régulièrement la brosse rotative motorisée pour vous assurer qu'elle n'est pas obstruée par des cheveux ou des débris.
- Ensure the vacuum cleaner is turned off and disconnected from the charging station.
- Detach the main brush head from the vacuum tube.
- Locate the release mechanism for the brush roll (refer to diagrams in the full manual if needed).
- Retirez la brosse enroulée et coupez soigneusement les cheveux ou fibres emmêlés à l'aide de ciseaux.
- Réinsérez le rouleau de brosse et fixez-le en place.
6. Dépannage
If you encounter issues with your Princess 339490 Rapido, refer to the following common problems and solutions:
| Problème | Cause possible | Solution |
|---|---|---|
| L'aspirateur ne s'allume pas | Batterie non chargée ou mal installée. | Ensure battery is fully charged and correctly inserted. Check charging station connection. |
| Faible puissance d'aspiration | Dustbin full, filter clogged, or blockage in the tube/brush head. | Empty dustbin. Clean HEPA filter. Check for and remove any blockages in the tube or brush head. |
| Le rouleau de brosse ne tourne pas | Hair or debris tangled in the brush roll, or brush head not properly attached. | Clean the brush roll of any obstructions. Ensure the brush head is securely attached to the tube. |
| Autonomie de la batterie courte | Batterie non complètement chargée ou dégradation de la batterie. | Ensure battery is fully charged (4 hours). If runtime remains significantly reduced, the battery may need replacement. |
7. Spécifications
- Numéro de modèle : 01.339490.01.001
- Pouvoir: 130 watts
- Voltage: 22.2 volts
- Type de batterie : Lithium-ion
- Batterie Runtime: Jusqu'à 32 minutes
- Temps de charge : Environ 4 heures
- Capacité de poussière : 0.8 litres
- Type de filtre : Filtre HEPA, cartouche
- Niveau de bruit : 70 décibels
- Dimensions (L x l x H) : 109 x 22 x 23 cm
- Poids: 2.6 kg
- Caractéristiques spéciales : Cordless, Bagless, Handheld conversion, Motorized brush head
8. Garantie et assistance
8.1 Informations sur la garantie
The Princess 339490 Rapido Cordless Stick Vacuum Cleaner comes with a Garantie constructeur de 24 mois from the date of purchase. This warranty covers defects in materials and workmanship under normal household use. It does not cover damage resulting from misuse, neglect, accident, alteration, or improper maintenance.
Veuillez conserver votre preuve d'achat pour les réclamations au titre de la garantie.
8.2 Assistance clientèle
For technical assistance, warranty claims, or to order replacement parts, please contact Princess customer support:
- Website: www.princesshome.eu/en-gb/service
- E-mail: support@princesshome.eu
- Téléphone: Refer to your regional Princess webSite répertoriant les numéros de téléphone locaux.