1. Introduction
Thank you for choosing the Petlibro Automatic Pet Feeder. This device is designed to provide consistent and timely meals for your pet, ensuring they are fed according to a set schedule, even when you are away. Please read this manual thoroughly before use to ensure proper operation and maintenance of your feeder.
2. Informations importantes sur la sécurité
Veuillez respecter les consignes de sécurité suivantes afin d'éviter toute blessure ou tout dommage au produit :
- Lisez attentivement toutes les instructions avant d'utiliser le distributeur.
- Gardez le distributeur hors de portée des enfants et des animaux domestiques lorsqu'il n'est pas utilisé ou pendant son assemblage.
- Ne plongez pas l'unité principale dans l'eau ou d'autres liquides.
- Use only dry pet food with a diameter between 5-15mm. Do not use wet, canned, or moist food.
- Veillez à placer la mangeoire sur une surface stable et plane.
- Débranchez le distributeur avant de le nettoyer ou d'effectuer toute opération de maintenance.
- Do not attempt to repair or modify the feeder yourself. Contact customer support for assistance.
- Jetez les piles de manière responsable, conformément à la réglementation locale.
3. Contenu du colis
Veuillez vérifier le contenu du colis pour vous assurer que tous les éléments sont présents :
- Petlibro Automatic Pet Feeder Main Unit
- Bol à nourriture
- USB-C Power Adapter and Cable
- Sachet déshydratant (préinstallé ou séparé)
- Manuel d'utilisation
4. Produit terminéview
Familiarize yourself with the different parts of your Petlibro Automatic Pet Feeder:
- Réservoir de nourriture : Stocke des aliments secs pour animaux de compagnie.
- Couvercle: Covers the food tank to keep food fresh.
- Panneau de contrôle: Buttons and display for setting schedules and manual feeding.
- Point de restauration : Where food dispenses into the bowl.
- Bol alimentaire : Gamelle amovible pour que votre animal puisse manger.
- Power Port (USB-C): Se connecte à l'adaptateur secteur.
- Compartiment à piles : Holds backup batteries (not included).
5. Installation
Follow these steps to set up your Petlibro Automatic Pet Feeder:
5.1 Assemblage
- Déballer: Retirez soigneusement tous les composants de l'emballage.
- Installer le bol alimentaire : Place the food bowl securely at the base of the feeder.
- Install Food Tank: Align the food tank with the base and twist to lock it into place.
- Insérer le sachet déshydratant : If not pre-installed, open the desiccant compartment (usually under the lid) and insert the desiccant bag to keep food fresh. Replace every 15-30 days.

Image: Step-by-step assembly guide for the Petlibro Automatic Pet Feeder. It shows how to twist open the lid, take out the food bowl, put the desiccant bag into its compartment, install the food tank, put the lid back on, and finally install the food bowl.
5.2 Alimentation
The feeder can be powered by a USB-C adapter or backup batteries.
- Puissance principale : Connect the USB-C power adapter to the feeder's power port and plug it into a wall outlet.
- Batterie de secours (en option) : Pour l'alimentation outages, install 3 D-cell batteries (not included) into the battery compartment at the bottom of the feeder. This ensures continuous operation.
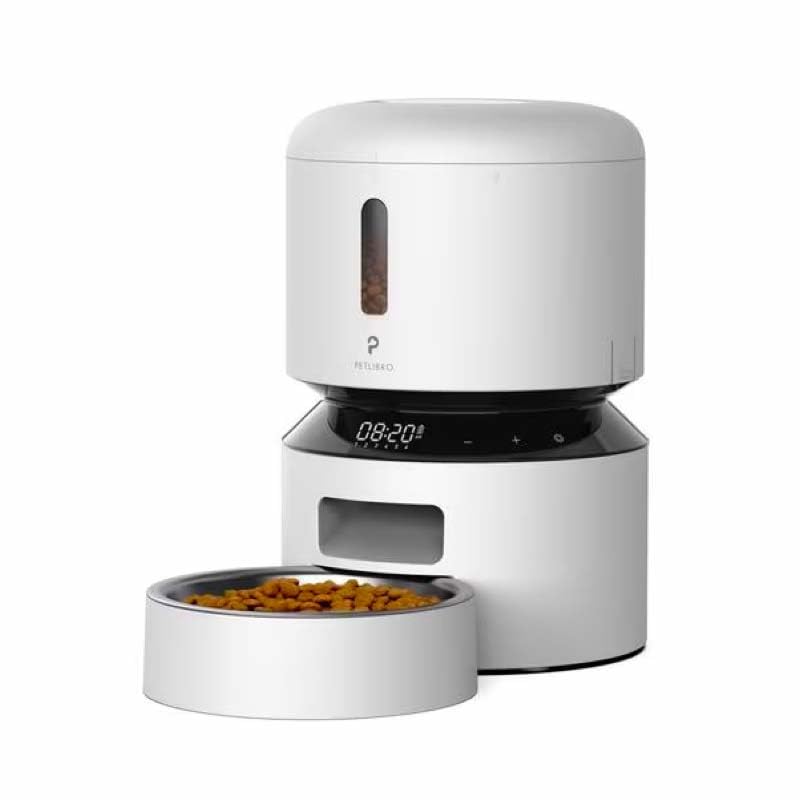
Image: Diagram illustrating the dual power supply system of the Petlibro Automatic Pet Feeder. It shows the USB-C adapter connected for primary power and the battery compartment for backup power. A note indicates that batteries are not included.
6. Mode d'emploi
Once assembled and powered, you can begin programming your feeder.
6.1 Remplissage du réservoir à aliments
- Ouvrez le couvercle du réservoir de nourriture.
- Pour dry pet food into the tank. Ensure the food is within the recommended size (5-15mm diameter).
- Bien refermer le couvercle pour préserver la fraîcheur.
6.2 Setting Meal Schedules and Portions
The feeder allows you to schedule up to 6 meals per day, with 1 to 50 portions per meal.

Image: A cat eating from the Petlibro Automatic Pet Feeder, illustrating the feeder's function. Text overlays indicate "Portion: 1-50" and "Meals: 1-6", highlighting the customizable feeding schedule.
- Définir l'heure actuelle : Use the control panel buttons (e.g., "SET", "UP", "DOWN") to set the current time.
- Horaires des repas du programme : Press the "MEAL" button to enter meal programming mode. Select the desired meal number (e.g., Meal 1) and set the feeding time.
- Portions définies : For each programmed meal, set the number of portions (1-50) using the "PORTION" or "UP/DOWN" buttons.
- Repeat for all meals: Program up to 6 meals as needed.
- Enregistrer les paramètres : Ensure all settings are saved according to the feeder's specific interface (usually by pressing "SET" or waiting for auto-save).
6.3 Alimentation manuelle
To dispense food instantly, press the manual feed button (often labeled "FEED" or a paw icon) on the control panel. Each press typically dispenses one portion.
7. Entretien et nettoyage
Un nettoyage régulier garantit l'hygiène et prolonge la durée de vie de votre mangeoire.
- Débrancher: Débranchez toujours le distributeur de la prise électrique avant de le nettoyer.
- Démonter: Remove the food bowl and food tank.
- Nettoyer les composants : Wash the food bowl and food tank with mild soap and water. Rinse thoroughly and dry completely before reassembling.
- Essuyer l'unité principale : Essuyez l'unité principale avec un chiffon doux, damp tissu. Ne plongez pas l’unité principale dans l’eau.
- Remplacer le dessiccant : Replace the desiccant bag every 15-30 days to maintain food freshness.
- Remonter: Ensure all parts are dry before reassembling the feeder.
8. Dépannage
Si vous rencontrez des problèmes avec votre distributeur automatique, consultez les problèmes courants et leurs solutions ci-dessous :
| Problème | Cause possible | Solution |
|---|---|---|
| Le distributeur ne s'allume pas. | No power connection; batteries depleted or incorrectly installed. | Vérifiez la connexion de l'adaptateur secteur ; remplacez les piles ou assurez-vous de la polarité correcte. |
| Distribution de nourriture impossible. | Food tank empty; food jammed; dispenser blocked; incorrect schedule settings. | Refill food tank; clear any food jams; check dispenser for blockages; verify meal schedule and portion settings. |
| Food dispenses too much/too little. | Paramètres de portion incorrects. | Adjust portion settings for each meal. |
| L'affichage ne fonctionne pas. | Power issue; display malfunction. | Check power supply; if problem persists, contact customer support. |
9. Spécifications
| Fonctionnalité | Détail |
|---|---|
| Nom du produit | Petlibro Automatic Pet Feeder |
| Modèle | Mangeoire automatique pour animaux de compagnie 3L |
| Capacité | 3 litres |
| Matériel | Plastique ABS de qualité alimentaire |
| Alimentation électrique | USB-C adapter (5V/1A); 3 x D-cell batteries (backup, not included) |
| Repas par jour | Jusqu'à 6 repas |
| Portions par repas | 1-50 portions (approx. 5-10g per portion, depending on food density) |
| Taille des aliments recommandée | Croquettes sèches de 5 à 15 mm |
| Couleur | Blanc |
10. Garantie et assistance
Your Petlibro Automatic Pet Feeder comes with a standard manufacturer's warranty. For detailed warranty information, please refer to the warranty card included in your package or visit the official Petlibro website.
If you have any questions, require technical support, or need assistance with your product, please contact Petlibro customer service. Contact details can typically be found on the product packaging, the official website, or by searching for "Petlibro customer support" online.