1. Introduction
Thank you for choosing the Cerwin Vega CVE-18s Powered Subwoofer. This 18-inch, 1000-watt Class D powered subwoofer is designed to deliver powerful low-frequency sound for various applications, including live performances, DJing, and fixed installations. It features two Combo XLR/TRS inputs, one XLR output, two DSP-driven modes for sound tailoring, and Bluetooth audio streaming capabilities, offering up to 126dB of maximum SPL. This manual provides essential information for the safe and efficient operation of your CVE-18s subwoofer.
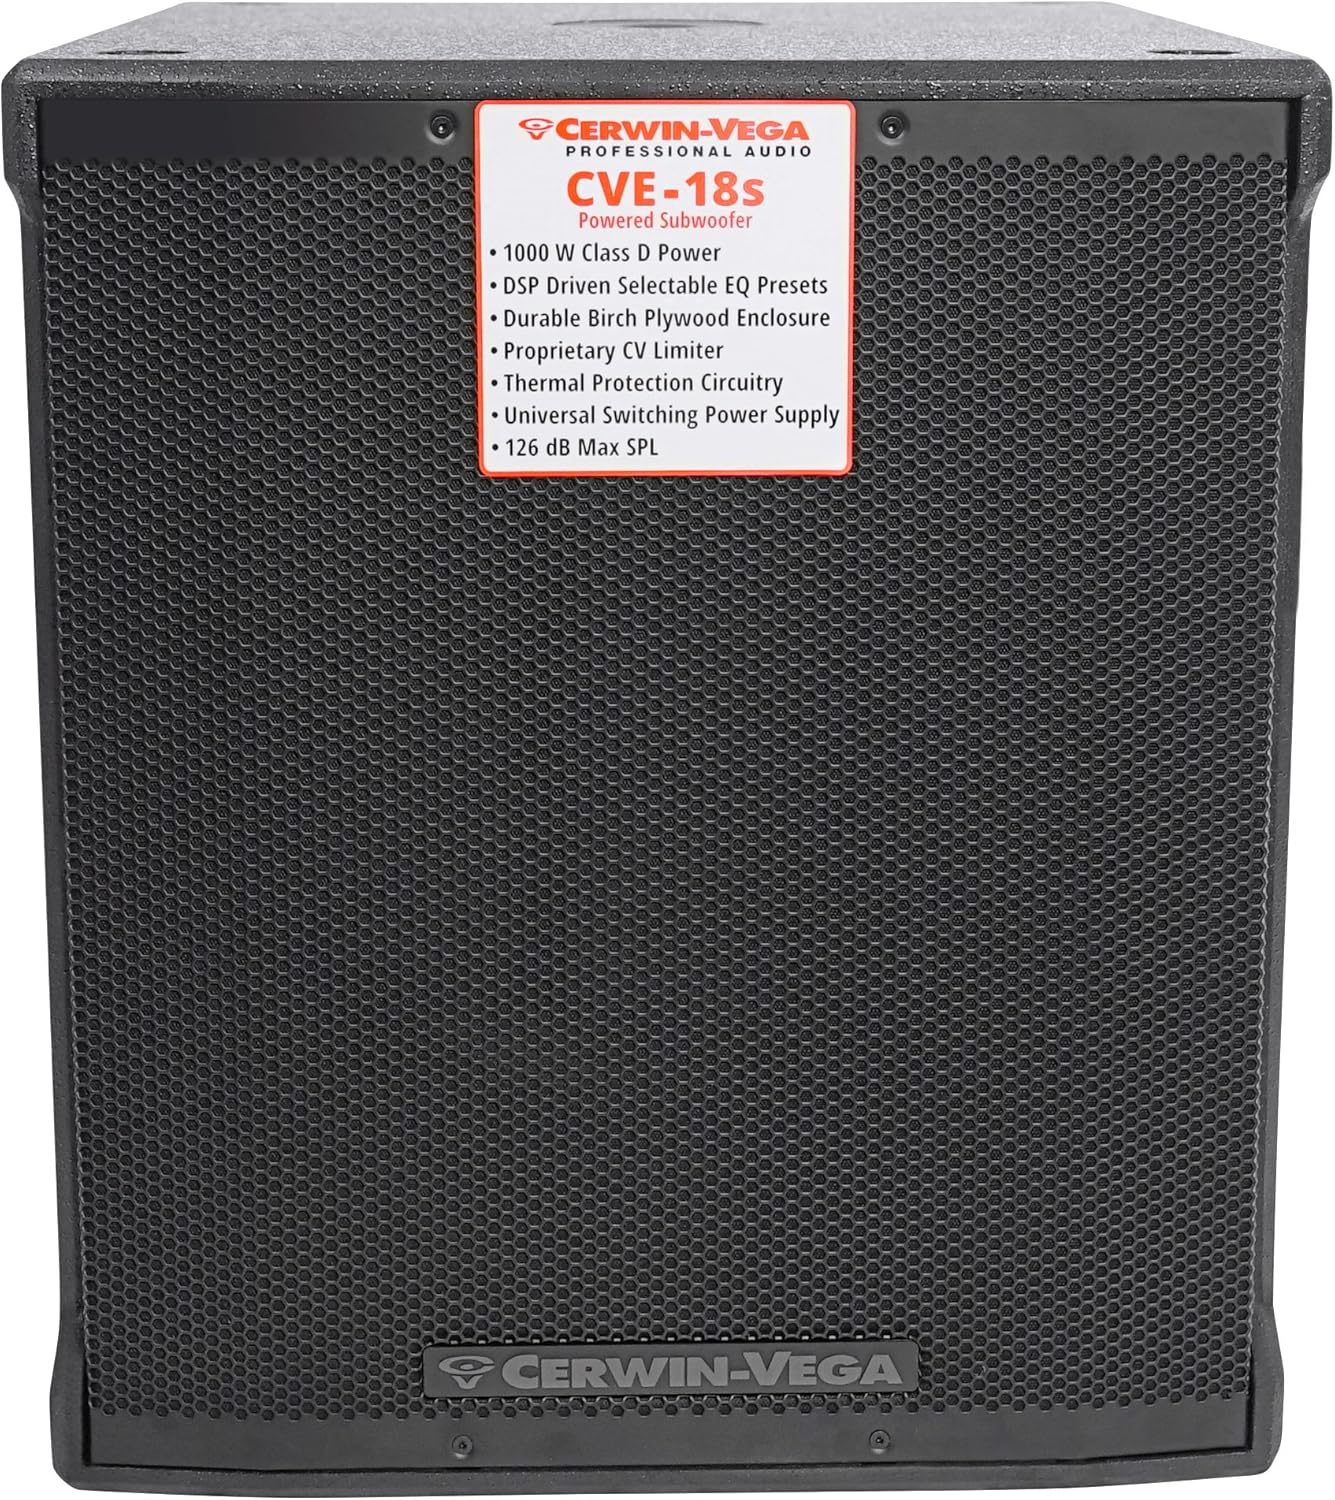
Figure 1 : Face avant view of the CVE-18s Powered Subwoofer, highlighting the protective grille and the Cerwin Vega branding.
2. Consignes de sécurité importantes
Veuillez lire et comprendre toutes les consignes de sécurité avant d'utiliser ce produit. Conservez ce manuel pour toute consultation ultérieure.
- Source d'alimentation : Branchez l'appareil uniquement à une alimentation électrique du type décrit dans ce manuel ou indiqué sur l'appareil.
- Mise à la terre : Ensure the power cord is properly grounded to prevent electric shock. Do not defeat the safety purpose of the polarized or grounding-type plug.
- Ventilation: Ne pas obstruer les ouvertures de ventilation. Procéder à l'installation conformément aux instructions du fabricant.
- Chaleur: Ne pas installer à proximité de sources de chaleur telles que radiateurs, bouches de chauffage, poêles ou autres appareils (y compris amp(échangeurs thermiques) qui produisent de la chaleur.
- Eau et humidité : Do not use this apparatus near water or moisture. This product is not waterproof.
- Nettoyage: Nettoyer uniquement avec un chiffon sec.
- Entretien: Confiez toute réparation à un technicien qualifié. Une réparation est nécessaire lorsque l'appareil a été endommagé de quelque façon que ce soit, par exemple si le cordon d'alimentation ou la prise sont endommagés, si du liquide a été renversé ou si des objets sont tombés à l'intérieur de l'appareil, si l'appareil a été exposé à la pluie ou à l'humidité, s'il ne fonctionne pas normalement ou s'il est tombé.
- Protection auditive : Prolonged exposure to high sound pressure levels can cause permanent hearing damage. Use caution when setting volume levels.
3. Déballage et inspection
Carefully unpack your Cerwin Vega CVE-18s subwoofer and inspect it for any signs of damage that may have occurred during transit. If any damage is found, contact your dealer immediately.
- Retain the original packaging materials for future shipping or storage.
- Verify that all included components are present: CVE-18s Powered Subwoofer, Power Cord, and Quick Start Guide.

Figure 2: The CVE-18s subwoofer packaging, showing model information and handling instructions.
4. Installation
4.1 Placement physique
L'emplacement de votre caisson de basses a un impact significatif sur la qualité sonore. Prenez en compte les points suivants :
- Emplacement en coin : Placing the subwoofer in a corner can enhance bass output due to room acoustics.
- Emplacement du mur : Placing it against a wall can also boost bass, though less dramatically than a corner.
- Espace ouvert : Placing it away from walls and corners may result in less bass reinforcement but potentially more accurate low-frequency response.
- Stabilité: Veillez à placer le caisson de basses sur une surface stable et plane afin d'éviter les vibrations et les mouvements pendant son fonctionnement.
4.2 Connexions
The CVE-18s features a rear panel with various inputs and outputs for connecting to your audio system.

Figure 3 : Panneau arrière surview of the CVE-18s, detailing connection points and control layout.

Figure 4 : Détaillé view of the CVE-18s control panel, showing input/output jacks, level knob, and DSP mode selectors.
- Connexion électrique : Connect the supplied power cord to the AC inlet on the rear panel and then to a grounded electrical outlet.
- Entrée audio : Use XLR or 1/4" TRS cables to connect your audio source (mixer, preamplifier, etc.) to the CH 1 INPUT and/or CH 2 INPUT jacks.
- Sortie audio : If connecting to full-range speakers, use XLR cables from the CH 1 OUTPUT and/or CH 2 OUTPUT jacks to the inputs of your main speakers. These outputs provide a high-pass filtered signal (100Hz HPF) when selected, or a full-range signal.
4.3 Couplage Bluetooth
The CVE-18s allows audio streaming via Bluetooth from any smartphone or tablet.
- Vérifiez que le caisson de basses est allumé.
- Activez le Bluetooth sur votre smartphone ou votre tablette.
- Press and hold the "PAIR PUSH LINK HOLD" button on the rear panel of the CVE-18s until the Bluetooth indicator light begins to flash.
- On your device, search for "CVE-18s" in the list of available Bluetooth devices and select it to pair.
- Once paired, the Bluetooth indicator light will remain solid, and you can stream audio to the subwoofer.
- For stereo pairing with another CVE speaker, refer to the Quick Start Guide for detailed instructions.
4.4 DSP Modes
The CVE-18s features two easy-to-use DSP-driven modes to tailor your sound:
- LIVE PA: Optimized for live sound reinforcement, providing a balanced low-frequency response suitable for various instruments and vocals.
- CLUB/DJ: Enhances bass impact and punch, ideal for music playback in DJ sets and club environments.
Select the desired mode using the "DSP MODE SELECT" button on the rear panel.
5. Mode d'emploi
5.1 Mise sous/hors tension
- Before powering on, ensure all connections are secure and the LEVEL knob is set to its minimum position.
- Flip the POWER switch on the rear panel to the "ON" position. The power indicator light will illuminate.
- To power off, set the LEVEL knob to minimum, then flip the POWER switch to the "OFF" position.
5.2 Contrôle de niveau
The LEVEL knob on the rear panel controls the overall output volume of the subwoofer.
- Start with the LEVEL knob at its minimum setting.
- Gradually increase the LEVEL to achieve the desired bass output, ensuring it blends well with your main speakers without distortion.
- Monitor the LIMIT indicator light. If it flashes frequently or stays lit, reduce the LEVEL to prevent clipping and potential damage.
5.3 Sélection du mode de sortie
The "OUTPUT SELECT" button on the rear panel allows you to choose the signal sent to the XLR outputs:
- 100Hz HPF (High-Pass Filter): Sends a signal with frequencies below 100Hz removed to your main speakers. This is recommended when pairing the subwoofer with full-range speakers to optimize their performance and prevent them from reproducing low frequencies handled by the subwoofer.
- GAMME COMPLÈTE : Sends the full frequency range signal to your main speakers. Use this if your main speakers have their own crossover or if you prefer a full-range signal.
6. Entretien
Proper maintenance ensures the longevity and optimal performance of your CVE-18s subwoofer.
- Nettoyage: Disconnect the power before cleaning. Use a soft, dry cloth to wipe the exterior surfaces. Do not use abrasive cleaners, solvents, or waxes.
- Ventilation: Veillez à ce que les ouvertures de ventilation soient dégagées de toute poussière et débris.
- Stockage: If storing the subwoofer for an extended period, place it in its original packaging in a cool, dry environment, away from extreme temperatures and humidity.
- Inspection: Periodically check the power cord and audio cables for any signs of wear or damage. Replace damaged cables immediately.
7. Dépannage
If you encounter issues with your CVE-18s subwoofer, refer to the following common problems and solutions:
| Problème | Cause possible | Solution |
|---|---|---|
| Pas de courant | Power cord not connected; Power outlet not active; Power switch off | Ensure power cord is securely connected; Check power outlet with another device; Flip power switch to ON. |
| Pas de sortie audio | Input cables not connected; Level knob too low; DSP mode incorrect; Bluetooth not paired | Verify input cable connections; Increase LEVEL knob; Select appropriate DSP mode; Re-pair Bluetooth device. |
| Son déformé | Input signal too high; Subwoofer LEVEL too high; LIMIT indicator active | Reduce input signal level from source; Decrease subwoofer LEVEL; Ensure LIMIT indicator is not constantly lit. |
| Problèmes de connexion Bluetooth | Device too far; Interference; Subwoofer not in pairing mode | Move device closer to subwoofer; Avoid sources of interference; Press and hold PAIR button to enter pairing mode. |
8. Spécifications
Detailed technical specifications for the Cerwin Vega CVE-18s Powered Subwoofer.
| Fonctionnalité | Détail |
|---|---|
| Nom du modèle | Cerwin Vega CVE-18s |
| Type de haut-parleur | Subwoofer alimenté |
| Diamètre du woofer | 18 pouces |
| Puissance de sortie maximale du haut-parleur | 1000 watts (classe D) |
| Technologie de connectivité | Bluetooth, XLR |
| Technologie de communication sans fil | Bluetooth |
| Mode de sortie audio | Mono, Stereo (via linked units) |
| Méthode de contrôle | On-unit controls |
| Matériel | Wood (Plywood enclosure) |
| Couleur | Noir |
| Dimensions du produit (P x L x H) | 25.5" x 21" x 24.5" |
| Poids de l'article | 88 livres |
| Source d'énergie | Électrique avec fil |
| Utilisations spécifiques du produit | Live performances, DJing, parties, clubs, restaurants, conferences |
| Code UPC | 744271626018 |

Figure 5: Dimensional drawing of the CVE-18s subwoofer, showing height, width, and depth measurements.
9. Informations sur la garantie
The Cerwin Vega CVE-18s Powered Subwoofer comes with a limited warranty. Please refer to the warranty card included with your product or visit the official Cerwin Vega website for detailed terms and conditions regarding coverage, duration, and service procedures. Keep your proof of purchase for warranty claims.
10. Assistance clientèle
For technical assistance, troubleshooting beyond this manual, or service inquiries, please contact Cerwin Vega customer support. Contact information can typically be found on the official Cerwin Vega website ou dans le guide de démarrage rapide fourni avec votre produit.
Ressources en ligne : Visit the Cerwin Vega webSite regroupant les FAQ, l'enregistrement des produits et des ressources d'assistance supplémentaires.