ISTA I-H616
Manuel d'utilisation du chauffage externe en ligne ISTA I-H616 500W
Model: I-H616
Introduction
This user manual provides comprehensive instructions for the installation, operation, and maintenance of your ISTA I-H616 500W Inline External Heater. Designed for both freshwater and saltwater aquariums, this external heater offers precise temperature control and efficient heating. Please read this manual thoroughly before use to ensure proper function and safety.
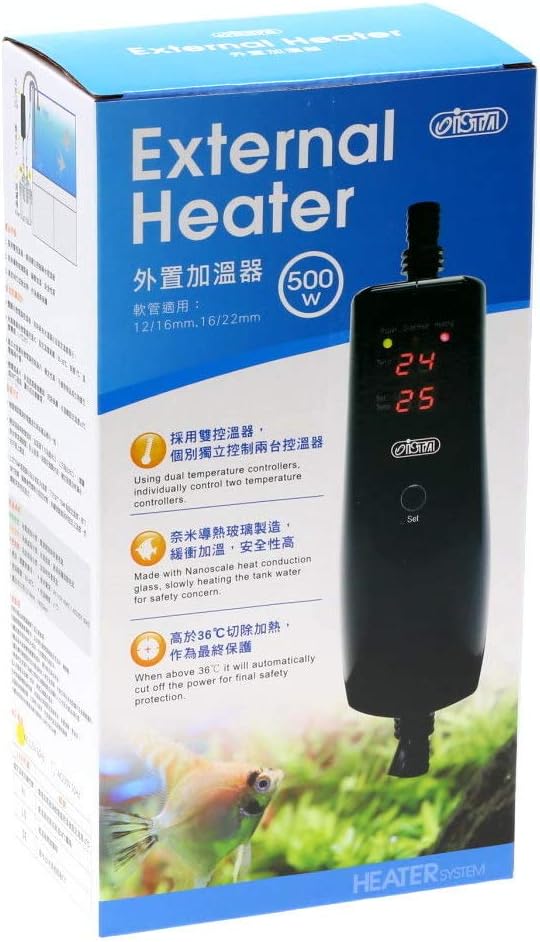
Figure 1: The ISTA I-H616 500W Inline External Heater, shown in its retail packaging.
Consignes de sécurité
Always adhere to the following safety precautions to prevent injury or damage to the product and your aquarium:
- Ensure the heater is always connected to a properly grounded electrical outlet.
- N’utilisez pas l’appareil de chauffage si le cordon d’alimentation ou la prise est endommagé.
- Never immerse the heater unit in water. It is designed for external use only.
- Disconnect the power supply before performing any maintenance, cleaning, or installation procedures.
- Ensure all hose connections are secure and leak-free before powering on the unit.
- Tenir hors de portée des enfants.
- This heater is designed for aquarium use only. Do not use for other purposes.
- Always use a dedicated heater controller or thermostat as a redundancy shut-down option to prevent overheating, especially with high-wattage radiateurs.
Caractéristiques du produit
The ISTA I-H616 Inline External Heater incorporates advanced features for optimal aquarium heating:
- Pouvoir: 500W for efficient heating of larger aquariums.
- Capteurs de température doubles : Equipped with two sensors to monitor both inlet and outlet water temperatures, ensuring accurate readings.
- Thermal Spraying Glass: Utilizes thermal spraying glass for a faster and more uniform heating process.
- External Design: Installs externally, saving space within the aquarium and simplifying maintenance.
- Affichage Celsius : Temperature readings and settings are displayed in Celsius.
Contenu du colis
Vérifiez que tous les composants sont présents et en bon état à l'ouverture de l'emballage :
- 1 x ISTA I-H616 500W Inline External Heater Unit
- 1 x Manuel d'utilisation (ce document)
- Tuyau clamping nuts (may be included, but external hose clamps are recommended for secure installation)
Configuration et installation
Follow these steps for proper installation of your inline external heater:
- Placement: Position the heater externally, near your aquarium and canister filter or pump. Ensure it is placed vertically or horizontally as per the design, and in a location where it will not be submerged or exposed to excessive moisture.
- Connexion de tuyau: The heater is designed for 5/8" (16/22mm) hoses.
- Identify the "IN" and "OUT" ports on the heater. The "IN" port connects to the water outlet of your filter/pump, and the "OUT" port connects to the water return to your aquarium.
- To facilitate connection, warm the ends of your aquarium hoses in hot water to make them more pliable.
- Carefully slide the hoses over the heater's barbed fittings. Ensure the hoses are pushed all the way to the base of the fittings for a secure seal.
- Secure the hoses with stainless steel worm-drive style hose clamps (not always included, but highly recommended) to prevent leaks. The supplied plastic clamping nuts may not provide sufficient security for all hose types.

Figure 2: Typical installation diagram, showing the heater connected inline with a canister filter.

Figure 3: The heater unit with a green hose attached, demonstrating a secure connection.

Figure 4 : Un aperçu détaillé view of the hose fitting, showing the ribbed design for secure hose attachment.
- Fill System and Check for Leaks: Before plugging in the heater, ensure your filter/pump system is filled with water and running. Carefully inspect all connections for any leaks. Address any leaks immediately before proceeding.
- Connexion électrique : Once the system is leak-free and water is flowing through the heater, plug the heater's power cord into a grounded electrical outlet.
Mode d'emploi
The ISTA I-H616 heater features a digital display and a single "Set" button for operation.

Figure 5: The heater's control panel, showing the digital temperature display and "Set" button.

Figure 6: Detailed diagram illustrating the display, indicator lights (Power, Over Heat, Heating), and the "Set" button.
- Mise sous tension : Once plugged in, the digital display will illuminate, showing the current water temperature (Temp) and the set temperature (Set Temp). The "Power" indicator light will be green.
- Température de réglage :
- Press the "Set" button once. The "Set Temp" display will begin to flash.
- Each subsequent press of the "Set" button will cycle through the available temperature settings in Celsius.
- Stop pressing the button when your desired temperature is displayed. The flashing will stop after a few seconds, and the new temperature will be saved. The heater will remember this setting even if power is interrupted.
- Indicateur de chauffage : When the heater is actively heating the water, the "Heating" indicator light will illuminate red. Once the set temperature is reached, the "Heating" light will turn off.
- Avertissement de surchauffe : The "Over Heat" indicator light will illuminate if the water temperature exceeds a safe threshold (e.g., above 36°C / 96.8°F), and the heater will automatically cut off power for safety. The display may show "HI".
- Fluctuation de température: The heater will cycle on and off to maintain the set temperature. It is normal for the actual water temperature to fluctuate by approximately one degree Celsius around the set point.
Entretien
Regular maintenance ensures the longevity and efficient operation of your heater:
- Débrancher l'alimentation : Always unplug the heater from the power outlet before performing any maintenance.
- Inspection des tuyaux et des raccords : Periodically check the hoses and connections for any signs of wear, cracks, or leaks. Ensure hose clampLes tensions restent fortes.
- Nettoyage externe : Essuyez l'extérieur du radiateur avec un produit nettoyant pour appareils de chauffage.amp cloth to remove dust or water spots. Do not use abrasive cleaners or immerse the unit in water.
- Internal Flow Path: If water flow through the heater appears restricted, it may indicate a buildup of debris. Disconnect the heater from the filter system and carefully flush water through it in the reverse direction to clear any blockages.
Dépannage
Consultez le tableau suivant pour connaître les problèmes courants et leurs solutions :
| Problème | Cause possible | Solution |
|---|---|---|
| Heater not turning on / Display off | No power supply; Loose connection; Unit malfunction. | Check power outlet and plug connection. Ensure power is supplied. If still off, unit may be faulty. |
| "HI" displayed / Over Heat light on | Water temperature is too high (above 36°C); Sensor malfunction. | Check actual aquarium temperature with a separate thermometer. If temperature is indeed high, take steps to cool the tank. If temperature is normal, sensor may be faulty. The heater will automatically cut off power in this state. |
| Heater not heating / "Heating" light off | Set temperature reached; Water flow issue; Unit malfunction. | Verify the set temperature is higher than the current water temperature. Check for adequate water flow through the heater. If flow is good and temperature is below set point, unit may be faulty. |
| Fuite d'eau au niveau des raccords | Hoses not fully seated; Loose or inadequate hose clamps; Damaged hose or fitting. | Immediately unplug the heater. Re-seat hoses firmly onto fittings. Tighten or replace hose clamps with stainless steel worm-drive clamps. Inspect hoses and fittings for damage and replace if necessary. |
| Temperature fluctuates significantly | Normal operation (1°C fluctuation); Insufficient water flow; Heater undersized for tank. | A 1°C fluctuation is normal. Ensure adequate water flow through the heater. For very large or poorly insulated tanks, a single 500W heater might struggle to maintain a perfectly stable temperature. Consider additional heating or better insulation. |
Si les problèmes persistent après avoir essayé ces solutions, veuillez contacter le service client.
Caractéristiques
| Numéro de modèle | I-H616 |
| Pouvoir | 500 W |
| Compatibilité des tuyaux | 5/8" (16/22mm) |
| Affichage de la température | Celsius |
| Dimensions de l'article (LxlxH) | 3.5 x 5.8 x 10.9 pouces |
| Poids de l'article | 0.99 livre (environ 15.8 onces) |
| Style | Indoor Installation, External |
Garantie et assistance
For warranty information or technical support, please refer to the product packaging or contact ISTA customer service directly. Keep your purchase receipt as proof of purchase.