Instapark PWT-07
Instapark PWT-07 Digital Programmable Water Timer User Manual
Model: PWT-07
Introduction
This manual provides detailed instructions for the setup, operation, maintenance, and troubleshooting of your Instapark PWT-07 Digital Programmable Water Timer. Please read this manual thoroughly before using the device to ensure proper function and longevity.
Consignes de sécurité
- Use only 1.5V AA alkaline batteries. Do not mix old and new batteries, or different battery types.
- Assurez-vous que le compartiment de la batterie est bien fermé afin de maintenir l'indice d'étanchéité IP66.
- Do not expose the timer to extreme temperatures or direct sunlight for prolonged periods, which may affect battery life and device performance.
- Disconnect the timer from the faucet and drain it before freezing temperatures to prevent damage.
- This device is designed for outdoor use with standard ¾” (GHS) threaded faucets.
Contenu du colis
Vérifiez que tous les éléments sont présents dans le colis :
- Instapark PWT-07 Water Timer
- Manuel de l'utilisateur (ce document)
- Carte de garantie
Note: 2 AA alkaline batteries are required and not included.
Caractéristiques du produit
- Single-station digital programmable faucet water timer.
- Impulse solenoid valve for reliable operation.
- Compatible with standard ¾” (GHS) threaded outdoor hose faucets.
- User-friendly interface with a single oversized rotary dial and 4 pushbuttons.
- Large, easy-to-read LCD display (2.1” x 1”).
- Indice d'étanchéité : IP66.
- Built-in rain delay function (24, 48, or 72 hours).
- Manual watering option without interrupting programmed schedules.
- Detachable battery compartment for easy battery replacement.
- Low power consumption, up to 4,000 on/off cycles per battery set.
Installation
1. Installation de la batterie
The Instapark PWT-07 requires two (2) 1.5V AA alkaline batteries (not included).
- Repérez le compartiment à piles à l'arrière du minuteur.
- Faites glisser le couvercle du compartiment à piles vers le bas pour l'ouvrir.
- Insérez deux piles alcalines AA neuves en veillant à respecter la polarité (+/-).
- Remettez le couvercle du compartiment à piles en place jusqu'à ce qu'il s'enclenche correctement.
- The LCD display should illuminate, indicating successful battery installation. If the display shows a low battery indicator, remove the batteries, wait for the screen to go completely dark, then reinsert them.
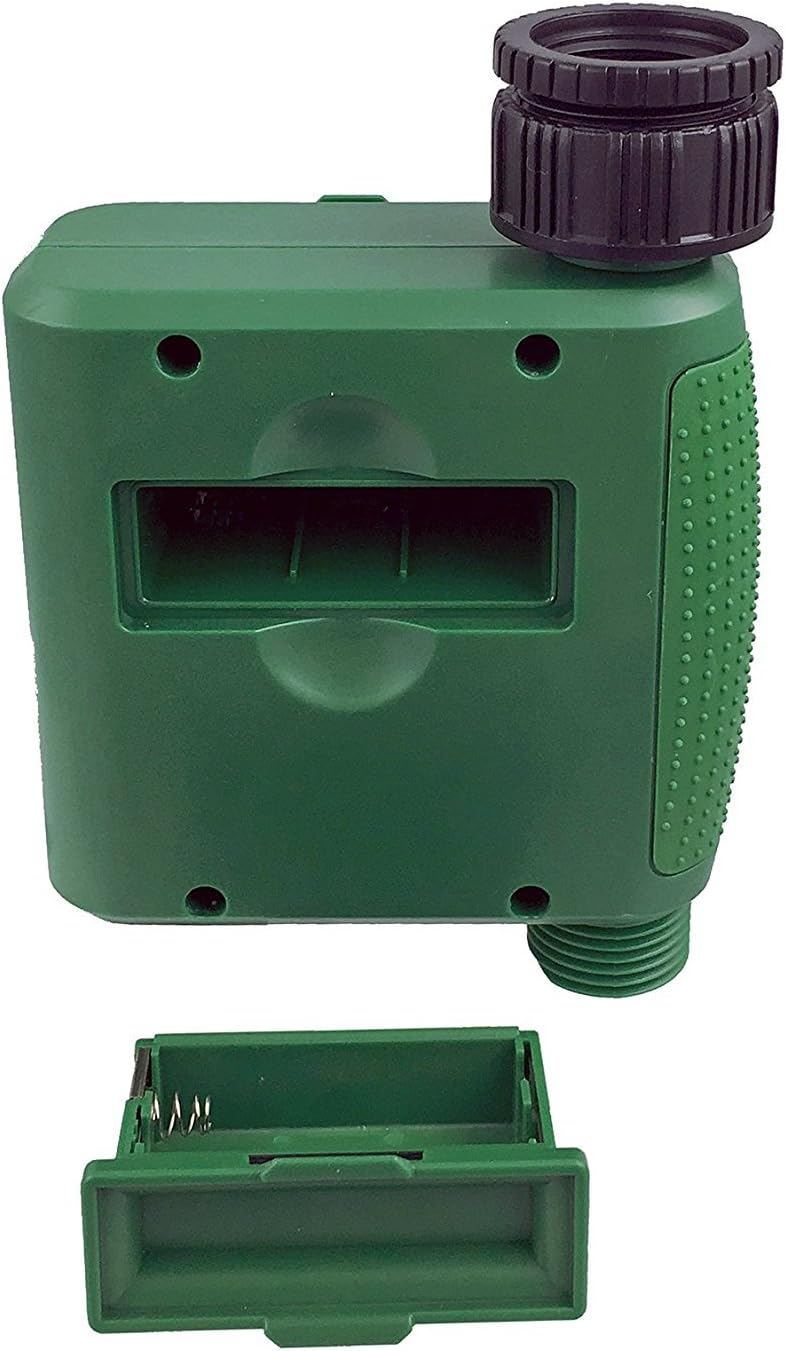
Figure 1 : Compartiment de la batterie avec couvercle retiré.
2. Installation de la minuterie
Attach the timer to your outdoor faucet:
- Assurez-vous que le robinet est propre et exempt de débris.
- Screw the timer's inlet (top connector) onto a standard ¾” (GHS) outdoor hose faucet. Hand-tighten only to prevent damage. Do not overtighten.
- Connect your garden hose or irrigation system to the timer's outlet (bottom connector). Hand-tighten securely.
- Turn on the faucet fully. The timer is designed to operate under pressure.

Figure 2: Instapark PWT-07 mounted on a faucet.
Mode d'emploi
The timer features a large rotary dial and four buttons: ENSEMBLE, +, -, et MANUEL.

Figure 3: Control panel and LCD display.
1. Réglage de l'heure actuelle
- Tournez la molette rotative pour RÉGLER L'HORLOGE.
- Utilisez le + et - boutons pour régler l'heure actuelle. Appuyez sur ENSEMBLE pour confirmer.
- Utilisez le + et - buttons to adjust the current minute. Press ENSEMBLE pour confirmer.
2. Programming Watering Schedule
The timer allows you to set a start time, duration, and frequency for watering.
Définir l'heure de début :
- Tournez la molette rotative pour HEURE DE DÉBUT.
- Utilisez le + et - buttons to set the desired watering start hour. Press ENSEMBLE pour confirmer.
- Utilisez le + et - buttons to set the desired watering start minute. Press ENSEMBLE pour confirmer.
Définir la durée :
- Tournez la molette rotative pour COMBIEN DE TEMPS.
- Utilisez le + et - buttons to set the watering duration (from 5 seconds to 360 minutes). Press ENSEMBLE pour confirmer.
Définir la fréquence :
- Tournez la molette rotative pour À QUELLE FRÉQUENCE.
- Utilisez le + et - buttons to select the watering frequency (e.g., every 10 seconds, 30 seconds, 1 minute, 3 minutes, 5 minutes, 1 hour, 2 hours, 4 hours, 12 hours, 1 day, 2 days, 3 days, 4 days, 5 days, 6 days, 7 days). Press ENSEMBLE pour confirmer.
After setting all parameters, turn the rotary dial to COURIR to activate the programmed schedule.
3. Arrosage manuel
Pour arroser manuellement sans perturber votre programme d'arrosage :
- Assurez-vous que le cadran est réglé sur COURIR or DÉSACTIVÉ.
- Appuyez sur le MANUEL bouton. L'écran affichera une durée d'arrosage manuel par défaut.
- Utilisez le + et - buttons to adjust the desired manual watering duration.
- Presse ENSEMBLE to start manual watering. The timer will run for the selected duration and then automatically shut off.
- Pour arrêter l'arrosage manuel prématurément, appuyez sur le MANUEL Appuyez à nouveau sur le bouton.
4. Fonction de retard de pluie
The rain delay function allows you to pause your watering schedule for a set period without losing your program settings.
- Assurez-vous que le cadran est réglé sur COURIR.
- Appuyez et maintenez enfoncé le - button for 3 seconds. The display will show "DELAY" and a default delay duration.
- Utilisez le + et - buttons to select a delay duration of 24, 48, or 72 hours.
- Presse ENSEMBLE to activate the rain delay. The timer will resume its programmed schedule after the delay period ends.
- To cancel the rain delay, press and hold the - à nouveau pendant 3 secondes.
Entretien
- Remplacement de la batterie : Replace batteries when the low battery indicator appears on the LCD. Always use new AA alkaline batteries.
- Nettoyage: Essuyez la minuterie avec l'annonceamp chiffon. N'utilisez pas de nettoyants abrasifs ou de solvants.
- Hivérisation: Before the first frost, disconnect the timer from the faucet. Remove the batteries and store the timer indoors in a dry, frost-free location. Failure to do so may result in damage from freezing water.
- Écran de filtre : Periodically check the filter screen inside the inlet connector for debris. Clean if necessary to ensure proper water flow.
Dépannage
| Problème | Cause possible | Solution |
|---|---|---|
| Timer does not turn on / LCD is blank. | Piles mortes ou mal installées. | Replace with new AA alkaline batteries, ensuring correct polarity. If still blank, remove batteries, wait for screen to fully clear, then reinsert. |
| Water does not turn on at scheduled time. |
|
|
| Water does not turn off. |
|
|
| Fuite d'eau au niveau des raccords. |
|
|
| Low battery indicator flashes even with new batteries. | Firmware not booting correctly after battery change. | Remove batteries, wait for the LCD screen to go completely dark (may take a few minutes), then reinsert new batteries. |
Caractéristiques
| Modèle | PWT-07 |
| Source d'énergie | 2 piles alcalines AA de 1.5 V (non incluses) |
| Type de vanne | Électrovanne d'impulsion |
| Pression d'eau de travail | 14.5 à 116 psi |
| Courant de veille | <100 µA |
| Watering Frequency Settings | 10s, 30s, 1m, 3m, 5m, 1h, 2h, 4h, 12h, 1d, 2d, 3d, 4d, 5d, 6d, 7d (16 settings) |
| Watering Duration Settings | 5s, 10s, 15s, 20s, 25s, 30s, 35s, 40s, 45s, 50s, 55s, 1-360m |
| Format d'affichage de l'heure | 24 heures |
| Indice d'étanchéité | IP66 |
| Matériel | Plastique ABS |
| Dimensions du produit | 4.25"P x 6"L x 2.6"H |
| Poids de l'article | 14.2 onces |
Garantie et assistance
The Instapark PWT-07 Digital Programmable Water Timer is backed by a standard 1-year manufacturer's warranty from the date of purchase. This warranty covers defects in materials and workmanship under normal use.
For warranty claims, technical support, or any questions regarding your product, please contact Instapark customer service. Please have your purchase receipt and product model number (PWT-07) available when contacting support.
Contact information for Instapark customer service can typically be found on the manufacturer's website ou votre documentation d'achat.