1. Introduction
Thank you for choosing the HKC 1818 LED Monitor. This manual provides essential information for the safe and efficient use of your new display. Please read this manual thoroughly before operating the monitor and keep it for future reference.
2. Consignes de sécurité
Pour garantir un fonctionnement sûr et éviter tout dommage, veuillez respecter les consignes de sécurité suivantes :
- N’exposez pas le moniteur à la pluie ou à l’humidité afin d’éviter tout risque d’incendie ou d’électrocution.
- N'ouvrez pas le moniteur casing. L'appareil ne contient aucune pièce réparable par l'utilisateur. Toute réparation doit être effectuée par un technicien qualifié.
- Placez le moniteur sur une surface stable et plane pour éviter qu'il ne tombe.
- Assurez une ventilation adéquate. Ne bloquez pas les ouvertures de ventilation.
- Utilisez uniquement l'adaptateur secteur fourni avec le moniteur.
- Débranchez le moniteur de la prise de courant en cas d'orage ou lorsqu'il n'est pas utilisé pendant une période prolongée.
3. Contenu du colis
Veuillez vérifier le contenu de votre colis. Si des articles sont manquants ou endommagés, veuillez contacter votre revendeur.
- HKC 1818 LED Monitor
- Support pour écran (base et col)
- Adaptateur secteur
- Câble VGA
- Manuel de l'utilisateur (ce document)
4. Installation
4.1 Assemblage du support
- Retirez délicatement le moniteur de son emballage et placez-le face contre une surface douce et propre afin d'éviter les rayures.
- Fixez le pied du support à l'arrière du moniteur en alignant les trous de fixation. Fixez-le à l'aide des vis fournies.
- Attach the stand base to the bottom of the stand neck. Tighten the thumb screw or regular screw at the bottom of the base.
- Soulevez délicatement l'écran et placez-le à la verticale sur un bureau stable.
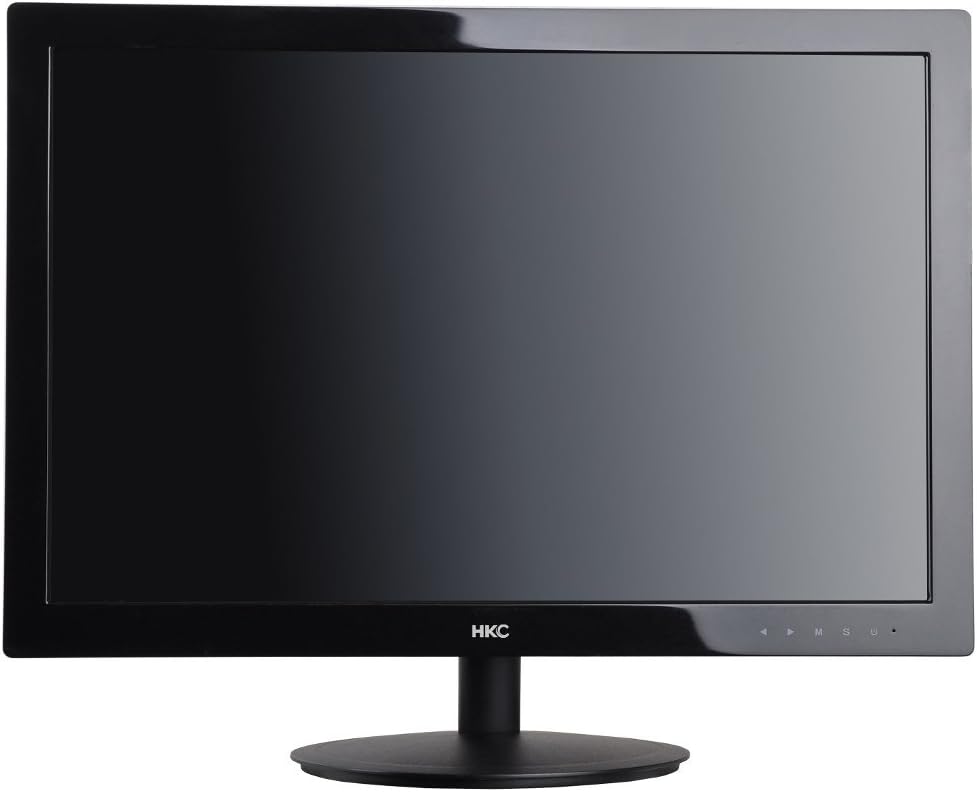
Figure 1 : Face avant view of the HKC 1818 LED Monitor with its stand assembled, ready for connection.
4.2 Connexion du moniteur
- Connectez le câble vidéo : Locate the VGA port on the back of the monitor. Connect one end of the supplied VGA cable to this port and the other end to the VGA output port on your computer. Secure the connection by tightening the screws on the VGA connector.
- Connectez le câble d'alimentation : Plug the power adapter into the monitor's power input jack. Then, plug the other end of the power adapter into a wall outlet.

Figure 2 : Angulaire view of the HKC 1818 LED Monitor, highlighting the rear panel where cables are connected.
4.3 Mise sous tension initiale
Press the power button located on the front or bottom right of the monitor. The power indicator light should illuminate, and the monitor will display an image if connected to an active video source.
5. Utilisation du moniteur
5.1 boutons de commande
The control buttons are typically located on the bottom right bezel of the monitor. They allow you to navigate the On-Screen Display (OSD) menu and adjust settings.
- Bouton d'alimentation : Allume ou éteint le moniteur.
- Bouton Menu (M) : Opens the OSD menu or enters a sub-menu.
- Up/Down (▲/▼) Buttons: Naviguez dans les options du menu ou ajustez les valeurs.
- Select (S) Button: Confirms a selection or exits a sub-menu.
- Auto/Exit (U) Button: Performs auto-adjustment or exits the OSD menu.
5.2 Navigation dans le menu OSD
- Appuyez sur le Menu (M) bouton pour ouvrir le menu OSD.
- Utilisez le Up/Down (▲/▼) buttons to navigate through the main menu categories (e.g., Picture, Color, OSD, Setup).
- Appuyez sur le Select (S) button to enter a selected category.
- Utilisez le Up/Down (▲/▼) boutons pour ajuster les valeurs ou sélectionner des sous-options.
- Appuyez sur le Select (S) button to confirm changes or the Auto/Exit (U) button to go back or exit.
- Appuyez sur le Auto/Exit (U) à plusieurs reprises pour quitter le menu OSD.
5.3 Paramètres OSD communs
- Luminosité: Ajuste la luminance globale de l'écran.
- Contraste: Ajuste la différence entre les zones claires et sombres.
- Température de couleur: Changes the color balance (e.g., Warm, Cool, User).
- Sélection d'entrée : Manually selects the video input source (e.g., VGA).
- Ajustement automatique: Optimizes the image automatically for analog (VGA) input.
6. Entretien
6.1 Nettoyage du moniteur
- Débranchez toujours le moniteur de la prise de courant avant de le nettoyer.
- Utilisez un chiffon doux et non pelucheux légèrement dampened with water or a non-abrasive screen cleaner to wipe the screen. Do not spray cleaner directly onto the screen.
- Pour le casing, use a soft, dry cloth. Avoid using strong detergents or abrasive cleaners.
6.2 Stockage
If you plan to store the monitor for an extended period, unplug it, disconnect all cables, and store it in a cool, dry place, preferably in its original packaging to protect it from dust and physical damage.
7. Dépannage
If you encounter problems with your monitor, please refer to the following common issues and solutions:
| Problème | Cause possible | Solution |
|---|---|---|
| Pas de courant | Câble d'alimentation non branché ; prise de courant défectueuse. | Vérifiez que le câble d'alimentation est bien branché au moniteur et à la prise. Testez la prise avec un autre appareil. |
| Pas de signal | Video cable not connected; Incorrect input source selected; Computer not on. | Check video cable connection. Select correct input source via OSD. Ensure computer is powered on and not in sleep mode. |
| L'image est floue ou déformée. | Incorrect resolution; Auto-adjust needed (VGA); Loose video cable. | Set computer resolution to monitor's native resolution (1366x768 for 18.5"). Use OSD Auto Adjust function. Check video cable connection. |
| Screen is too dark/bright | Les réglages de luminosité/contraste sont incorrects. | Ajustez les paramètres de luminosité et de contraste dans le menu OSD. |
Si le problème persiste après avoir essayé ces solutions, veuillez contacter le support client.
8. Spécifications
| Fonctionnalité | Spécification |
|---|---|
| Marque | Hong Kong |
| Numéro de modèle | 1818 |
| Taille de l'écran | 18.5 pouces |
| Type d'affichage | DIRIGÉ |
| Rapport hauteur/largeur | 16:9 |
| Temps de réponse | 2 millisecondes |
| Taux de rafraîchissement | 60 Hz |
| Technologie de connectivité | VGA |
| Description de la surface de l'écran | Brillant |
| Poids du produit | 2.8 kilogrammes |
| Dimensions du colis | 50 x 38.5 x 12 cm |
9. Garantie et assistance
9.1 Informations sur la garantie
This HKC monitor comes with a standard manufacturer's warranty. Please refer to the warranty card included in your package or contact your retailer for specific warranty terms and conditions. Keep your purchase receipt as proof of purchase for warranty claims.
9.2 Assistance clientèle
For technical assistance, troubleshooting beyond this manual, or warranty inquiries, please contact HKC customer support or your local retailer. Contact information can typically be found on the manufacturer's official website ou sur l'emballage du produit.